Accessing Management Interface
Trap Receiver does not have a dedicated configuration page or command line interface (CLI).
Register Trap Receiver in the menu of the Vista Manager application running on VST-APL, and use the functions in cooperation.
Therefore, in order to use Trap Receiver, it is necessary to set it in VST-APL and in the Vista Manager application.
This section describes the procedure for using Trap Receiver in the Vista Manager application running on VST-APL.
Preparing to use Trap Receiver
To use Trap Receiver, VST-APL and the Vista Manager applications must be available. Refer to the following documents.| Contents | Documents |
|---|---|
| How to install VST-APL | VST-APL Installation Guide |
| How to use VST-APL | VST-APL User Guide |
Supported Web Browsers
You can configure Trap Receiver through its web-based management interface.Make sure that your management PC has one of the following web browsers installed:
- Google Chrome
Initial setting of Trap Receiver
In the initial state of VST-APL, the application instance of Trap Receiver is not set. Please login to VST-APL's management web interface and set the application instance of Trap Receiver. Refer to the following documents.| Documents | Contents |
|---|---|
| VST-APL User Guide | Description of application settings |
Register Trap Receiver with the Vista Manager application
This section describes the procedure for registering Trap Receiver in the Vista Manager application.- Use one of the following methods to log in to the Vista Manager setting page.
- Start a web browser and enter the IP address set for Vista Manager.
The IP address is explained using 192.168.1.10 as an example.
http://192.168.1.10
Note
If you specify the host name instead of the IP address, the link destination may not be displayed correctly.
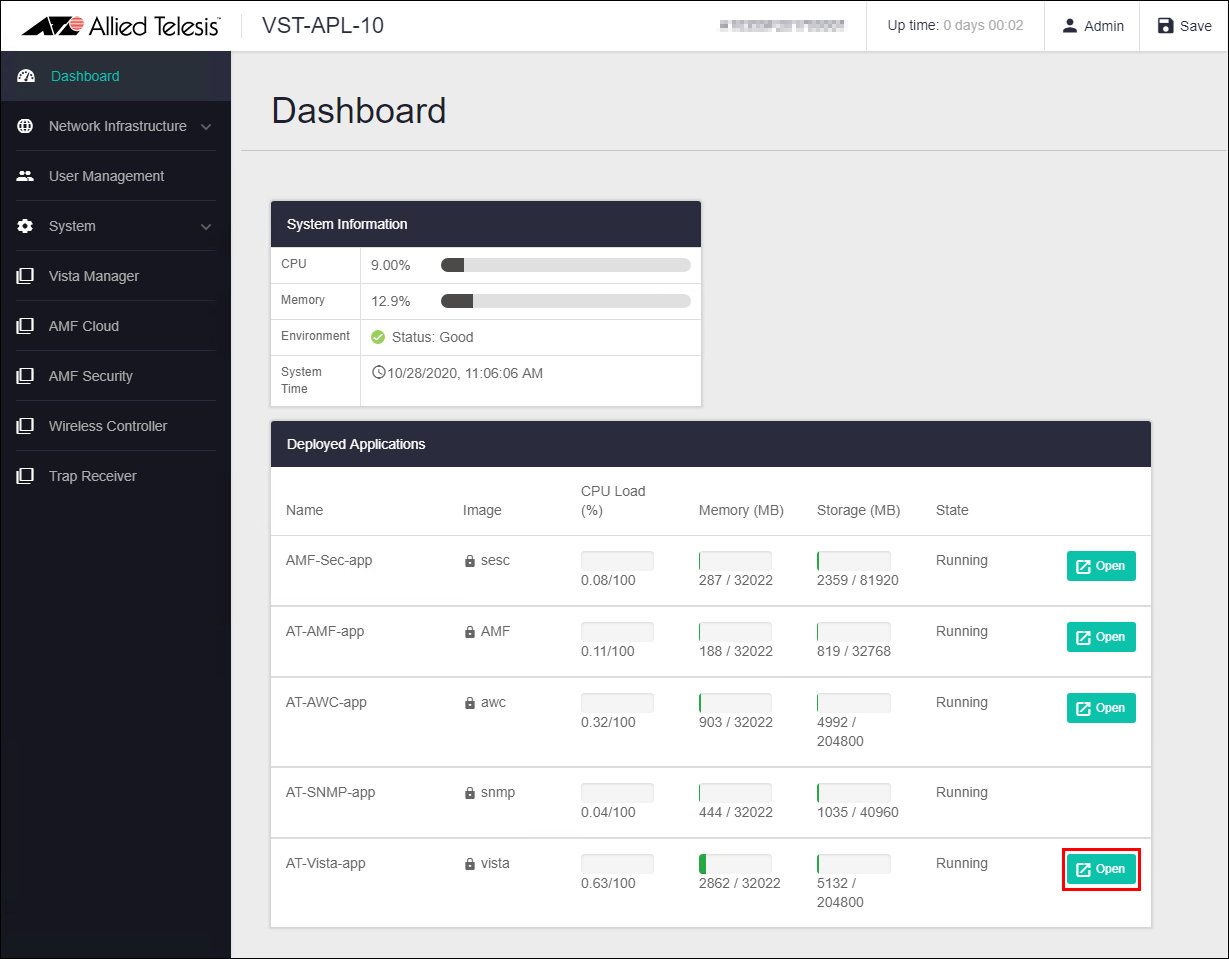
- On the Dashboard page of VST-APL, click the "Open" button in the AT-Vista-app section.
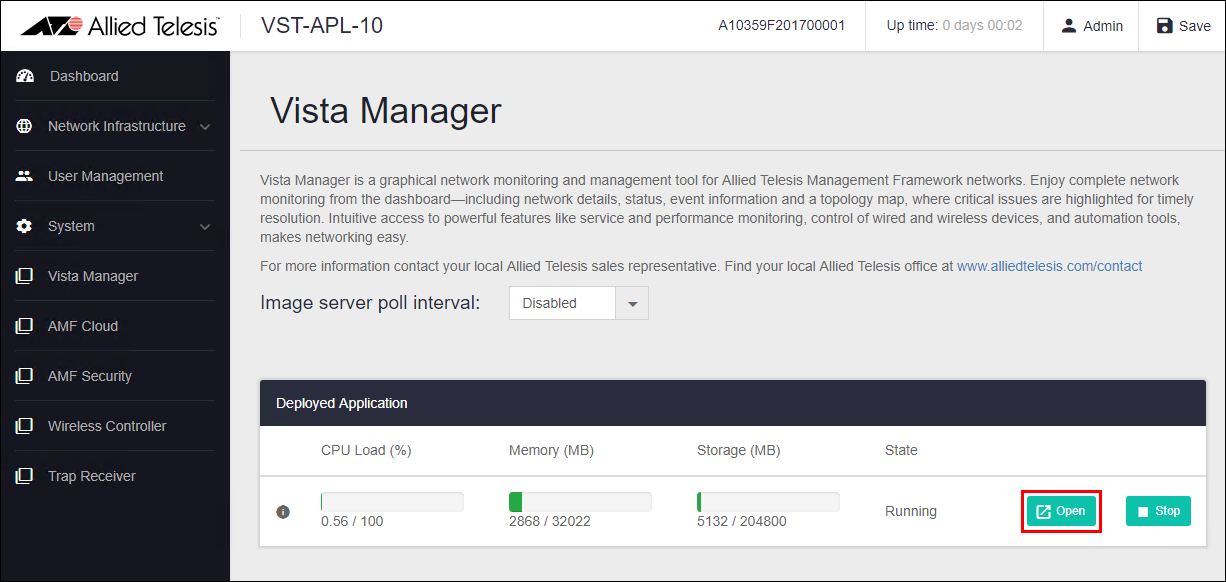
- On the Vista Manager management page of VST-APL, click the "Open" button.
- Start a web browser and enter the IP address set for Vista Manager.
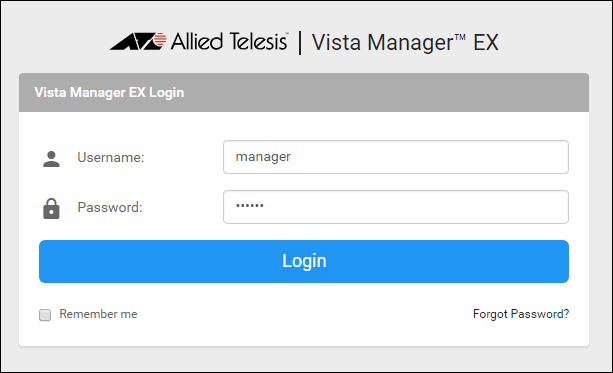
- The following login page is displayed. Enter the default Username and Password and click the "Login" button.
Entered password is masked with bullets on the screen.
Note
The default Username is "manager" and the Password is "friend".
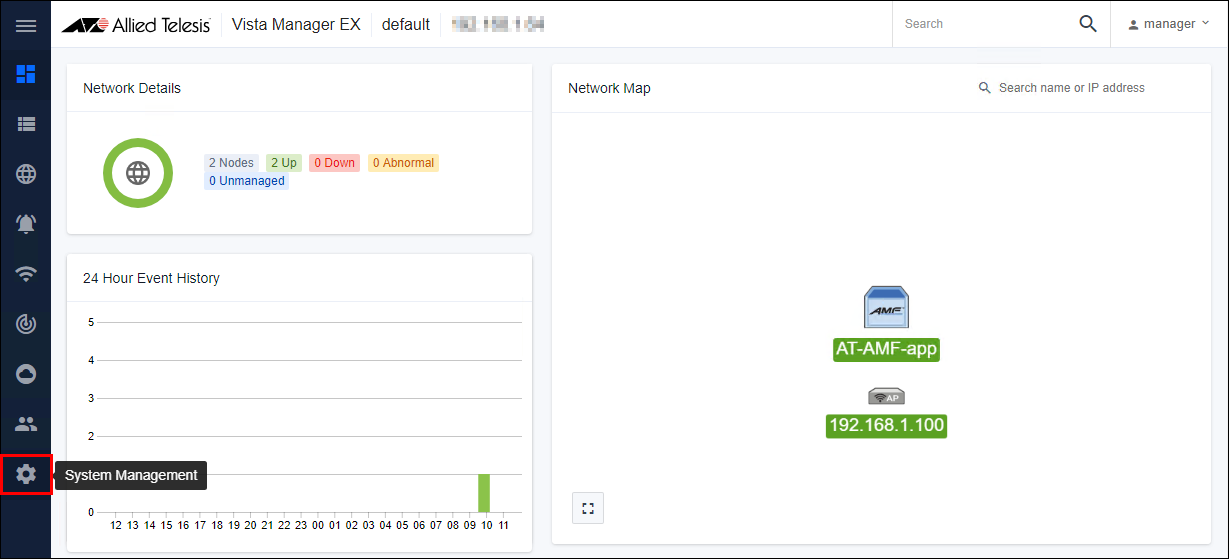
- On the Vista Manager dashboard page, click the System Management icon in the left menu.
- On the System Management page, click the "Plug-ins" tab.
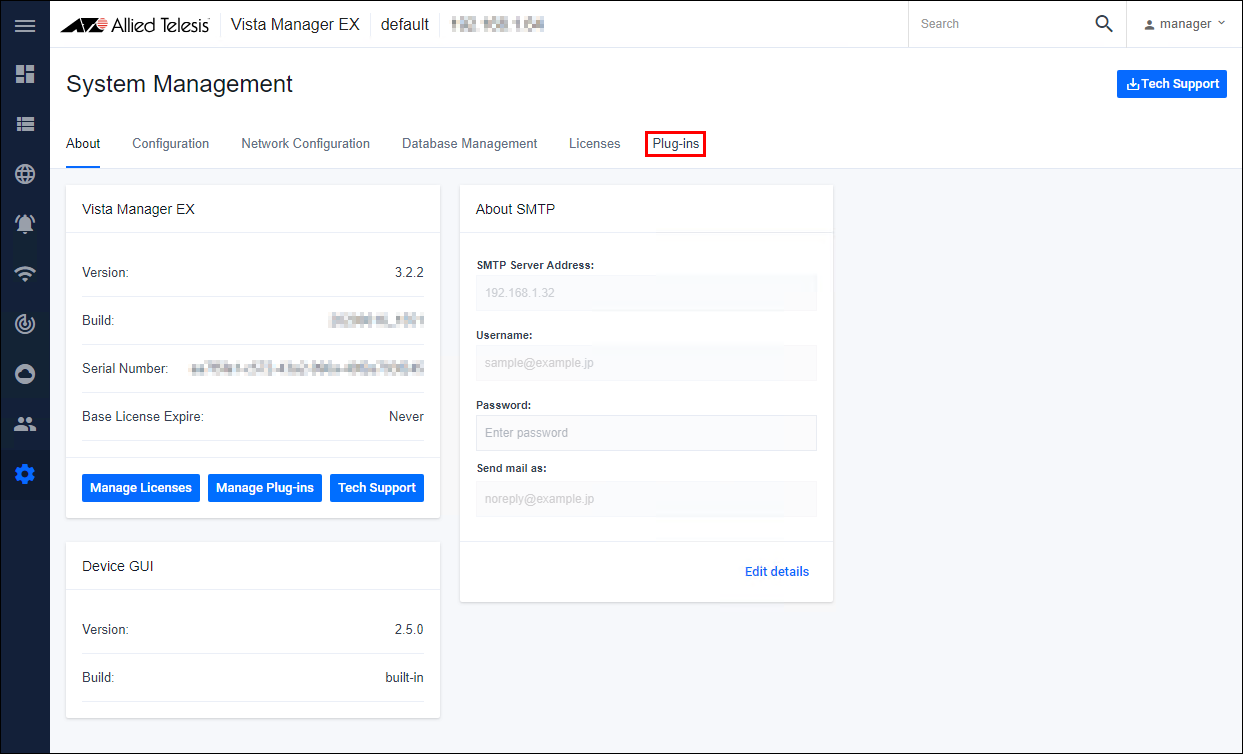
- On the Plug-in Management page, click the "Add Plug-in" button.
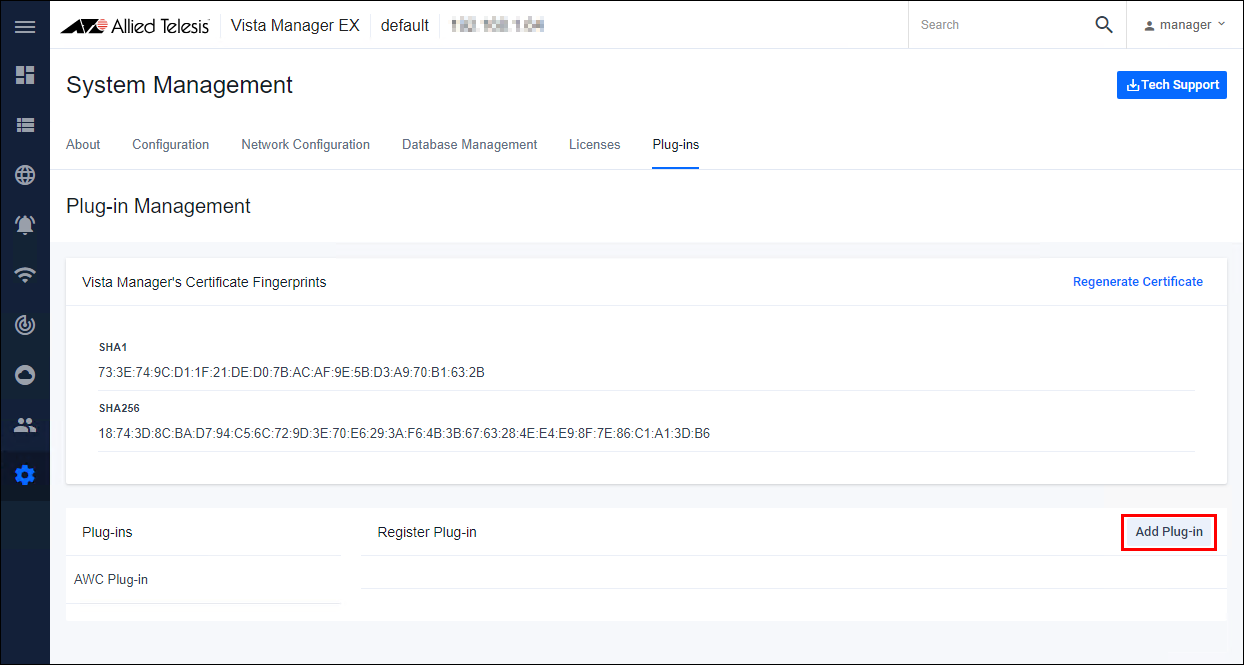
- Enter the following URL in "Server URL" and click the "Verify Connection" button.
The IP address set in Trap Receiver is explained using 192.168.1.11 as an example.
https://192.168.1.11:6443/NetManager

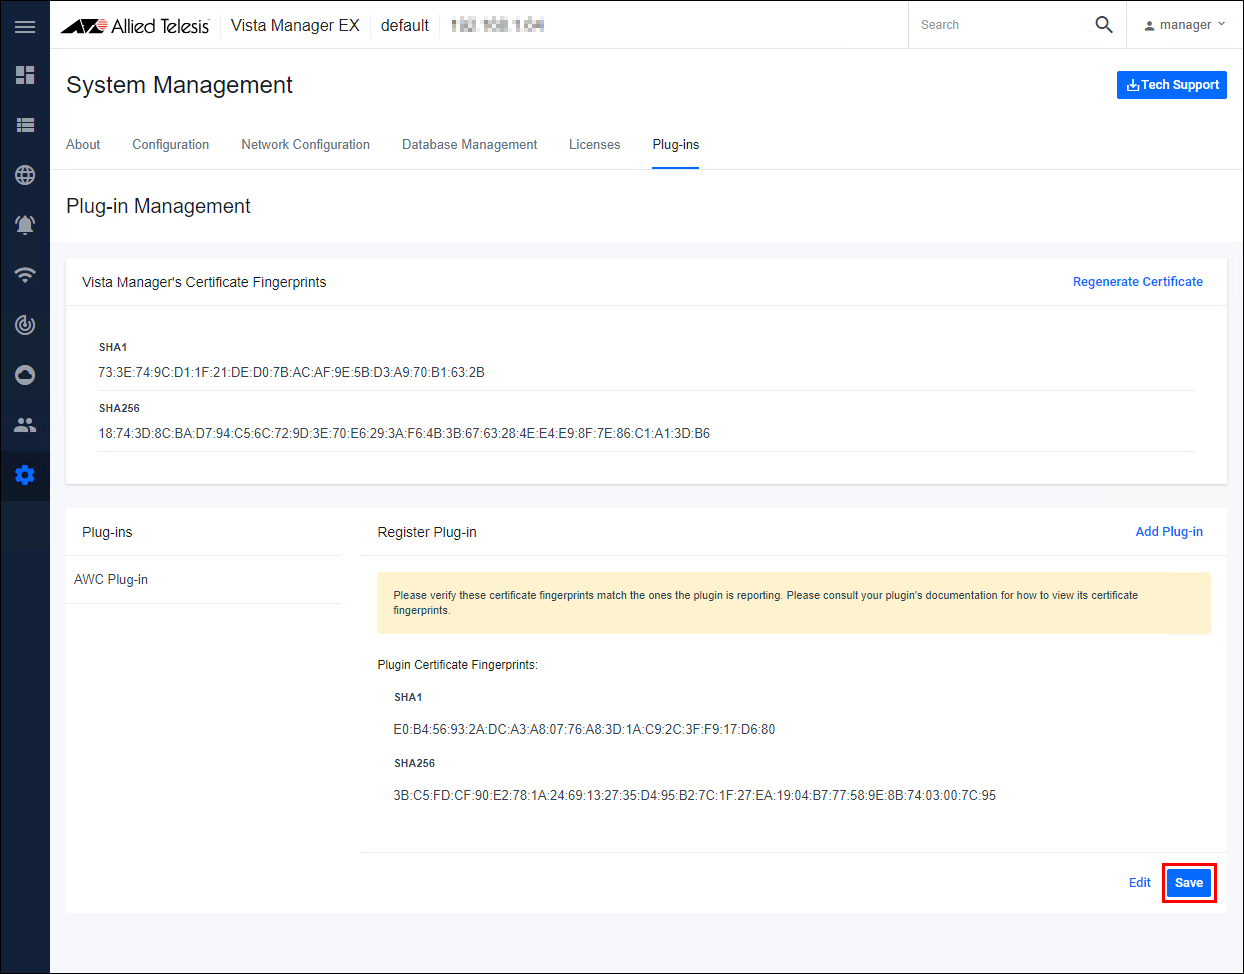
- When the Trap Receiver URL responds, the SHA1 and SHA256 certificate fingerprints are displayed in the "Plugin Certificate Fingerprints" field.
Confirm the fingerprints and click the "Save" button to register the Plug-in.
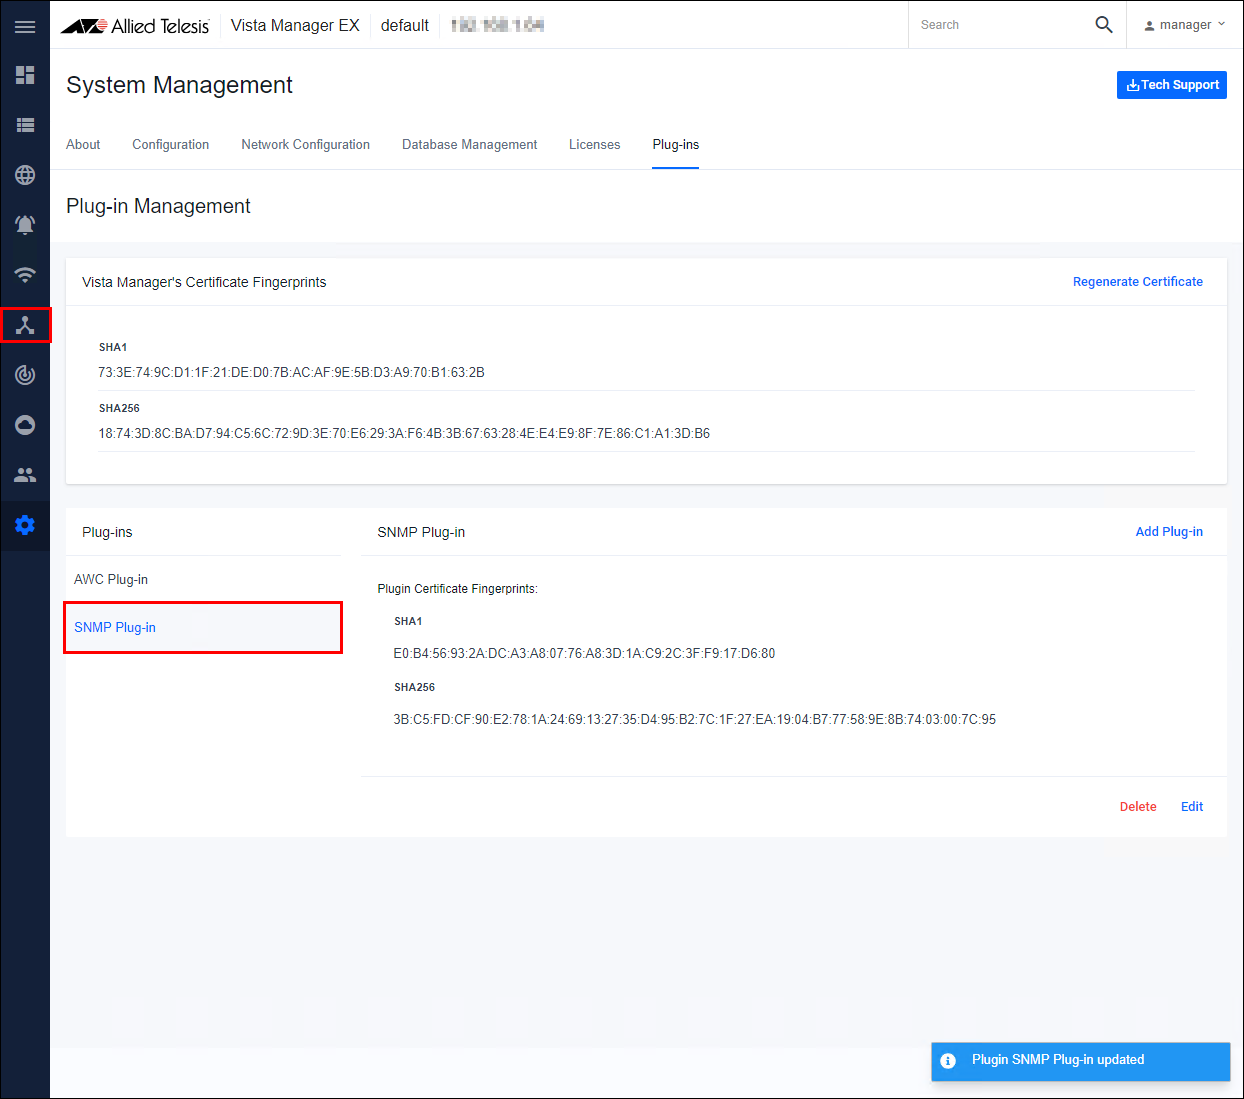
- If the Plug-in is registered normally, "SNMP Plug-in" is added to the Plug-ins list.
It also adds an Trap Receiver (SNMP Plug-in) icon to the main menu.
Launch Trap Receiver in the Vista Manager application
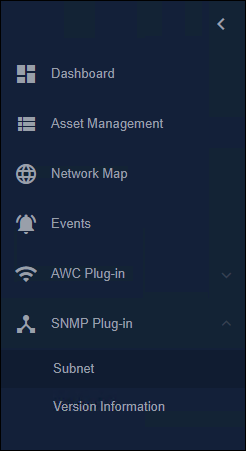
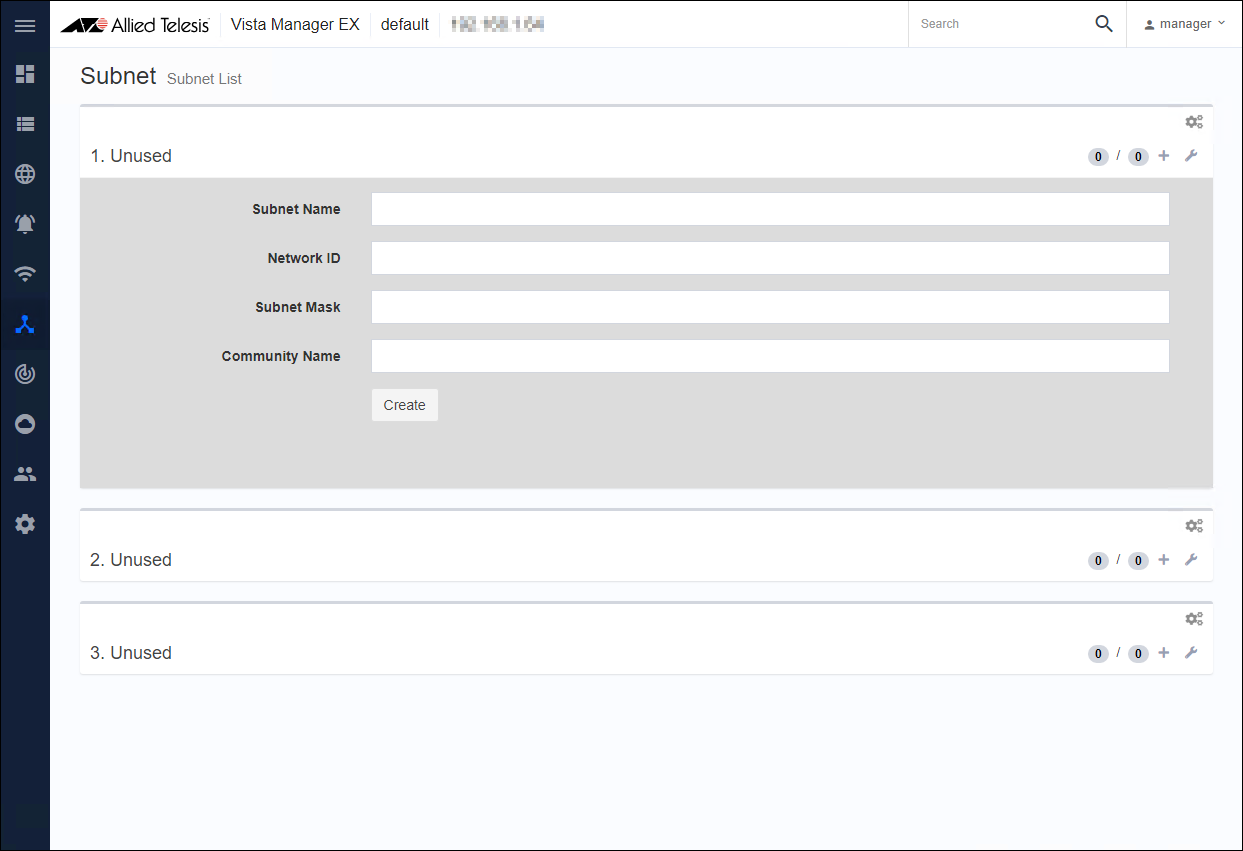
This section describes the procedure for launching Trap Receiver in the Vista Manager application.- Click the Trap Receiver (SNMP Plug-in) icon in the left menu of the Vista Manager application, then click the "Subnet" menu.
- When you start Trap Receiver for the first time, the Add Subnet page is displayed.
20 Sep 2021 14:30