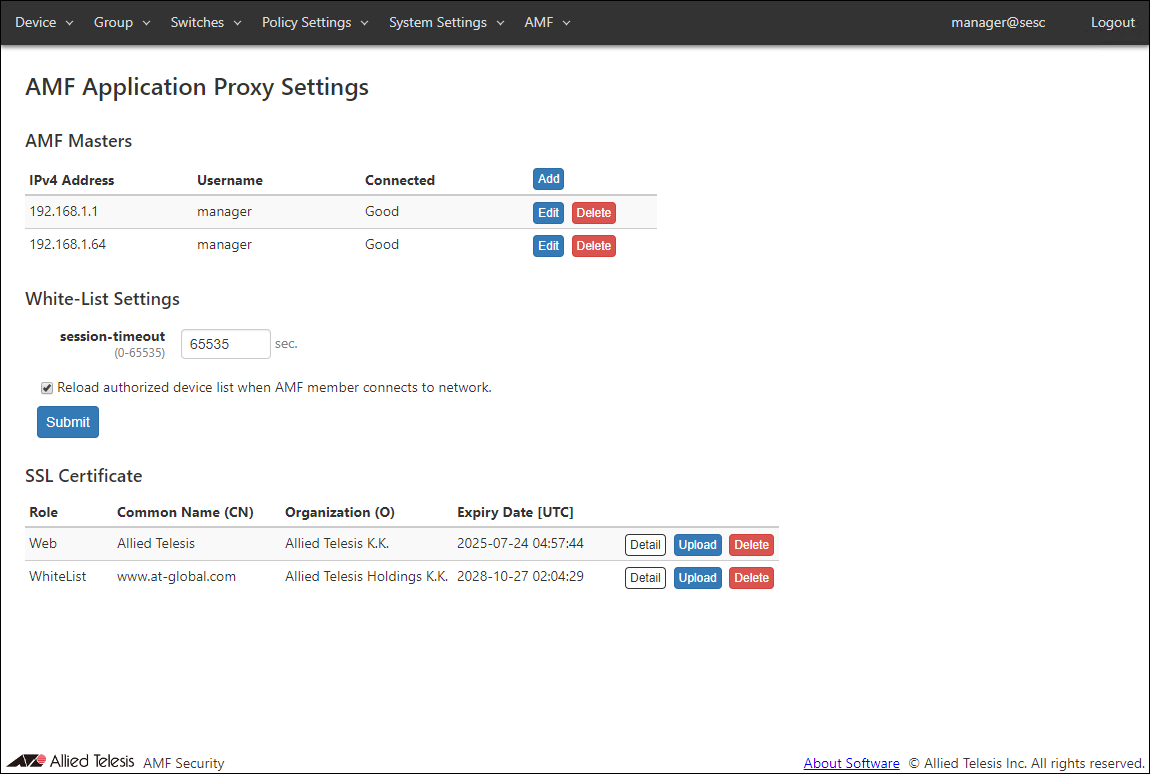
Register the AMF Master in AMF Security mini. It also shows a list of registered AMF Masters.
Note
With the following settings, the connection with connected AMF Master is temporarily disconnected. ・AMF Master ・White-List Settings ・Uploading or deleting the SSL Certificate of the Web server
Table 1: Displayed columns
Item Name
Description
IPv4 Address
IPv4 Address of AMF Master using AMF Application Proxy.
Username
Username of a level 15 (privileged) account on the AMF Master.
Connected
Displays the connection status with the AMF Master, Good, Error, Warning and Checking.
Open the Edit AMF Master dialog to update AMF Master information.
Delete
Delete information of the selected AMF Master.
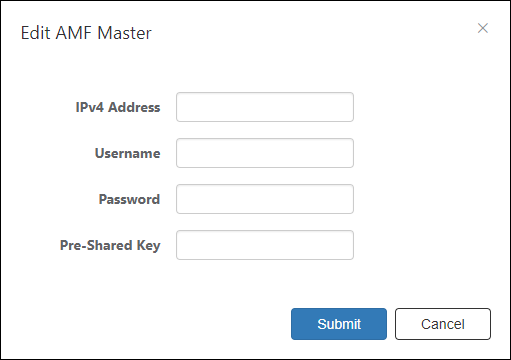
Edit AMF Master
This dialog lets you add or edit information of AMF Master.
Table 3: Sample Configuration Data
Item Name
Description
IPv4 Address
Enter an IPv4 Address of AMF Master using AMF Application Proxy. Then enter the username and password below.
Username
Enter a username of a level 15 (privileged) account on the AMF Master.
Password
Enter a password for the above username.
Pre-Shared Key
Enter a pre-shared key used between the AMF Master and the Whitelist Server (AMF Security mini).
Note
The same privilege level 15 (privilege level) account must be set up for all AMF Members. Note that if you specify an account with privilege levels 1 to 14 (including those set with the "http webapi read-only-privilege" command), it does not work properly.
Table 4: Buttons
Item Name
Description
Bottom of the dialog
Submit
Register a new AMF Master or update information of an existing AMF Master.
Cancel
Cancel the operation for registering or updating AMF Master information.
Note
When you finish this configuration, the AMF Master (proxy node) is contacted periodically (every 30 seconds) in order to acquire edge node information.
It is recommended that the AMF Master account (Username and Password) set for AMF Security mini be different from the user account used for AMF Member console connection. Create a user account with authority level 15 in advance by AMF Master and AMF Member. When sharing the user account used for the console connection of AMF Master and AMF Member with the account set in AMF Security mini, set the lockout time for login failure of AMF Master and AMF Member to less than 5 minutes (use the "aaa local authentication attempts lockout-time" command). Please note that the user is not able to log in under the following conditions and operations.
- Lockout time for AMF Master and AMF Members when login fails is set to 5 minutes or more
- Share the AMF Master and AMF Member CLI connection account with the account set in AMF Security mini.
If the above two conditions are met and the account is locked out due to consecutive failures to log in to the AMF Master and AMF Members, or if the AMF Master account setting is incorrect in AMF Security mini, The terminal information of the AMF network cannot be obtained from SESC, and the lockout timer is continuously updated by polling from AMF Security mini, so that the user cannot log in.
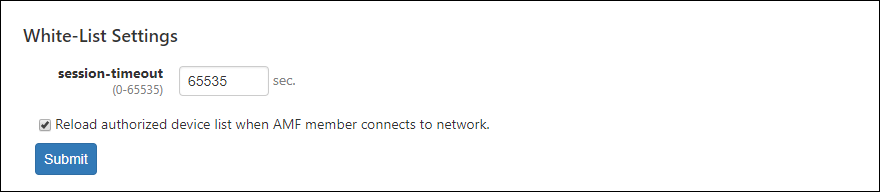
White-List Settings
Table 5: Sample Configuration Data
Item Name
Description
session-timeout
Specify a timer value (in seconds) to be configured on the switch when a device is successfully authenticated. When the timer expires, the device is reset to unauthenticated state. Valid range is 0 to 65535. Default is 65535. When set to zero, nodes are always in authenticated state because no timer is configured on switches.
This value is used when a security policy for a device does not have Schedule. This value may be preceded by a Schedule's End Date / Time. This value is used as it is when the interval between the successful authentication and a scheduled End Date / Time is less than 65535 seconds. If the interval between the successful authentication and a scheduled End Date / Time is larger than or equals to 65535 seconds, actual timeout is set to 65535 seconds.
Reload authorized device list when AMF member connects to network.
The node information authenticated by the AMF Application Proxy displayed on the Device > Active Device List page is reloaded when AMF Security mini is restarted.
Table 6: Buttons
Item Name
Description
Submit
Save the settings.
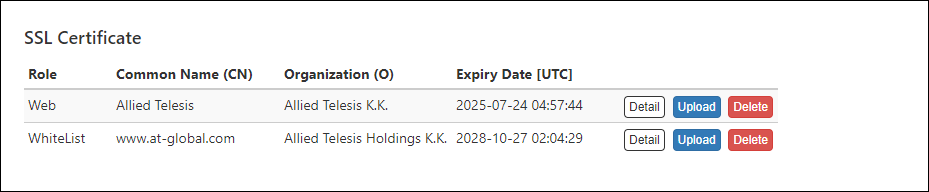
SSL Certificate
Register the SSL server certificate of the Web server (AMF Security mini) and the SSL server certificate of the whitelist authentication server installed in AMF Security mini. If you want external applications to interact with AMF Security mini via HTTPS, you may have to install an SSL server certificate issued by a trusted certificate authority (CA). If you want to encrypt the control session with the AMF Application Proxy Whitelist, obtain the SSL server certificate from a trusted certificate authority and upload it to AMF Security mini. "SSL Certificate" section shows a summary of the installed SSL server certificate. Use the method best suited for your needs to get the certificate.
If your CA provides you with intermediate CA certificates or cross root CA certificates in addition to your server certificate, concatenate those certificates into a single file then upload the file to AMF Security mini. Contact the CA for detailed information on how to concatenate certificate files.
To install a certificate file, it must meet the following requirements.
Table 7: SSL Certificate Requirements
Type
X.509, RFC6818
Encryption
PEM (Privacy Enhanced Mail)
Extension
.crt
Table 8: Displayed columns
Item Name
Description
Role
Displays Web (Web server) or WhiteList (Authentication server).
Common Name(CN)
Displays the common name of the web server (AMF Security mini) or authentication server (AMF Security mini).
Organization(O)
Displays the name of the organization to which the Web server (AMF Security mini) or authentication server (AMF Security mini) belongs.
Expiration Date [UTC]
Expiration date of the certificate.
Table 9: Buttons
Item Name
Description
Detail
The detailed information of the registered SSL server certificate is displayed.
Upload
Open the Upload SSL Certificate dialog to register the SSL Certificate with AMF Security mini.
Delete
Delete the installed SSL server certificate and restore the default certificate which is self-signed by AMF Security mini.
Note
After setting the AMF master, AMF Security mini accepts both unencrypted and encrypted sessions. You cannot disable one of them.
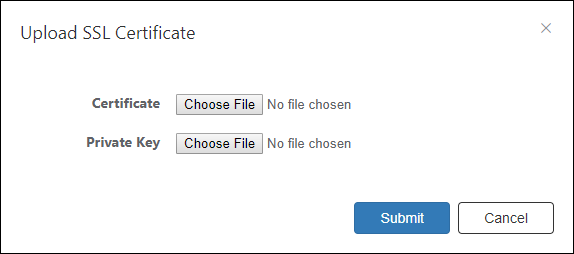
Upload SSL Certificate
This dialog lets you upload your own SSL Certificate for the White-list Authentication Server.
Table 10: Configurable fields
Item Name
Description
Certificate
Click the "Choose File" button and select the SSL Certificate to upload.
Private Key
Click the "Choose File" button and select the SSL private key to upload.
Table 11: Buttons
Item Name
Description
Submit
Import the specified private key and certificate.
Cancel
Cancel the operation for importing SSL Certificate.
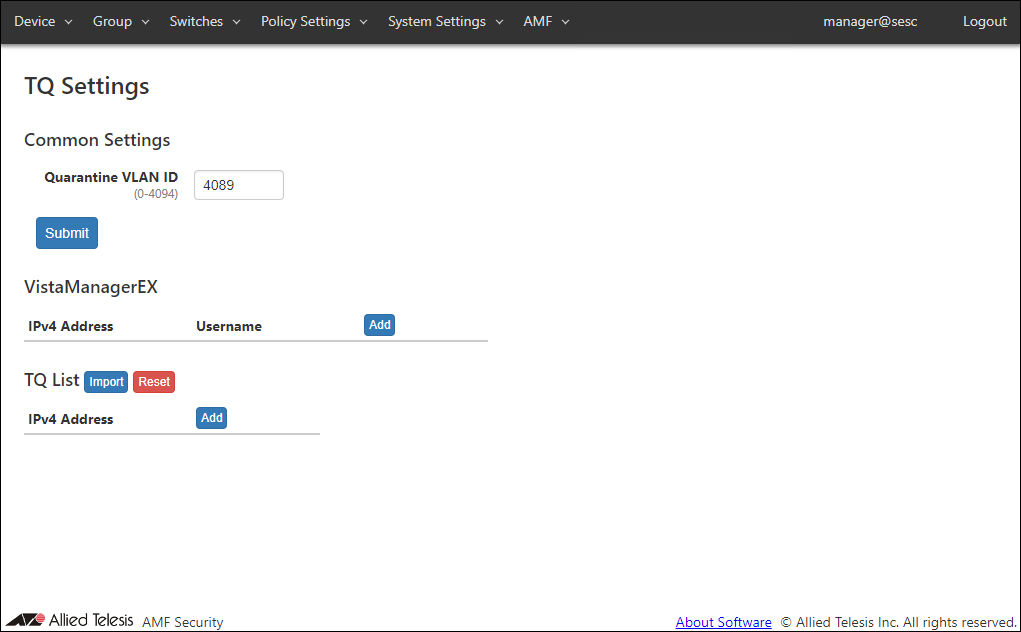
TQ Settings
Note
With this setting, the connection with connected AMF Master is temporarily disconnected.
At that time, if the device already managed by TQ's AMF Application Proxy (devices displayed on the Device > Active Device List page) exists, the device's authentication and actions remain applied. However, it is deleted from the Devices > Active Device List page.
Also, even if the connection between the connected AMF Master is temporarily disconnected due to other settings or operations (such as restarting the service), it is deleted from the Device > Active Device List page.
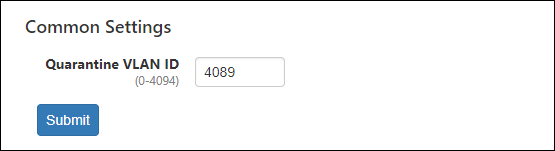
Common Settings
Specifies the VLAN ID of the quarantine network.
Table 12: Configurable fields
Item Name
Description
Quarantine VLAN ID
VLAN ID of the quarantine network where quarantined devices are placed. Valid range is 0 to 4094. Default is 4089.
Table 13: Buttons
Item Name
Description
Submit
Register the Quarantine VLAN ID.
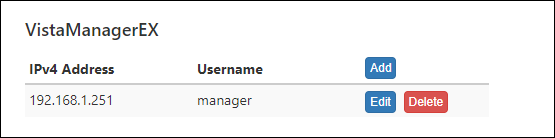
VistaManagerEX
This page shows a list of AT-Vista Manager EX.
Table 14: Displayed columns
Item Name
Description
IPv4 Address
The IP Address of the AT-Vista Manager EX server. When using the Windows version of AT-Vista Manager EX, specify the IP Address of the AT-Vista Manager EX server. When using the AT-VST-APL / AT-VST-VRT version of AT-Vista Manager EX, specify the IP Address of the AWC Plug-in.
Username
The Username of the AT-Vista Manager EX Admin account.
Open the Edit VistaManagerEX dialog and updates the AT-Vista Manager EX information.
Delete
Delete AT-Vista Manager EX.
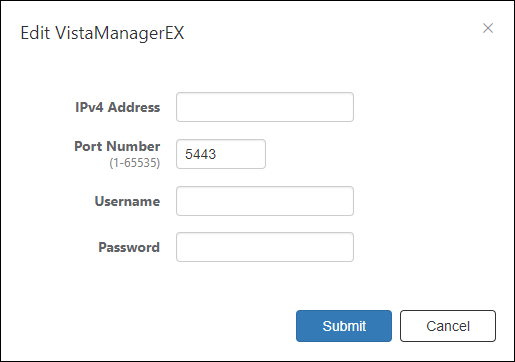
Edit VistaManagerEX
Register or update AT-Vista Manager EX.
Table 16: Configurable fields
Item Name
Description
IPv4 Address
Enter the IP Address of the AT-Vista Manager EX server.
Port Number
Set the port number for using AT-Vista Manager EX. This setting specifies the port number of the AWC plug-in. The default port number for the AWC plug-in is 5443, but if you have changed the port number, specify that port number. Valid range is 1 to 65535. The default setting is 5443.
Username
Enter the Username of the AT-Vista Manager EX Admin account.
Password
Enter the password for the AT-Vista Manager EX Admin account.
Table 17: Buttons
Item Name
Description
Submit
Register the entered AT-Vista Manager EX information.
Cancel
Cancel AT-Vista Manager EX registration or information update.
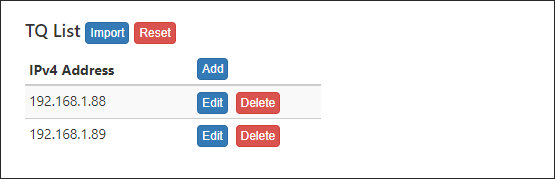
TQ List
Lists the wireless access points managed by AT-Vista Manager EX.
Note
Register the wireless access point with an IP Address. Duplicate IP Addresses cannot be registered.
Table 18: Displayed columns
Item Name
Description
IPv4 Address
The IP Address of the wireless access point.
Table 19: Buttons
Item Name
Description
Import
Use the CSV file to register a new wireless access point or update the information.
Reset
Delete all registered wireless access points.
Add
Opne the Edit TQ dialog and register a new wireless access point.
Edit
Open the Edit TQ dialog and updates the information of the wireless access point.
Delete
Delete the wireless access point.
◼ About CSV file format When registering a new wireless access point or updating information using a CSV file, create a CSV file with the character code "UTF-8" in the format shown below.
Can be added ("+" at the beginning of the line) or deleted ("-" at the beginning of the line)
The second field is "IPv4 Address" and the third field is "Pre-Shared Key (PSK)"
It is not necessary to specify the "Pre-Shared key (PSK)" when deleting.
Edit TQ
Register or renew your wireless access point.
Table 20: Configurable fields
Item Name
Description
IPv4 Address
Enter the IP Address of the wireless access point. If you add with an IP Address that has already been registered, the existing settings is overwritten.
Pre-Shared Key
Enter the security key (AMF Application Proxy server secret) configured on the wireless access point.
Table 21: Buttons
Item Name
Description
Submit
Register the entered wireless access point information.
Cancel
Cancel the registration of the wireless access point or the update of information.
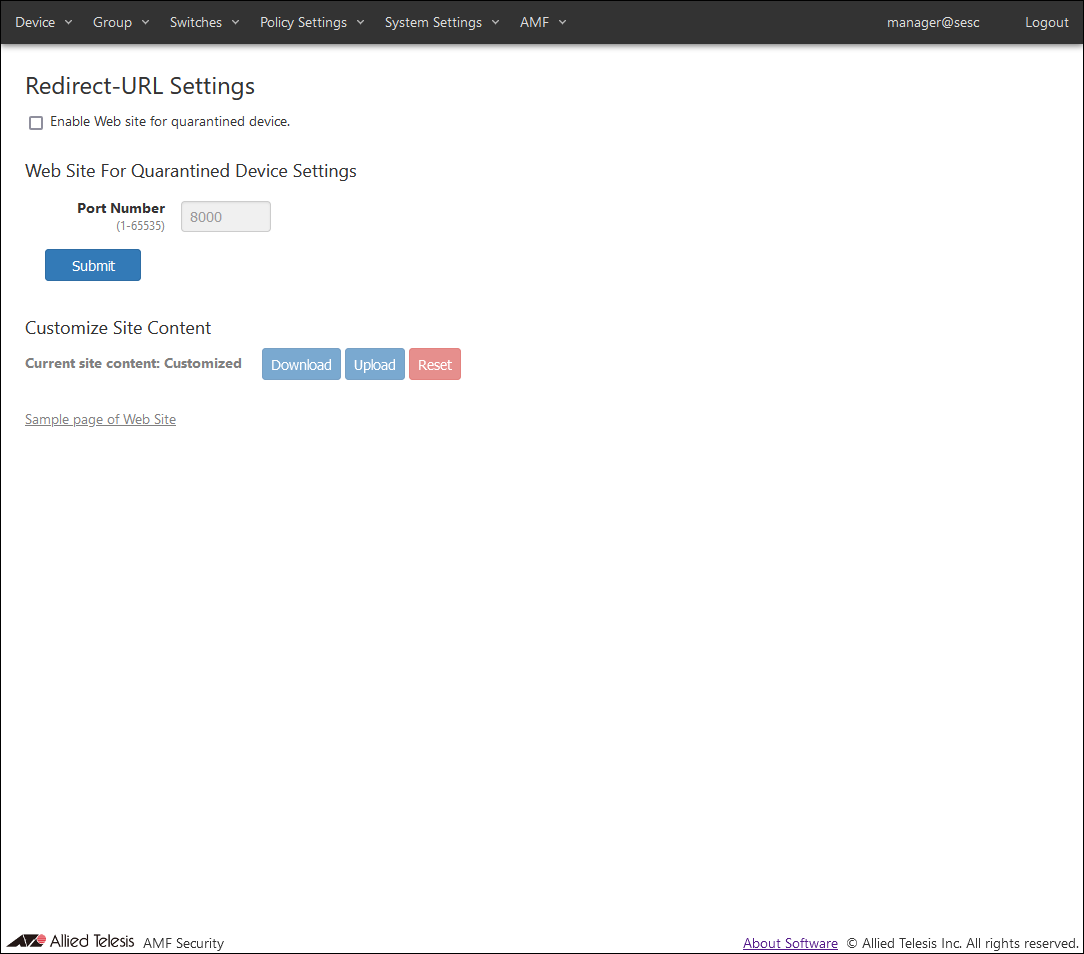
Redirect-URL Settings
Configure a site for Redirect-URL Action of the AMF Application Proxy. The protocol of this site is HTTP.
Note
This site only supports redirected access from products that support Redirect-URL Action, and does not support it as a normal web server.
Table 22: Configurable fields
Item Name
Description
Enable Web site for quarantined device.
Check the checkbox to enable the site.
Port Number
Set the site port number. Valid range is 1 to 65535. Default is 8000.
This site has initial contents. You can also upload and use any customized site content.
Note
This item can be operated when Redirect-URL Settings is enabled (when the "Enable Web site for quarantined device." checkbox is checked).
Table 24: Displayed columns
Item Name
Description
Current site content
Shows the type of site content used. ・Default: Initial content is used. ・Customized: Uploaded content is used.
Table 25: Buttons
Item Name
Description
Download
Download site content. If "Current site content" is "Default", the content in the initial state is downloaded, and if it is "Customized", the uploaded content is downloaded.
Upload
Upload site content.
Reset
Resets the content of the uploaded site to the initial state.
When uploading the contents of the site, the character code of the contents must be "UTF-8", the structure of the contents file hierarchy must be determined, and the files must be compressed in ZIP format. For site customization, refer to Appendix / Customizing site content for Redirect-URL Action.
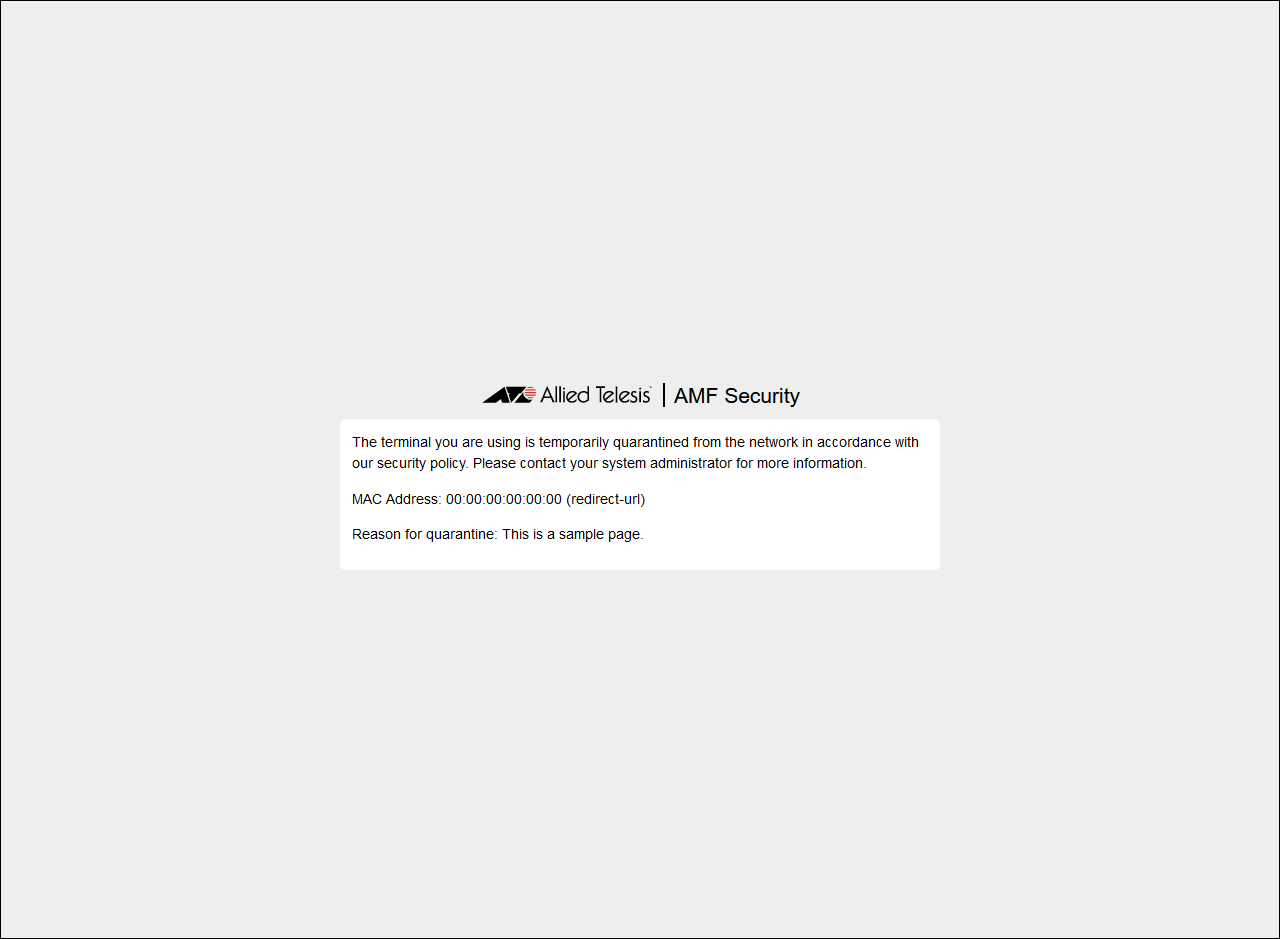
Sample page of Web Site
You can view the sample pages of the site. Below is a sample page of the site prepared in the initial state.
(C) 2025 Allied Telesis, Inc. All rights reserved.