Create Floor Map
Now let's configure a floor map to visualize wireless APs in the network.
Registration to the floor map may be performed after adding wireless APs under management. However, if managing a large number of wireless APs, an identification will be easier with the floor map configuration when selecting a wireless AP in the SC common settings.
Create a Floor Map
- Select "Wireless Monitoring" > "Floor Map" from the AWC Plug-in menu, to display the "Floor Map" screen.

- To create a floor map for 3F, click "Create" at the top right of the screen.
The "Create Deployment Map" dialog box will appear.
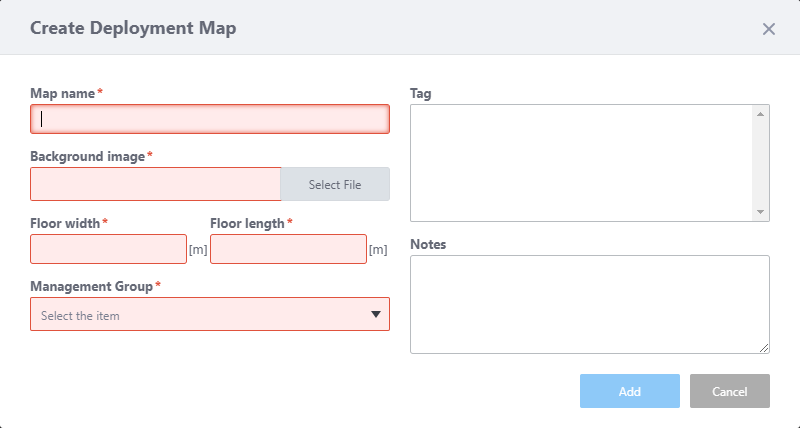
- Enter "3F Map" in "Map name".
- Specify the floor map image by using the "Select File" button in the "Background image" section.
Note
A map image with a margin around the floor makes the floor size calculation less accurate. We recommend that you trim the margin on the image with an image editor.
- Enter the actual floor size in meters in the "Floor width" and "Floor height" (length) fields.
When you enter either width or length, the other value is automatically filled in according to the aspect ratio of the image.
The floor size is used to render the radio wave's heat map.
Here we enter the size (W 24m x H 20m).
- From "Management Group" dropdown, select a management group "3F Group" we created earlier in Quick Tour > Configure Smart Connect (AWC-SC) > Create Management Group.
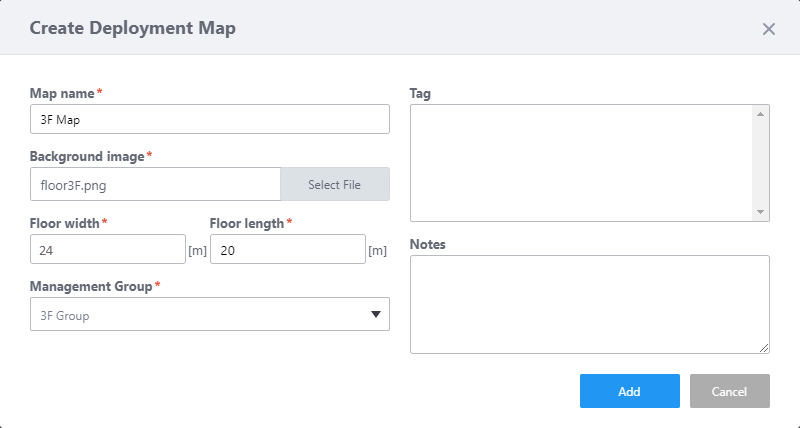
Here we leave the Tag and Note fields empty and click "Add".
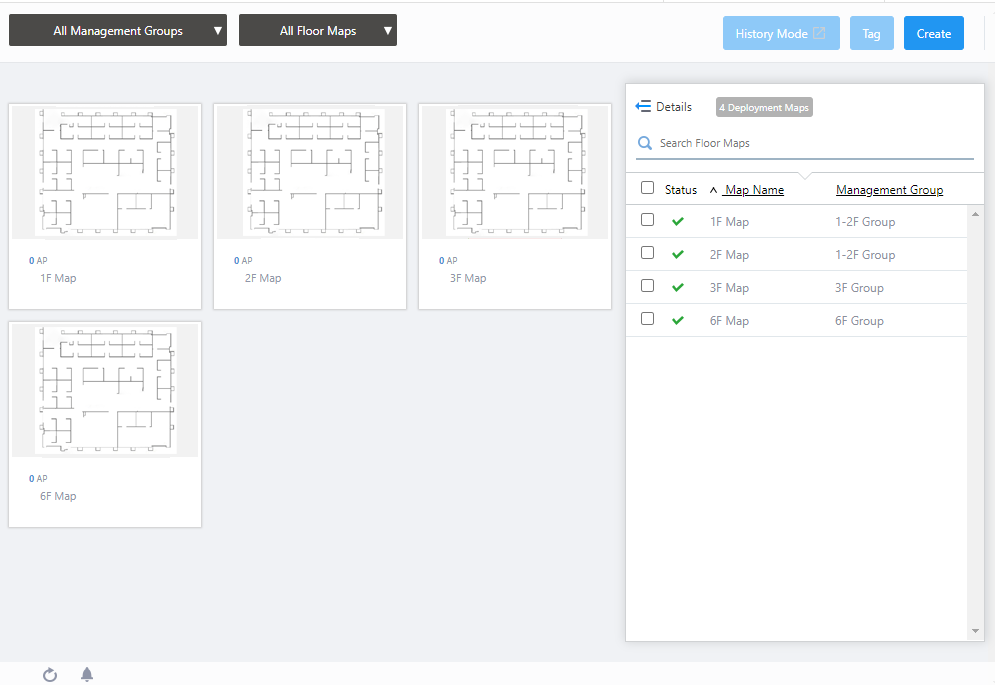
- Now you can see the floor map "3F Map" in the list.
Add APs to the Floor Map
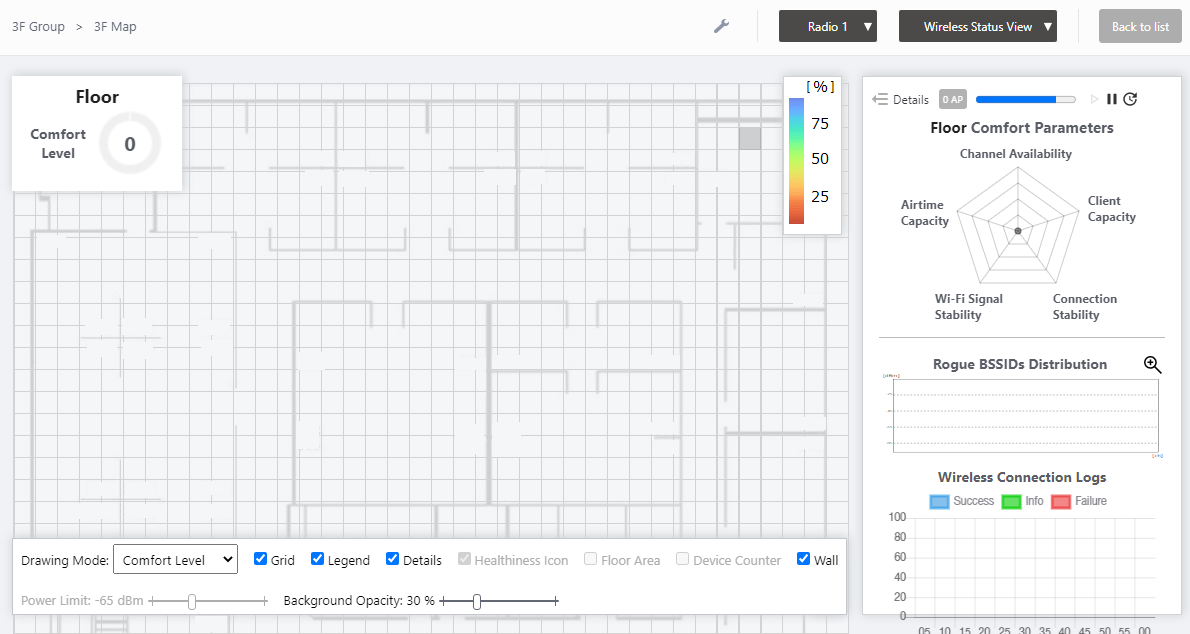
Next let's place the TQ5403s on the maps.- Click "3F Map" we just added.
Wireless Status View for the "3F Map" will appear.
- Click the View Selection dropdown menu (currently showing "Wireless Status View") at the top right of the screen and select "Add AP to Map" from the dropdown menu.
The "Add AP to Map" view will appear. A list of APs in the same Management Group as the map are shown on the right side of the screen.
At this stage, cells in "AP Profile" are "Unconfigured" and cells in "Management Status" are "Unmanaged" because the AP Profile has not been applied to the APs.
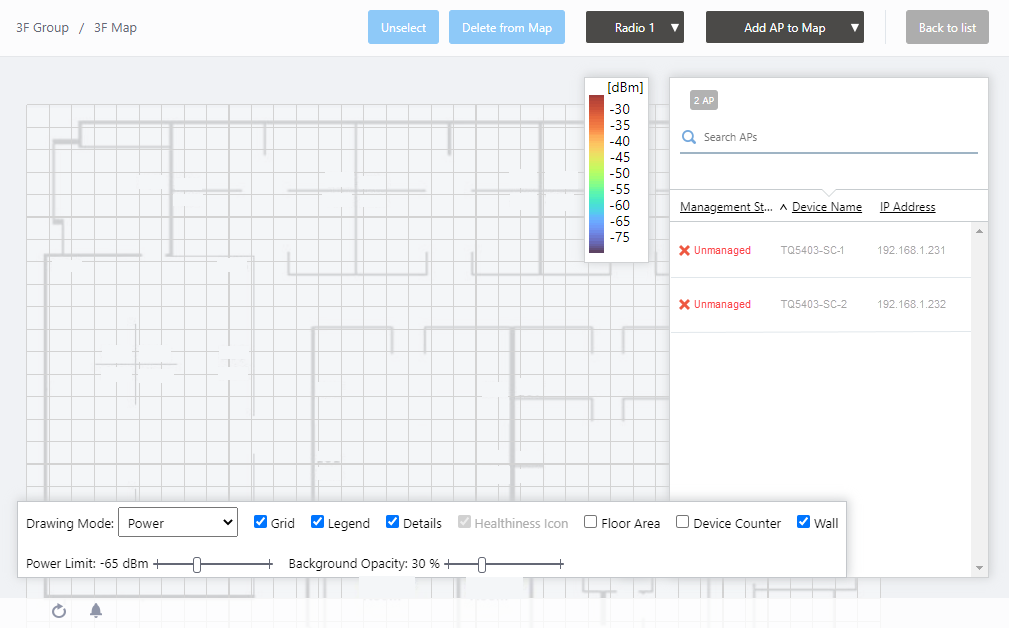
- Click "TQ5403-SC-1" in the list.
The mouse cursor will change to an AP icon.
- Click the point in the map where you want to put TQ5403-SC-1.
If you want to change the position of the AP icon, drag the AP icon and drop it in the desired position.
- Similarly, select and place TQ5403-SC-2 on the map.
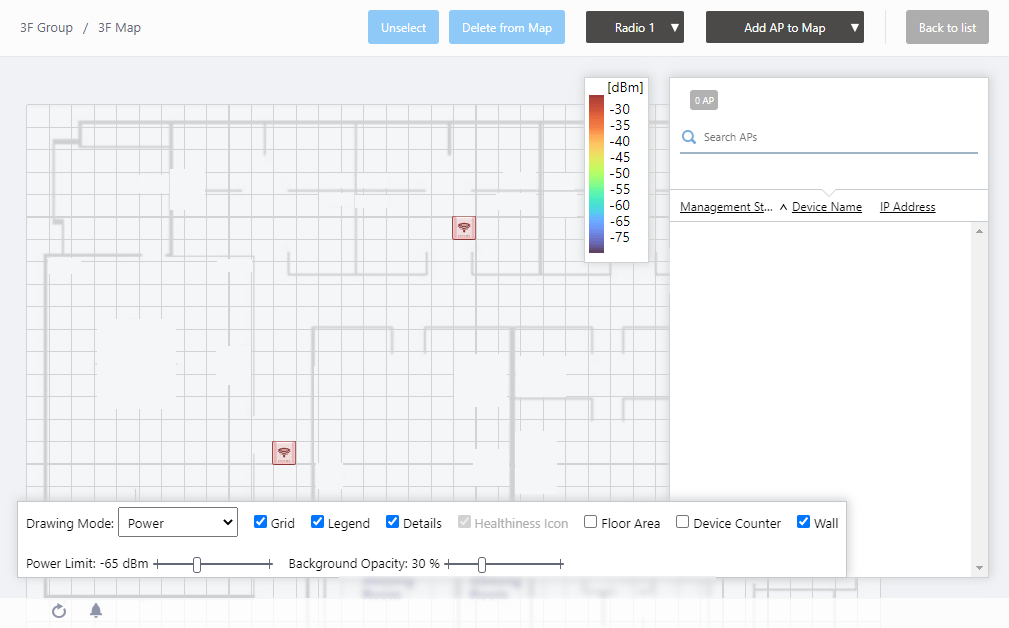
Select "Wireless Monitoring" > "Floor Map" from the AWC Plug-in menu to display "Floor Map" screen. You can see that 2 APs are placed on the floor map.
04 Jul 2023 13:01