Starting Configuration
Preparation for using AMF Security mini
To use the AMF Security mini, you need to set the initial settings (image selection, IP Address setting, etc.) of the AMF Security mini application instance in the Web GUI of your AlliedWare Plus device. See Initialization > Initializing AMF Security mini for instructions on how to do this.AMF Security mini client requirements
To configure the AMF Security mini, access the GUI (Graphical User Interface) on the Web browser.The web browsers that can be used with AMF Security mini are listed below:
- Google Chrome
- Mozilla Firefox
NoteUse the latest released version.
Logging In to the Management Web Interface
You can configure AMF Security mini through its web-based management interface.- Start a web browser and enter the IP Address set for AMF Security mini.
The IP Address is explained using 192.168.1.10.
https://192.168.1.10
Note
Communication between the web browser and AMF Security mini is over HTTPS.
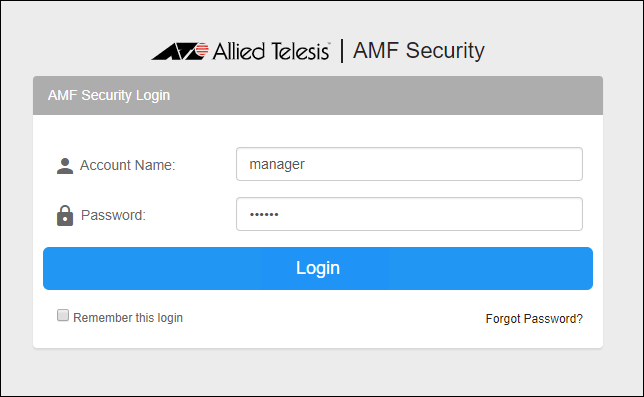
- The following login screen is displayed. Enter the default Account Name and Password and click the "Login" button.
Entered password is masked with bullets on the screen.
Note
The default Account Name is "manager" and the Password is "friend".
Note
If a security warning screen appears, follow the onscreen instructions to continue browsing the site.
If you have a SSL server certificate issued by a trusted certification authority (CA), you can install the certificate on the Network Settings > System Information page's or the AMF > AMF Application Proxy Settings page's "SSL Certificate" section after logging in to the AMF Security mini. - After logging in, the Device > Active Device List page is displayed.

Note
A login session times out after 10 minutes of inactivity. The Login screen reappears when you perform any operation after the previous session has timed out.
If you check "Remember this login" on the login screen, you will remain logged in.
Setting the timezone
AMF Security mini gets and uses the system time of your AlliedWare Plus device, but it does not get the time zone setting. Therefore, for example, to use Japan time (JST: 9 hours ahead of Coordinated Universal Time (UTC)), set according to the following procedure:NoteIf you change the time zone setting, AMF Security mini restarts, but after that, you need to restart (stop and start) the AMF Security mini application instance in the Web GUI of your AlliedWare Plus device. See Initialization > Initializing AMF Security mini for instructions on how to do this.
After that, the timezone setting is retained.
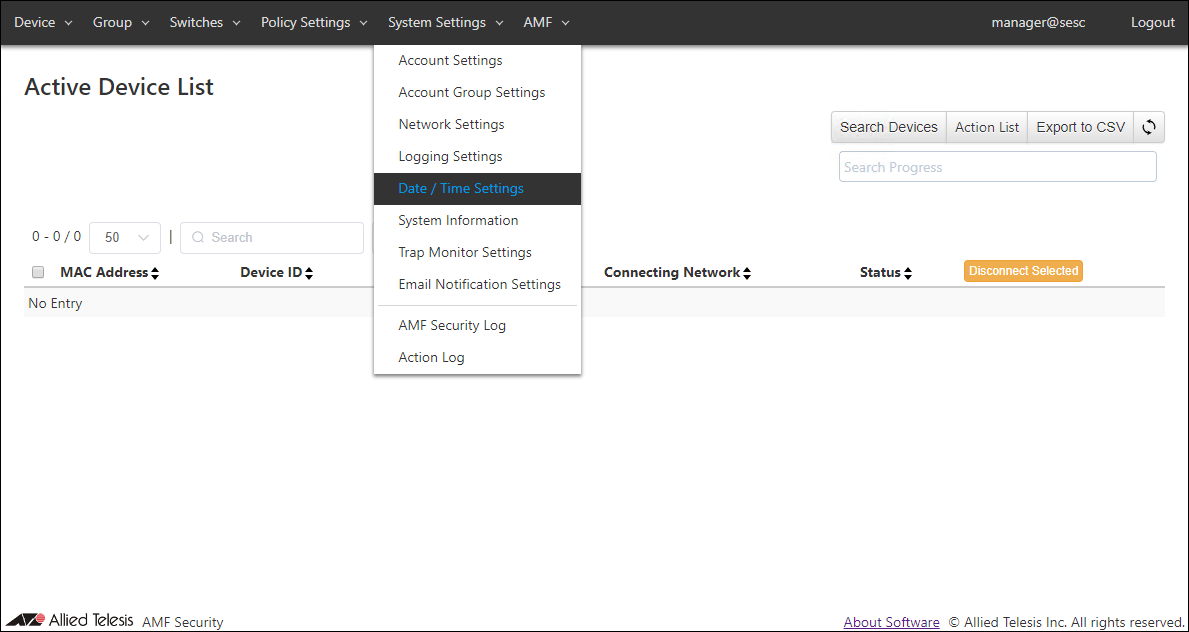
- Click the "System Settings" menu, then click the "Date / Time Settings" submenu.
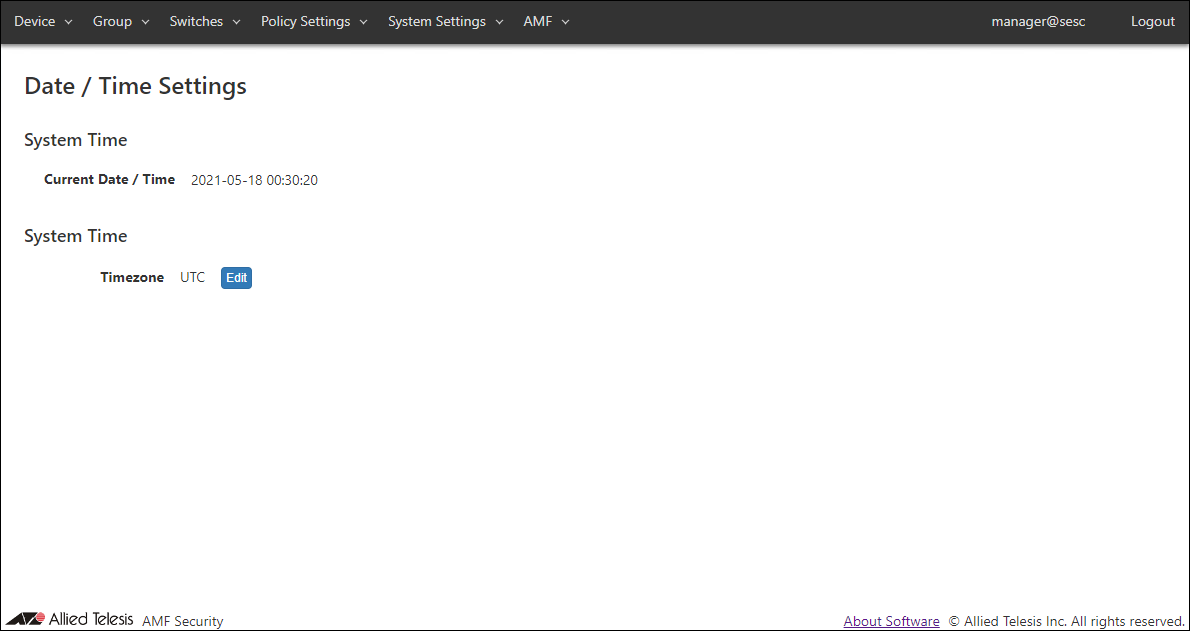
- The System Settings > Date > Time Settings page is displayed. Click the "Edit" button in the Timezone item.
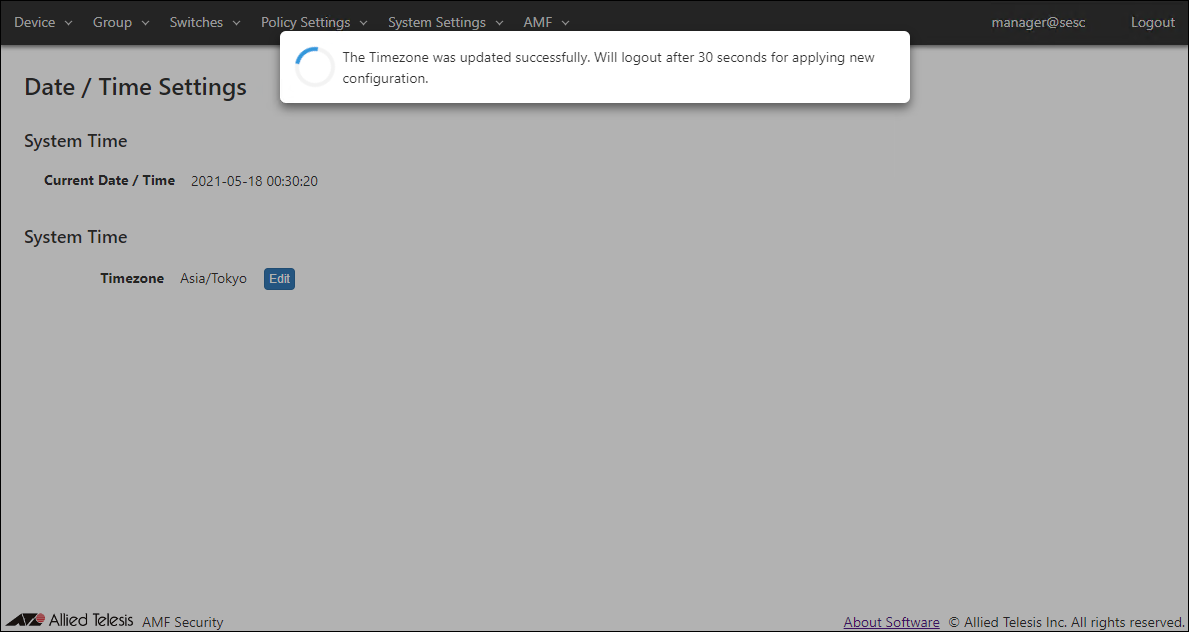
- The Select Timezone dialog is displayed. Select the "Asia/Tokyo" from the drop-down list and click the "Submit" button.

- After the message is displayed, AMF Security mini restarts and the login screen is displayed again.
After logging in, the System Settings > Date > Time Settings page is displayed.
- If you change the time zone setting, AMF Security mini restarts, but after that, you need to restart (stop and start) the AMF Security mini application instance in the Web GUI of your AlliedWare Plus device.
See Initialization > Initializing AMF Security mini for instructions on how to do this.
Installing Licenses
You have to install proper licenses before you start using AMF Security mini.You always need the license to run AMF Security.
When you install AMF Security mini for the first time or in the following cases, you need to issue a new license or reissue a license. Make a note of the serial number displayed on the System Settings > System Information page of this version of AMF Security mini and contact our sales engineer.
- Version upgrade from AMF Security mini 2.2.x or earlier to this version (after version upgrade)
- Delete the AMF Security mini application on the AlliedWare Plus device and install the AMF Security mini application again
- Restore (migrate) the AMF Security mini application to an AlliedWare Plus device in a different chassis
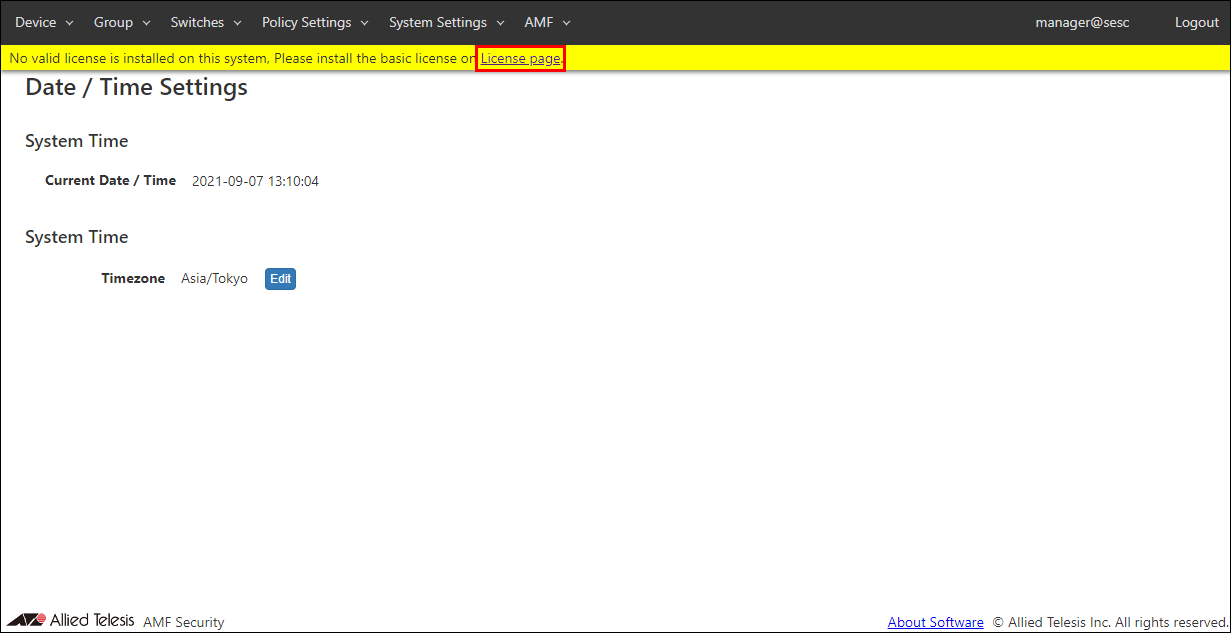
- On the System Settings > Date > Time Settings page, check that the current date and time and timezone are correct.
- Click the "License page" in the message displayed at the top of the setting screen.
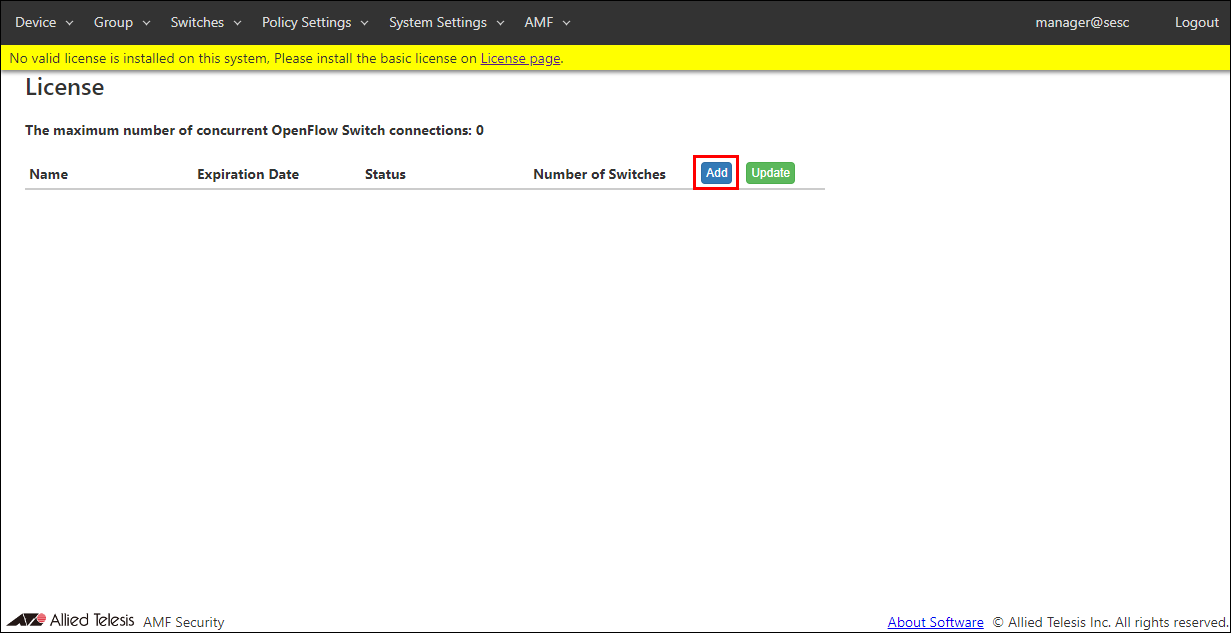
- The System Settings > License page is displayed. Click the "Add" button.
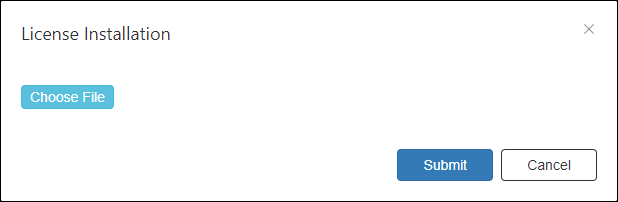
- The License Installation dialog is displayed. Click the "Choose File" button to select the license file, then click the "Submit" button.
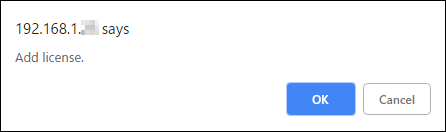
- Click the "OK" button.
- If the "Name" and "Expiration Date" of the registered license are displayed on the System Settings > License page, the installation is successful.
Note
Licenses before the expiration date start date and time are displayed as "Before Contact Period" in "Status".
If the installed license is within the expiration date but the "Status" is not "Available", click the "Update" button.
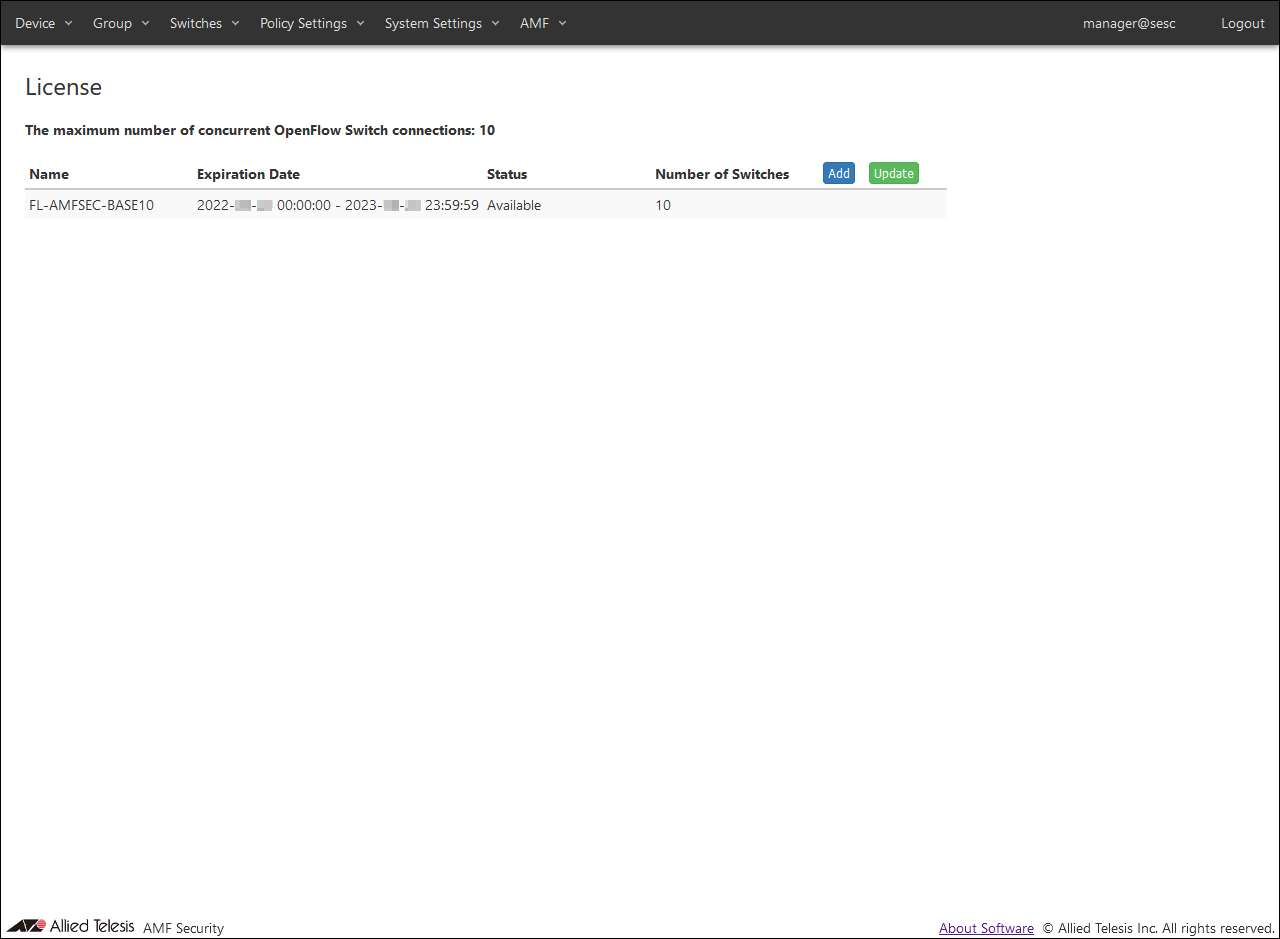
About display of license
Shown below is an example of license display on the System Settings > License page.On this page, you can check the "Name", "Expiration Date" and "Status" of the license.
The numbers displayed in "The maximum number of concurrent OpenFlow Switch connections" and "Number of Switches" are not applicable in this version. The number of AMF nodes managed by AMF Application Proxy depends on the manageable number of AMF/AMF Plus Master licenses.

NoteThe content displayed above is for illustrative purposes only and may differ from the actual license.
About the validity period of the license
The license for this product has a valid period.A log of expiration warning messages is displayed 28 days, 21 days, 14 days, 7 days, and 1 day before the expiration date of the license installed with this version.
NoteAfter the license expires, AMF Application Proxy is disabled and a message is displayed at the top of the settings page.You can send an expiration warning message by email by making the following settings on the System Settings > Email Notification Settings page.
・Check the "Enable Email Notification" checkbox
・SMTP Server Settings
Also, the license is not be displayed on the System Settings > License page.
Reinstalling the license automatically enables those features.
Even if you install the renewal license, the warning message of the expiration date of the currently active license is displayed.
NoteAlso, if you have set Email Notification Settings, an email also be sent.
Installation of renewal license
If you install the renewal license before the license end date and time, the previous license and the renewal license are displayed on the System Settings > License page.Licenses before the expiration date start date and time are displayed as "Before Contact Period" in "Status".
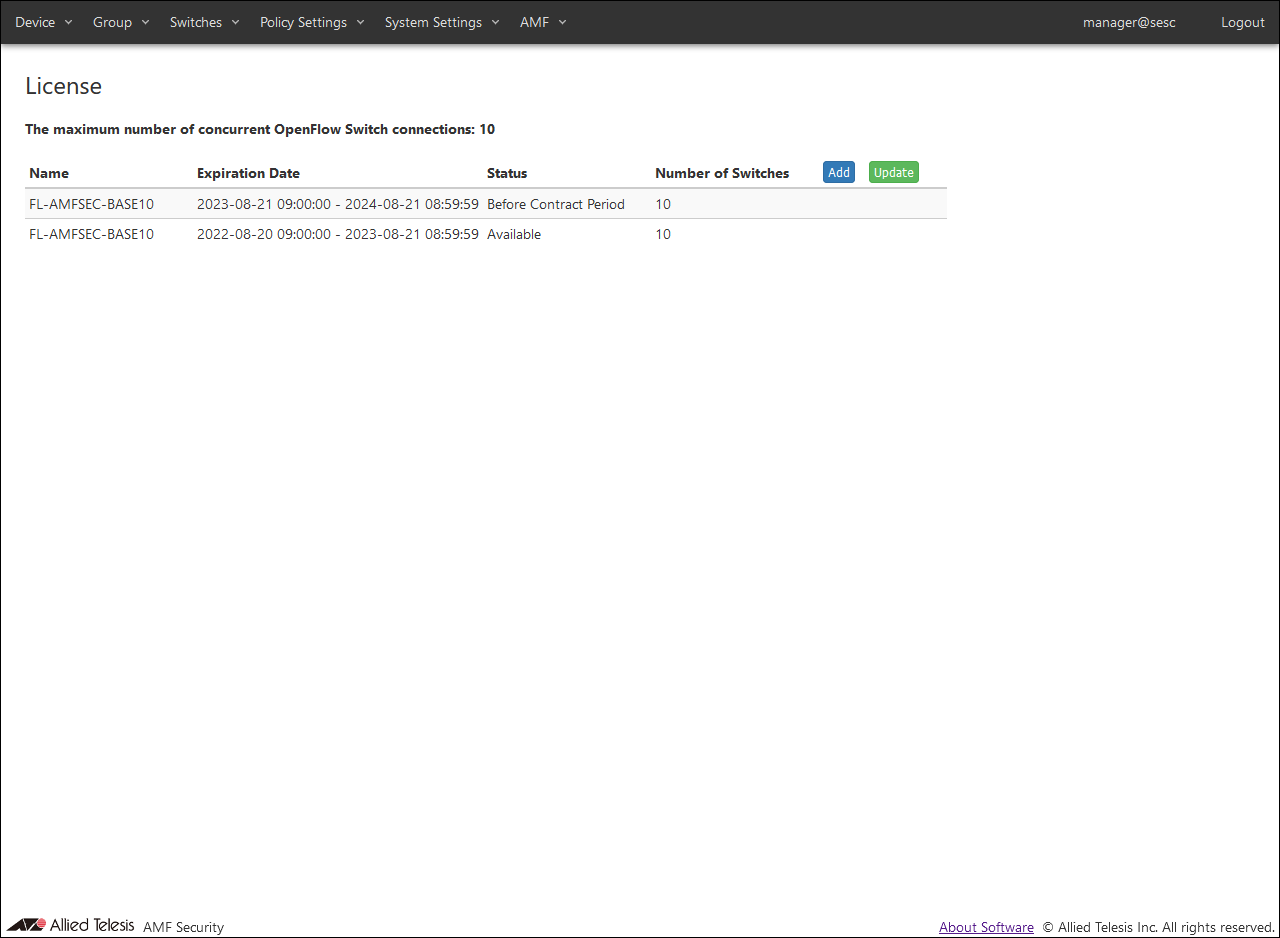
NoteIf the expiration date continues as described above, AMF Application Proxy can be used continuously without being stopped.The expiration date display is a sample for explanation. Also, the name may differ from the actual license.
About license expiration check
The license expiration check is performed from AMF Security mini system time 00:00:00 to 00:05:59.If the installed license is within the expiration date but the "Status" is not "Available", click the "Update" button on the System Settings > License page.
About reissue of license
The issued license is tied to the AMF Security mini serial number.In the following cases, the AMF Security mini serial number has changed and the issued license cannot be used and must be reissued. Make a note of the serial number displayed on the System Settings > System Information page and contact our sales engineer.
- After updating from AMF Security mini software version 2.2.x or earlier to this version, delete and reinstall this version of AMF Security mini on the AlliedWare Plus device's Web GUI.
- Delete the AMF Security mini application on the AlliedWare Plus device's Web GUI and install the AMF Security mini application again
- Restore (migrate) the AMF Security mini application to an AlliedWare Plus device in a different chassis
06 Sep 2023 16:33