Configure Floor Maps
This section covers the procedures to create, edit, and delete floor maps.
Floor Maps let you create a location map of the managed APs and facilitate AP management tasks.
They also visualize radio signal strength and coverage with the heatmap function that shows signal strength with colors.
NoteThe heatmap calculates the radio signal strength at a given point from an AP's transmit power and the distance between the AP and the point. Because it assumes that there are no obstacles and reflection between the AP and the point, the actual radio signal strength may differ from the heatmap's calculation.
NoteA single floor map supports 120 APs and 20 tags.
NoteIf you place many APs on a large floor map, it may take time to load the floor map, or to place APs on the map.
Create Floor Map
- Select "Wireless Monitoring" > "Floor Map" from the AWC Plug-in menu.
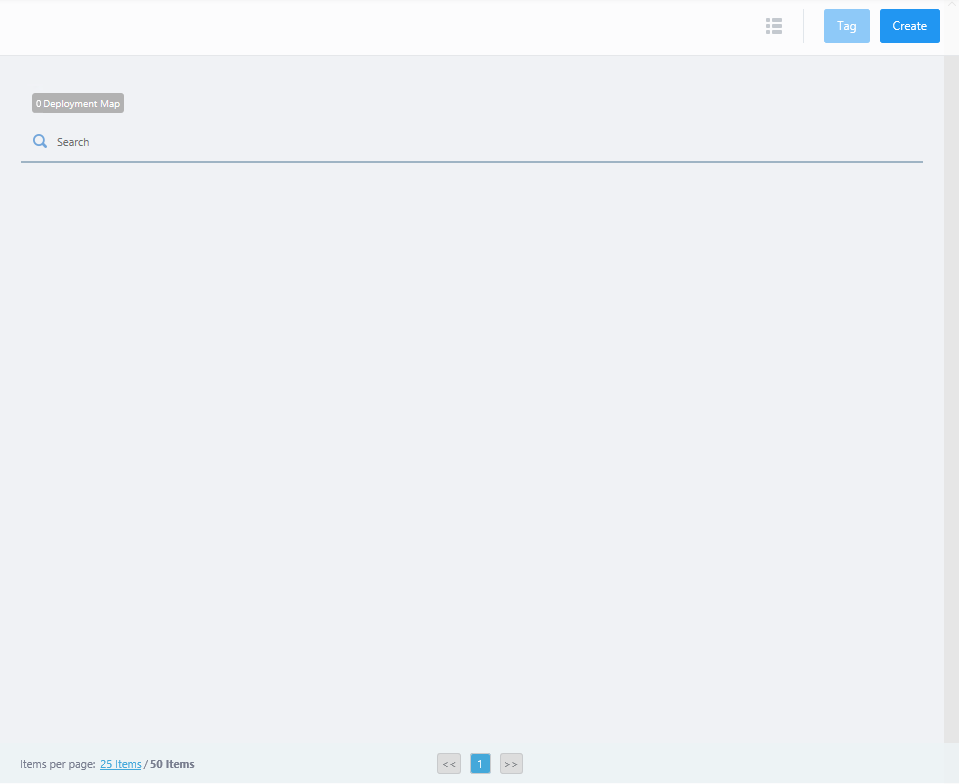
- Click "Create" at the top right corner.
- The "Create Deployment Map" dialog box will appear.
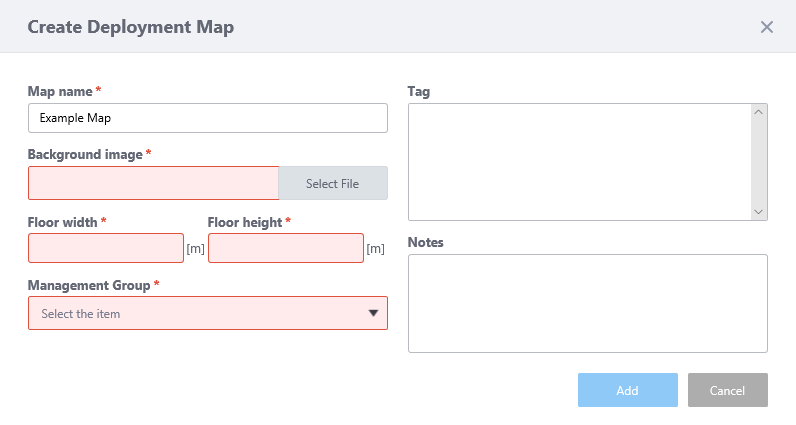
Table 1: "Create Deployment Map" dialog box
Item Name Description Map Name Enter a name for the Floor Map. Max 100 characters Background image
Specify a background image for the Floor Map. Supported formats are JPEG, PNG, and GIF, with the filesize up to 4MB.
Note
An error may not be displayed even when you specify an unsupported file (a file in other than PNG, JPEG, or GIF formats) with the size larger than 4MB.
Note
A map image with a margin around the floor makes the floor size calculation less accurate. We recommend that you trim the margin on the image with an image editor.
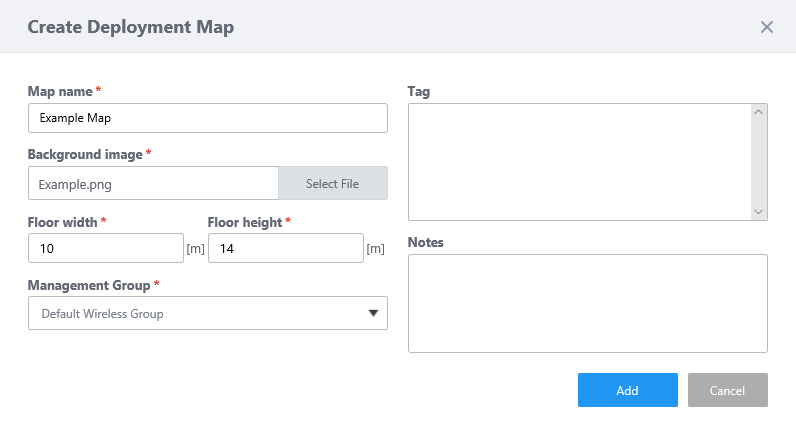
Floor width / Floor height
Specify an actual size (width and height) of the map in meters.
When you enter either width or length, the other value is automatically filled in according to the aspect ratio of the image.
Floor size affects the heat map of the Wireless Status View.
Management Group Specify a Management Group for the map. Tag
Enter a tag of your choice and press the Enter key.
A tag can contain up to 100 characters, but cannot contain successive spaces.
A single map can contain 20 tags.
To delete a tag, click "x" to the right of the tag.
Note
If you paste a tag string from the clipboard, not all text may be visible. In that case, press Enter to make a tag from the entire pasted string.
Note
Pasting a tag containing a newline is not supported.
Note
Tag names may be truncated in the tag filter list on the Devices Map, Floor Map Details and Device Search pages. To avoid this, use shorter names for the tags.
Notes
Enter a comment. It will be displayed in a balloon when you mouse over the map in the Floor Map panel or list.
It can contain max 1000 characters, but cannot use successive spaces or newlines.
"Add" button Creates the map. "Cancel" button Cancels creating the map.
- When you have entered all required information for the floor map, click "Add".
Edit Floor Map
- Select "Wireless Monitoring" > "Floor Map" from the AWC Plug-in menu.
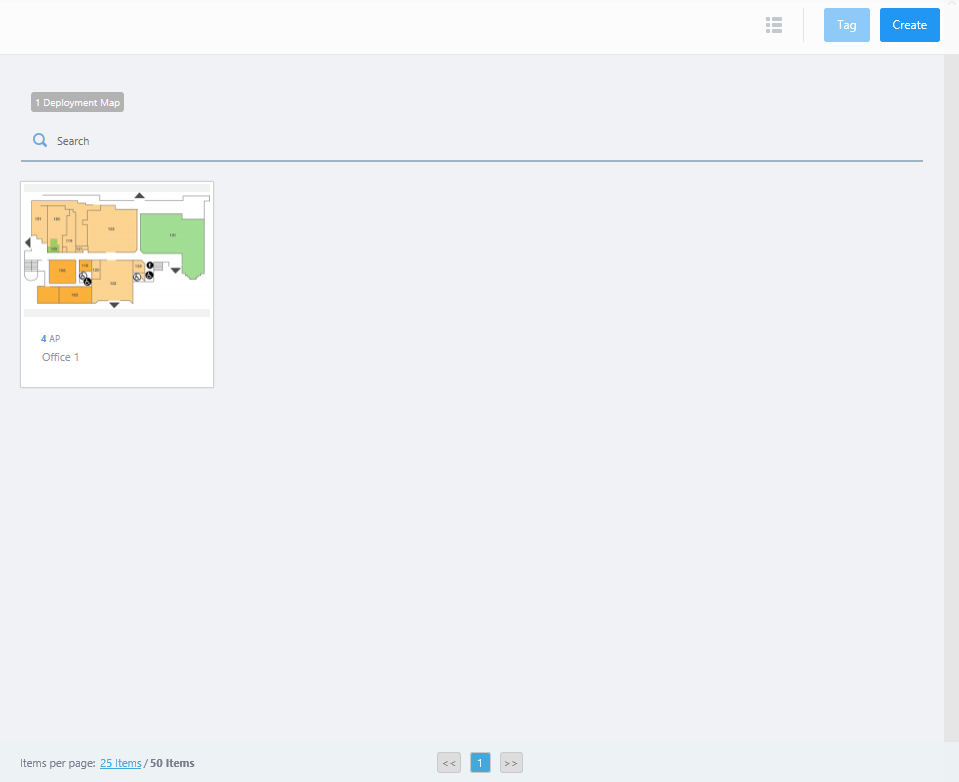
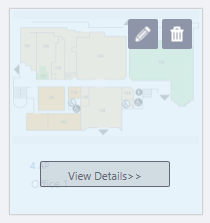
- Mouse over a floor map panel.
The "Edit" button (pencil icon) will appear at the top right of the Floor Map panel.

- Click the "Edit (pencil)" button to display the "Edit Deployment Map" dialog box.
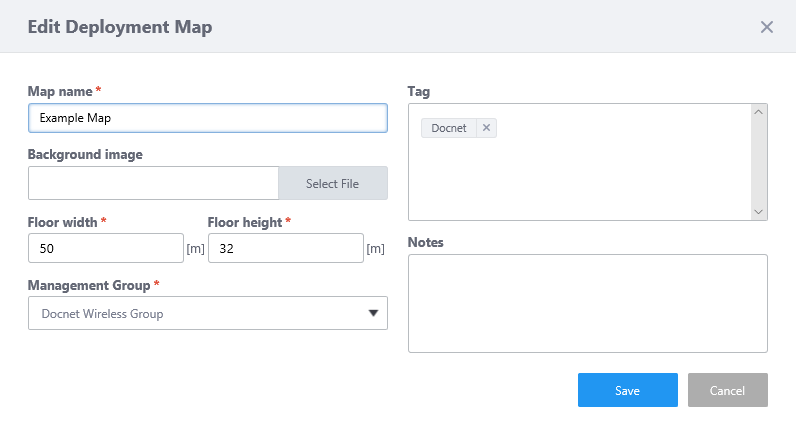
Table 2: "Edit Deployment Map" dialog box
Item Name Description Map Name Enter a name for the Floor Map. Max 100 characters Background image
Specify a background image for the Floor Map. Supported formats are JPEG, PNG, and GIF, with the filesize up to 4MB.
Note
An error may not be displayed even when you specify an unsupported file (a file in other than PNG, JPEG, or GIF formats) with the size larger than 4MB.
Note
A map image with a margin around the floor makes the floor size calculation less accurate. We recommend that you trim the margin on the image with an image editor.
Floor width / Floor height
Specify an actual size (width and height) of the map in meters.
When you enter either width or length, the other value is automatically filled in according to the aspect ratio of the image.
Floor size affects the heat map of the Wireless Status View.
Management Group Specify a Management Group for the map. Tag
Enter a tag of your choice and press the Enter key.
A tag can contain up to 100 characters, but cannot contain successive spaces.
To delete a tag, click "x" to the right of the tag.
Note
If you paste a tag string from the clipboard, not all text may be visible. In that case, press Enter to make a tag from the entire pasted string.
Note
Pasting a tag containing a newline is not supported. It can result in a corrupted tag.
Note
Tag names may be truncated in the tag filter list on the Devices Map, Floor Map Details and Device Search pages. To avoid this, use shorter names for the tags.
Notes
Enter a comment. It will be displayed in a balloon when you mouse over the map in the Floor Map panel or list.
It can contain max 1000 characters, but cannot use successive spaces or newlines.
"Add" button Creates the map. "Cancel" button Closes the dialog box without saving changes.
- Click the "Save" button to save the changes.
Delete Floor Map
NoteIf you delete all entries on the last page of the list, the page won't be deleted and an empty list page will be displayed. The number of pages will be refreshed after moving to another page or reloading the browser.
- Select "Wireless Monitoring" > "Floor Map" from the AWC Plug-in menu.

- Mouse over a floor map panel.
The "Delete" button (trashbin icon) will appear at the top right of the Floor Map panel.
- Click the "Delete (trashbin)" button to display a confirmation dialog box.
- Click "Delete".
09 Sep 2021 17:37