Configure SC Profile
This section describes how to create, edit, and delete an SC (Smart Connect) Profile.
An SC profile defines several settings for communication between the APs under control of AWC-SC.
Create SC Profile
- Select "Wireless Configuration" > "SC Profile" from the AWC Plug-in menu.
A list of SC profiles is displayed.
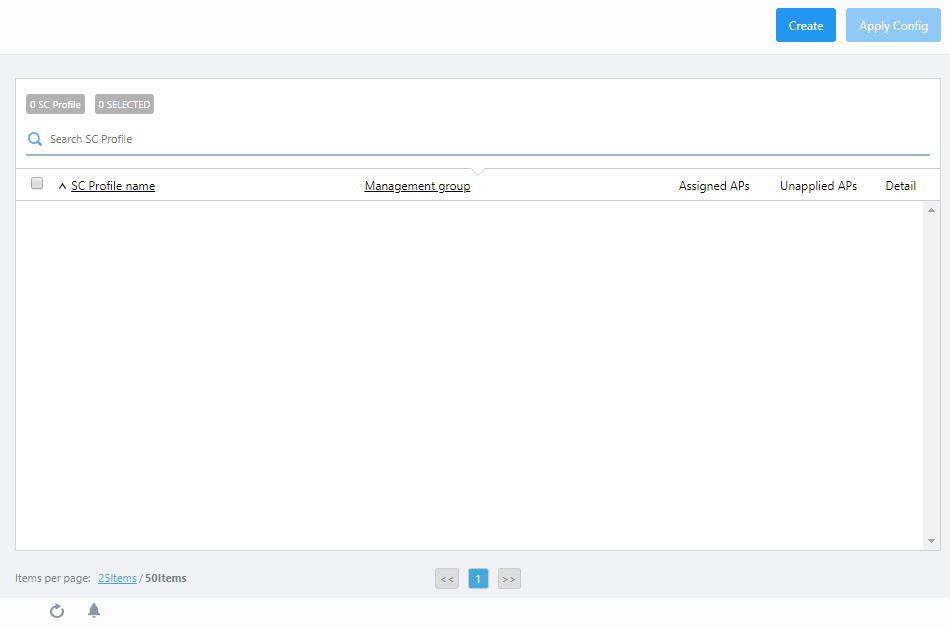
- Click "Create" at the top right corner.
The "Create SC Profile" dialog will appear.
Note
A Management Group can only be linked with a single SC Profile. If all the registered Management Groups already have an SC profile linked with them, the "Add" button will be disabled.

Table 1: SC Profile
Item Name Description SC Profile 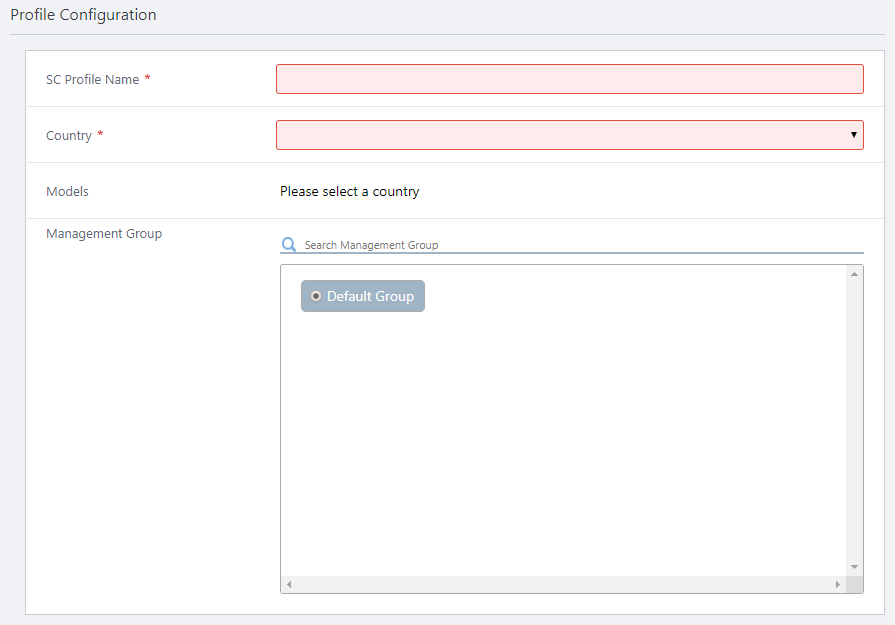
SC Profile Name Enter a name for the SC profile. Max 100 characters. (mandatory) Country Specify a country code for the AWC Plug-in's AP profile. It is used to properly configure APs for radio frequency regulation in the country. (mandatory)
When a country code is set in the "User Management" screen of Vista Manager EX, the preferred country code will be selected as the default.Models Select AP models to be added under the management of AWC-SC. Management Group
Select the management group to which the SC profile applies. (mandatory)
Management groups for which SC profiles have already been created are not displayed.
- Search Management Group:
Filter entries in the list by entering a partial string in the search box.
The search field lets you enter a partial string to match. The screen displays entries with that string in their name.
To remove the filter, delete the string from the search field and press enter.
Note
The search is case-sensitive.
Basic Configuration 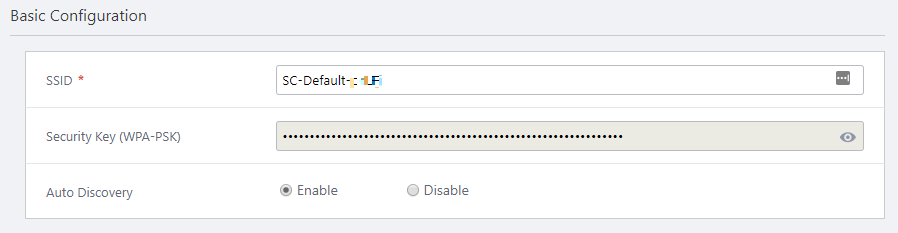
SSID
Enter the SSID (network name) for AWC-SC wireless communication between APs. (mandatory)
By default, it is automatically set in the form of "SC-Default-*****" (***** is 5 random upper- and lower-case alphabetic characters).
Since this SSID is not broadcast and communicates only with APs that have the same SC profile applied, there is usually no need to change from the default.
Security Key (WPA-PSK) The encryption key is automatically set with 63 random alphanumeric characters. This cannot be changed. Auto Discovery
Specify whether to automatically recognize beacons from new APs with "Enable" or "Disable".
The default is "Enable".
- When enabled, a factory default AP can join under AWC-SC management.
It automatically recognizes beacons from new APs, and puts them under management if the MAC address of the beacon is registered in the AWC Plug-in.
Note
When using Auto Discovery, the network address 172.31.0.0/24 cannot be used on the network.
Note
Auto Discovery can take a long time, depending on the radio environment. If this is the case, connect the AP directly to the network to which the AWC Plug-in belongs and configure the settings.
- When disabled, beacons will not be automatically recognized. In this case, it is not possible to make the initial configuration for a factory default AP using only wireless communication between APs. You can only add an AP by using a wired connection.
Radio Configuration 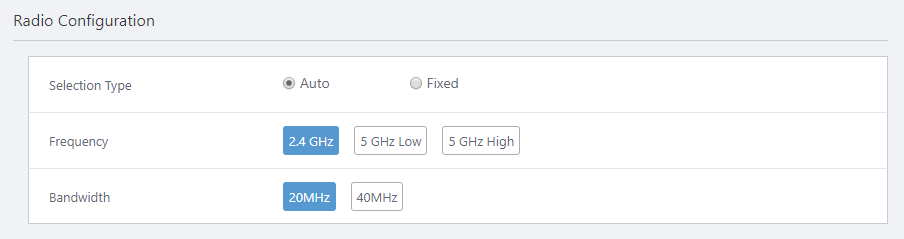
Selection Type
Choose the method for selecting the channel used for wireless communication between APs, either "Auto" or "Fixed".
The default is "Auto".
- When "Auto" is selected, the channel is automatically selected according to the "Bandwidth" setting.
Note
If you have selected a specific channel for the radio band that uses AWC-SC in the AP profile, do not set the Selection Type to "Auto" in the SC Profile. When "Auto" is selected, a channel other than the one set in the AP profile may be used.
Note
If the Selection Type of channel is set to "Auto" in the SC profile, the wireless channel used by the SC management SSID of the wireless APs belonging to the Smart Connect network must be set to the identical channel by performing and applying the AWC calculation.
When a wireless AP to which the relevant SC profile is to be applied to is added to the management for the first time via a wired connection (or when applying the settings), please calculate and apply the AWC function after adding it to the management. - When "Fixed" is selected, specify the channel separately in "Channel".
Frequency
Select the radio band from "2.4 GHz" (Radio 1) and "5 GHz Low/High" (Radio 2: W52).
The default is "2.4 GHz". "5GHz High" is not available in all locations.
Note
In the radio band used by AWC-SC, the other VAPs will be disabled automatically.
Bandwidth
Select the bandwidth used for AP to AP wireless communication.
The available options vary depending on the selected "Frequency". In either case, the default is "20MHz".
- 2.4 GHz:
Select from "20MHz" and "40MHz".
- 5 GHz Low/High:
Select from "20MHz", "40MHz", and "80MHz".
Channel
When "Fixed" is selected in "Selection Type", specify the channel used for communication between APs.
AP List 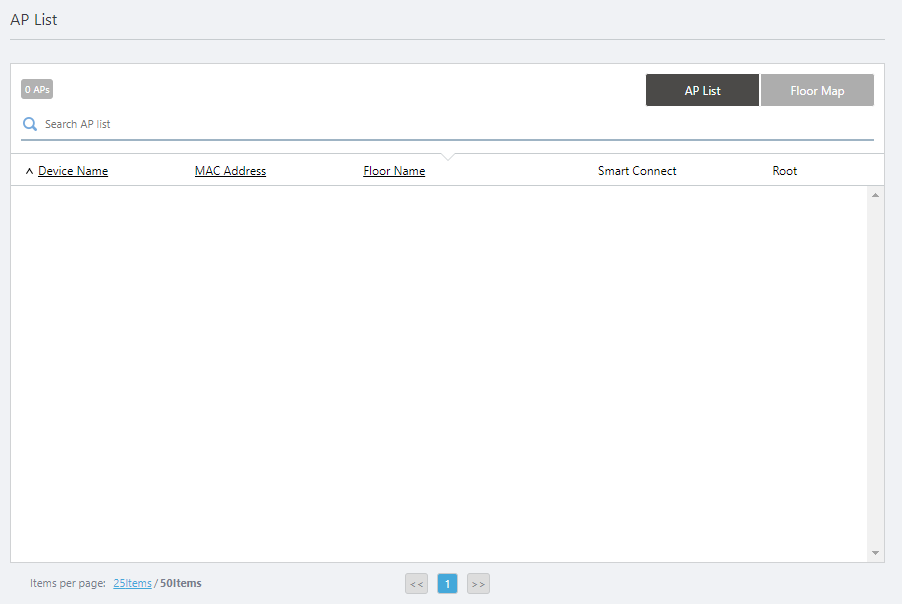
Select the target AP for AWC-SC.
This list shows all the APs that belong to the Management Group selected in the SC profile.
Refer to Operation Reference > Smart Connect > Select target APs for more details.
Note
If there are APs that do not support AWC-SC in the Management Group, set Smart Connect to "Disable" in the "AP List" on the "Edit SC Profile" screen.
If Smart Connect is enabled on the list, some settings may be applied unintentionally, even if the AP model does not support Smart Connect.
- Search Management Group:
- Configure each item of SC Profile, Basic Configuration and Radio Configuration.
- Click "Save" at the top right of the Content section to save the configuration.
To select the AP to be managed by AWC-SC, continue from step 4 of Operation Reference > Smart Connect > Select target APs.
Edit SC Profile
- Select "Wireless Configuration" > "SC Profile" from the AWC Plug-in menu.
- Click on "Detail" (the magnifying glass icon) to the right of the SC profile you want to edit or delete.
- The configuration information of the SC profile is displayed. Click "Edit" at the top right of the Content section.
- Change the information as needed.
- Click "Save" at the top right of the Content section.
Delete SC Profile
- Select "Wireless Configuration" > "SC Profile" from the AWC Plug-in menu.
- Click on "Detail" (the magnifying glass icon) to the right of the SC profile you want to edit or delete.
- The configuration information of the SC profile is displayed. Click "Delete" at the top right of the Content section.
- The "Confirm" dialog box will appear.
- Click "Delete".
02 Nov 2021 15:51