Add and Delete APs
This section explains how to put AP icons on a floor map, how to save the location of the icons, and how to delete icons from the map.
NoteIf you place many APs on a large floor map, it may take time to load the floor map, or to place APs on the map.
Add APs to Floor Map and Save Their Information
- Select "Wireless Monitoring" > "Floor Map" from the AWC Plug-in menu.
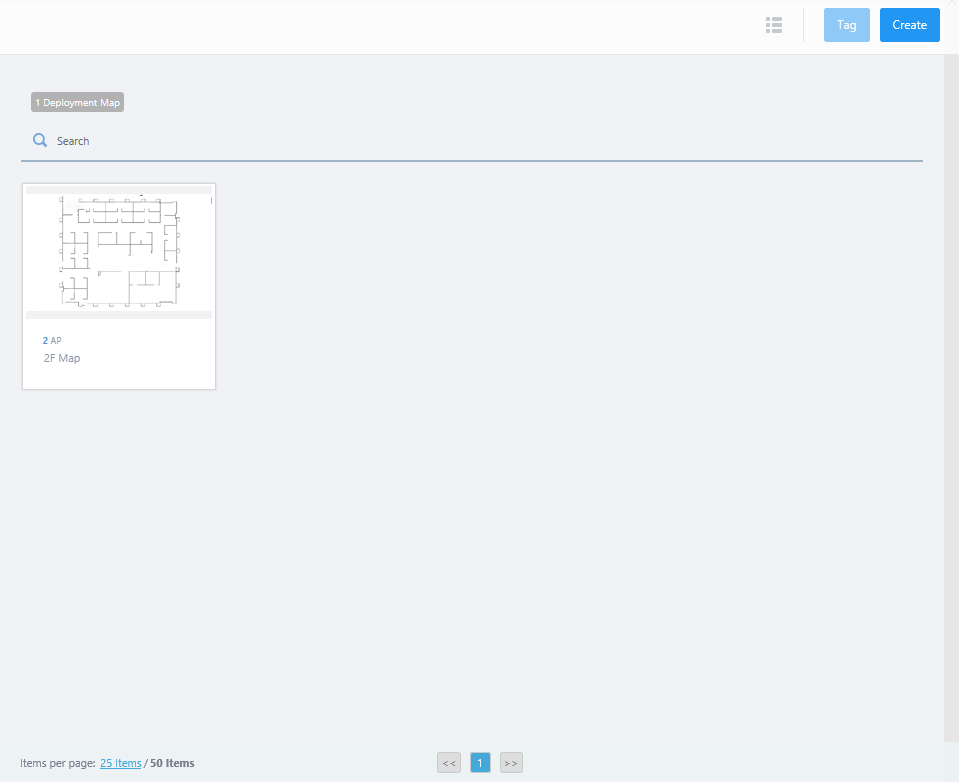
- Mouse over a floor map panel.

- Click the "View Details>>" button on the floor map panel.
The Wireless Status View of the map will be shown in the Content section.
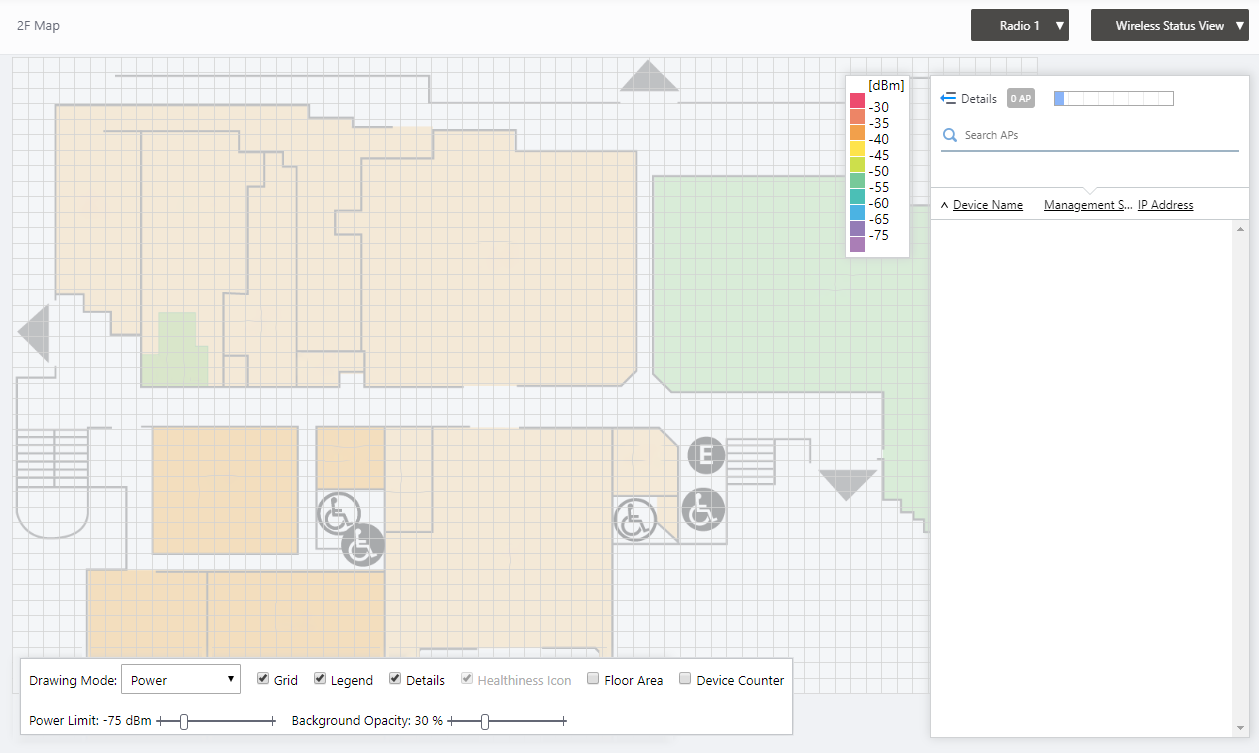
You can see the configured image in the map's background. You can move the background image by dragging it. You can also zoom in or out by using the scroll wheel of your mouse.
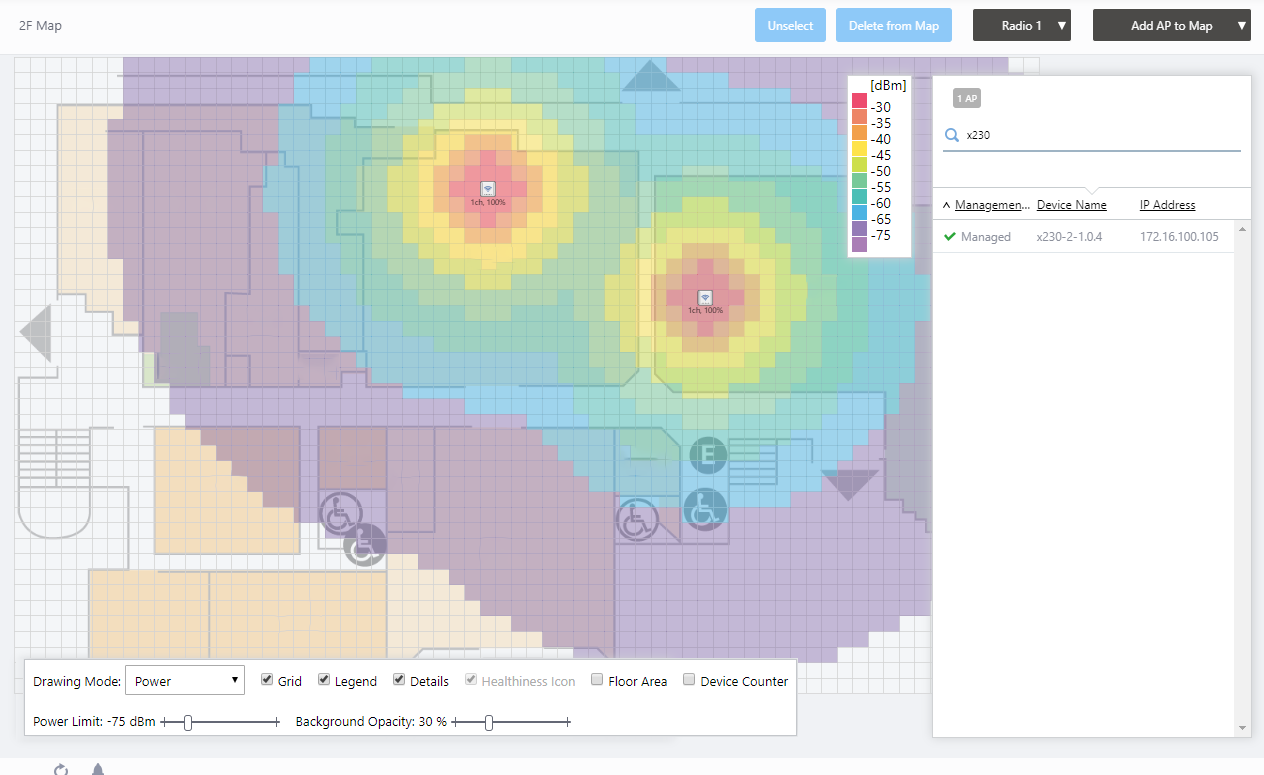
- Click the View Selection dropdown menu (currently showing "Wireless Status View") at the top right of the screen and select "Add AP to Map" from the dropdown menu.
The "Add AP to Map" view will appear.
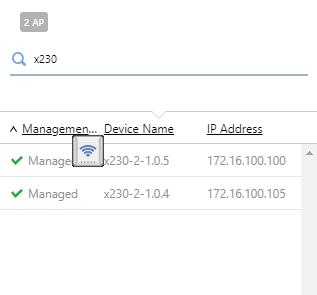
In the right side of the Content section, you can see a list of managed APs in the Management Group to which the map belongs. The list contains only the APs that have not yet been placed on any map.
You can filter APs placed on the map by entering keywords in "Search APs" box. The Search field lets you enter a partial string to match. The screen displays entries with that string in one of the following fields: "Management Status", "Device Name" or "IP address". To remove the filter, delete the string from the search field and press enter.
Note
The search is case-sensitive.
Note
APs that have been placed on another floor map are not shown in the list.
- Select an AP to place on the map.
Clicking any point on the map places the AP icon at the point.
You can place up to 120 AP icons on a single map.
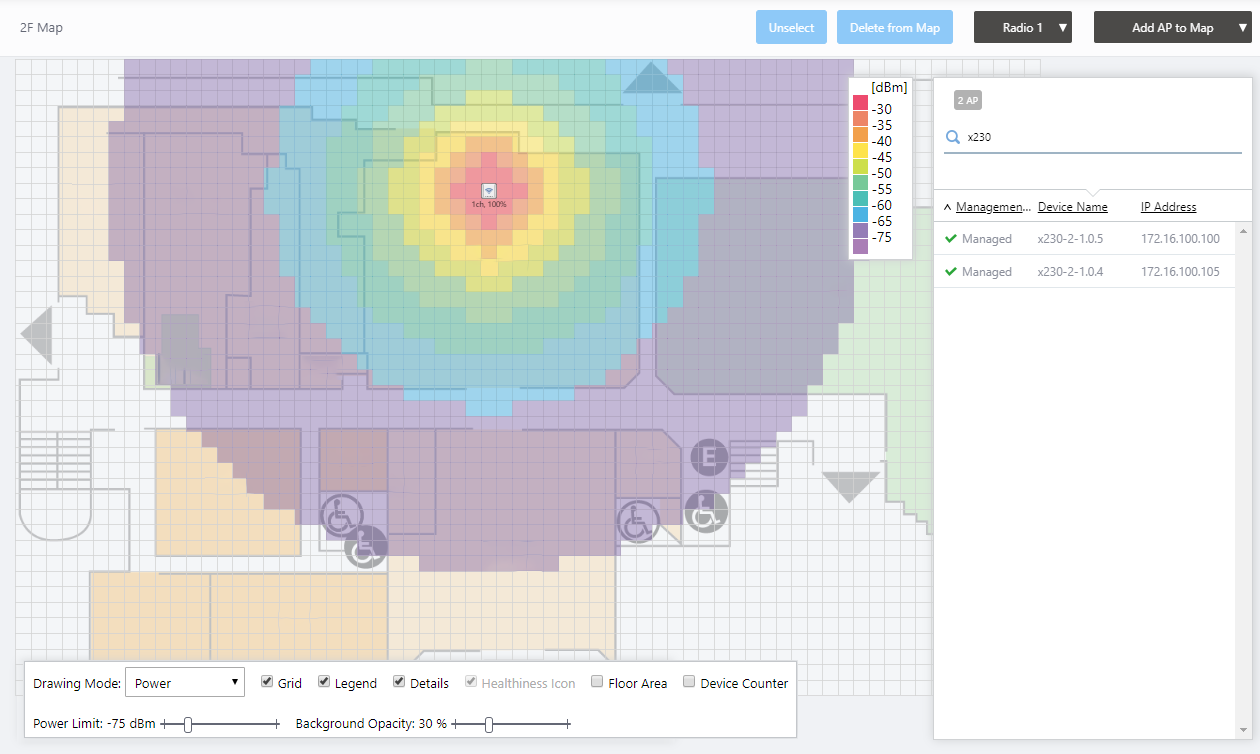
Once the AP is placed on the map, the AWC Plug-in calculates radio wave propagation from the AP's transmit power, and shows it on the map according to the map's scale (Heatmap function).
You can move the AP icon by drag-and-drop.
Note
The heatmap calculates the radio signal strength at a given point from an AP's transmit power and the distance between the AP and the point. Because it assumes that there are no obstacles and reflection between the AP and the point, the actual radio signal strength may differ from the heatmap's calculation.
Note
The AP location is saved every time you drag and drop.
Delete APs from Floor Map
- Select "Wireless Monitoring" > "Floor Map" from the AWC Plug-in menu.

- Mouse over a floor map panel.
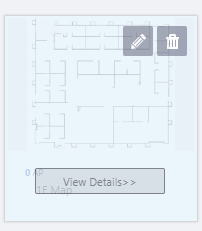
- Click the "View Details>>" button on the floor map panel.
The Wireless Status View of the map will be shown in the Content section.
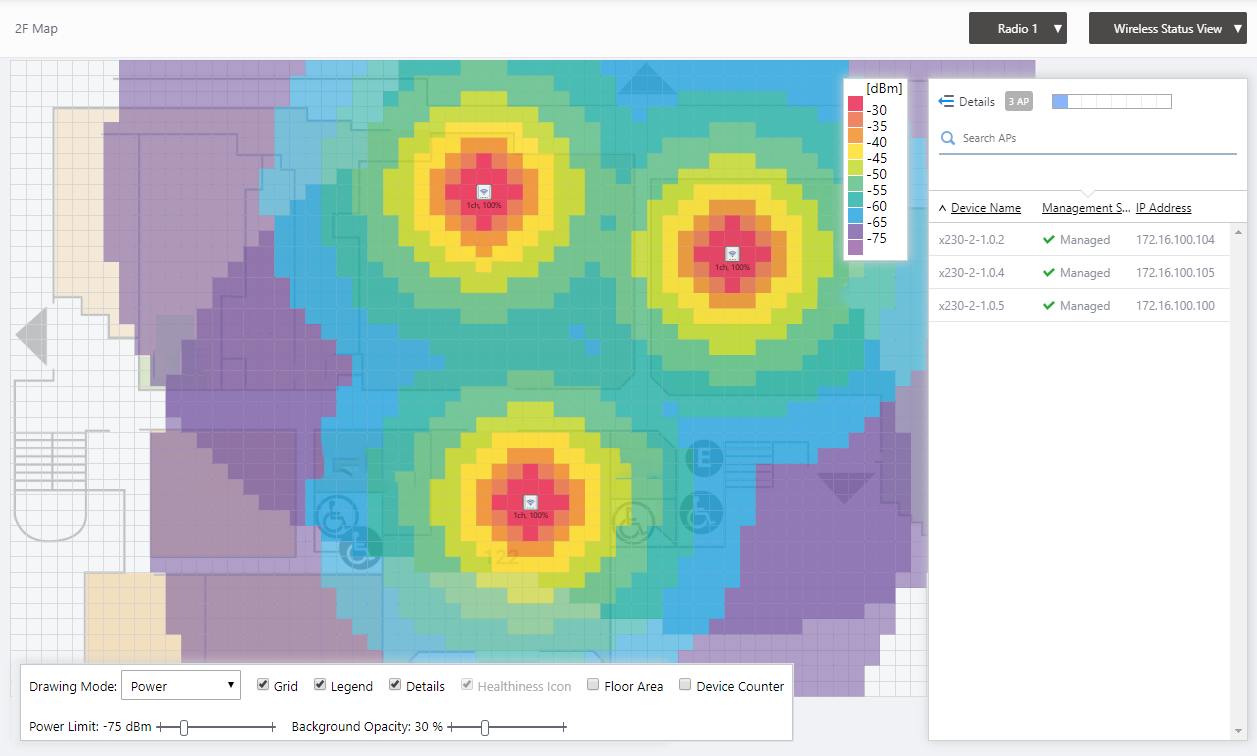
- Click "Add AP to Map" at the top right of the screen to switch to the Add AP to Map view.
- Click an AP icon to delete.
The icon becomes selected and a blue circle will appear around it. You can select multiple APs.
To deselect, click the selected icon again or click the "Unselect" button at the top right of the Content section.

- Click the "Delete from Map" button at the top right of the Content section to remove the selected icons from the map.

12 Jul 2024 09:32