Starting Configuration
Preparation for using AMF Security mini
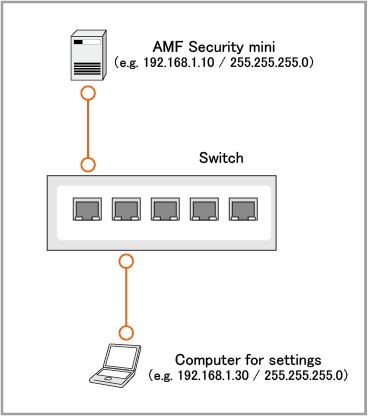
To use the AMF Security mini, you need to set the initial settings (image selection, IP address setting, etc.) of the AMF Security mini application instance in the Web GUI of your AlliedWare Plus device. Refer to the AlliedWare Plus device manual for the setting method.AMF Security mini client requirements
To configure the AMF Security mini, access the GUI (Graphical User Interface) on the Web browser.The web browsers that can be used with AMF Security mini are listed below:
- Mozilla Firefox
- Google Chrome
Login to the Management Interface
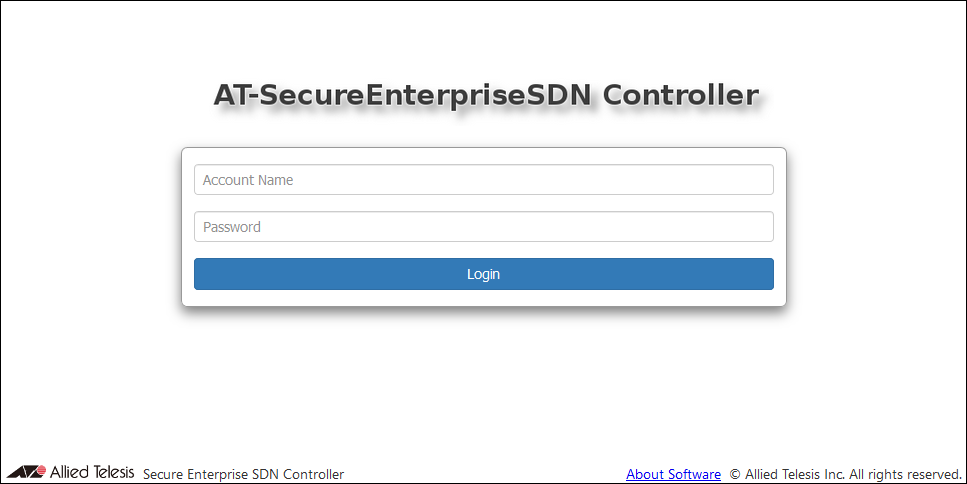
Start a web browser and enter the IP address set for AMF Security mini. The IP address is explained using 192.168.1.10.https://192.168.1.10 |
NoteCommunication between the web browser and AMF Security mini is over HTTPS.
Entered password is masked with bullets on the screen.
NoteThe default username is "manager" and the password is "friend".
NoteIf a security warning screen appears, follow the onscreen instructions to continue browsing the site.
If you have a SSL server certificate issued by a trusted certification authority (CA), you can install the certificate on the System Settings > System Information page's "SSL Certificate" section after logging in to the AMF Security mini.
NoteA login session times out after 10 minutes of inactivity. The login page reappears when you perform any operation after the previous session has timed out.
Setting the timezone
AMF Security mini gets and uses the system time of your AlliedWare Plus device, but it does not get the time zone setting. Therefore, for example, to use Japan time (JST: 9 hours ahead of Coordinated Universal Time (UTC)), set according to the following procedure:NoteIf you change the time zone setting, AMF Security mini restarts and the setting is retained.
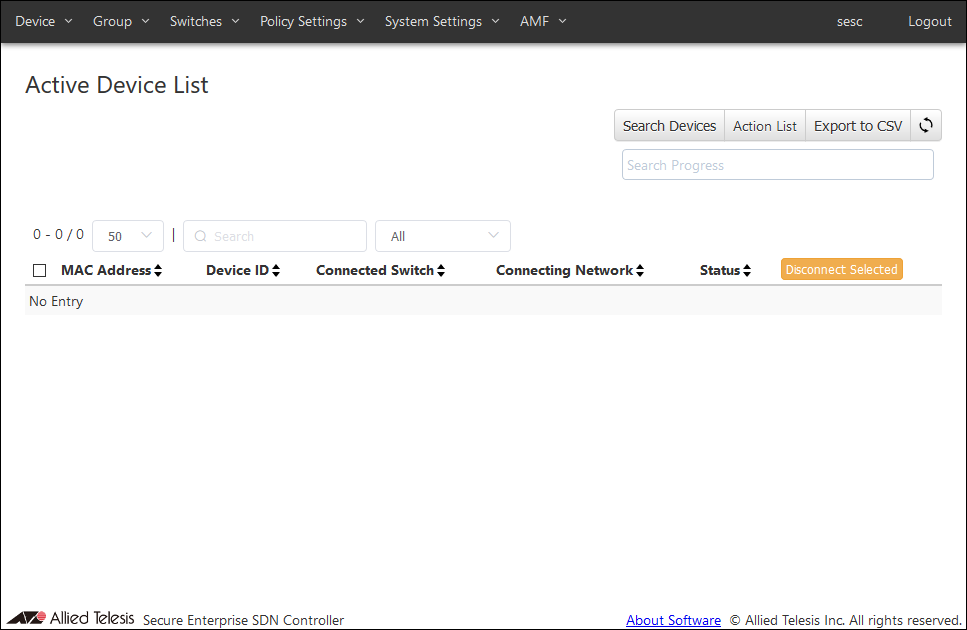
- After logging in, the Devices > Active Device List page is displayed.
- Click the "System Settings" menu, then click the "Date / Time Settings" sub-menu.
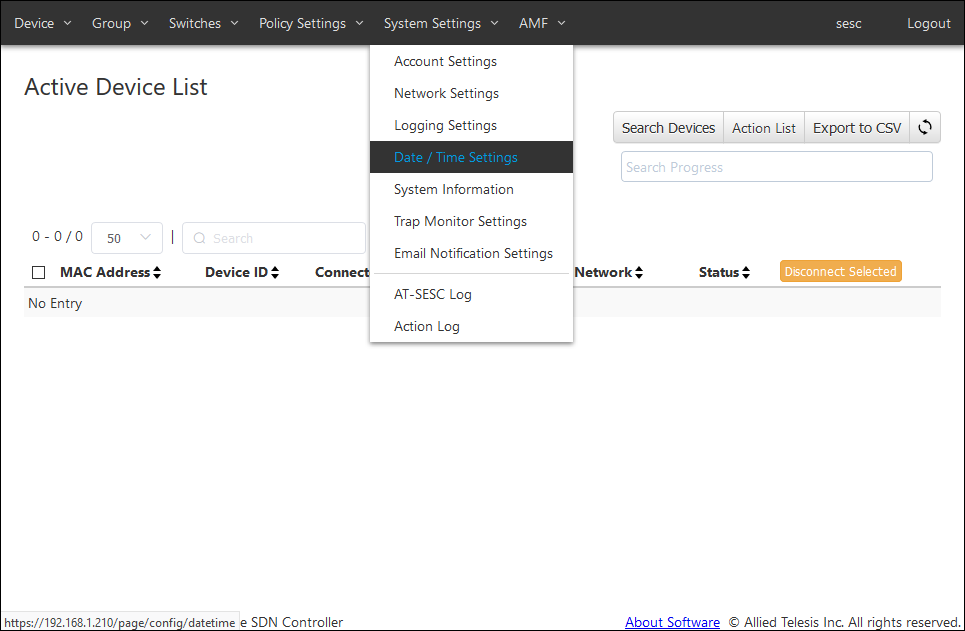
- The System Settings > Date / Time Settings page is displayed. Click the "Edit" button in the Timezone item.
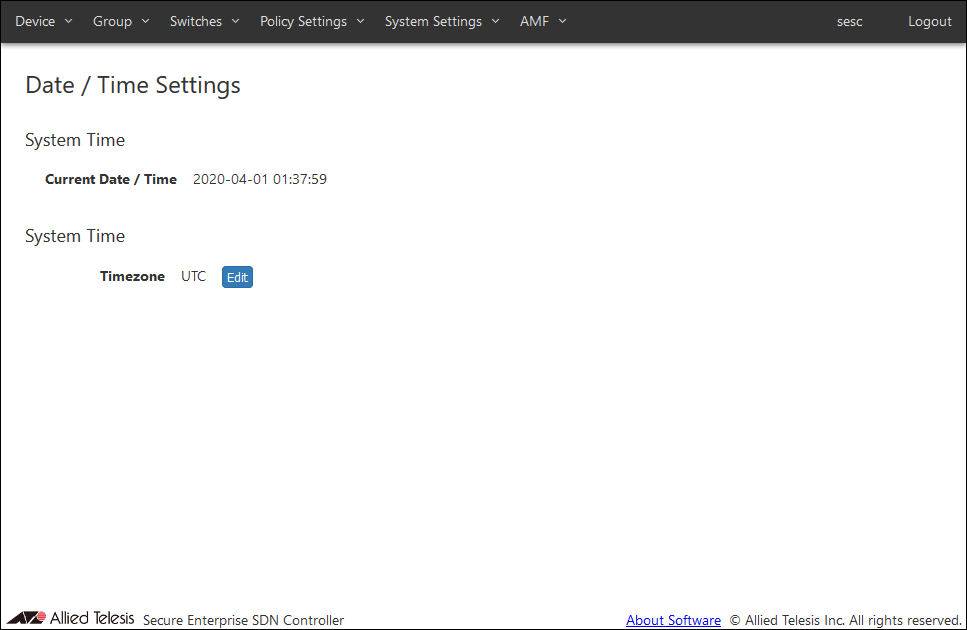
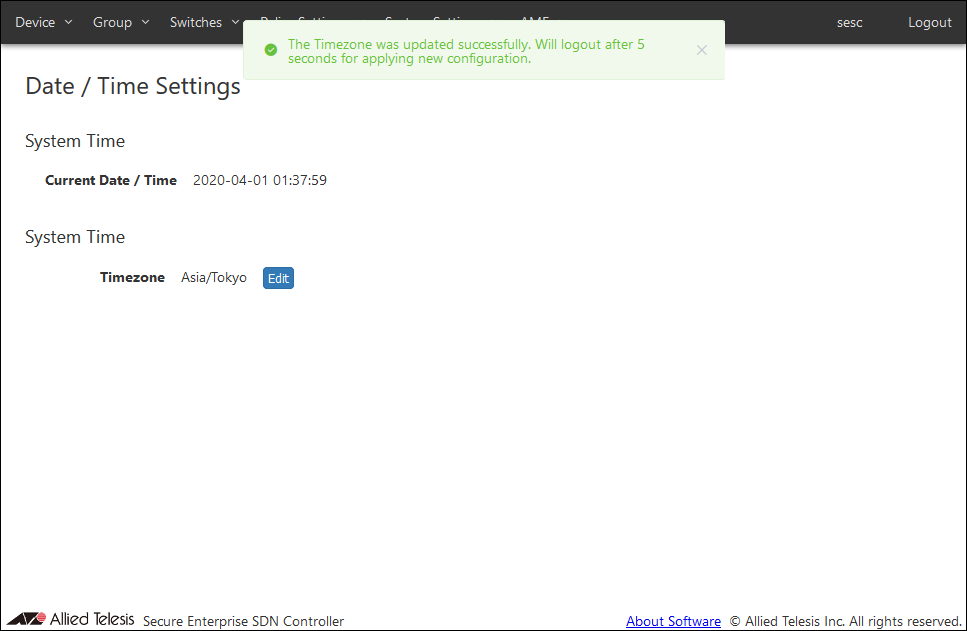
- The Select Timezone dialog is displayed. Select the "Asia/Tokyo" from the drop-down list and click the "Submit" button.

- After the message is displayed, AMF Security mini restarts and the login page is displayed again.
18 Jan 2021 10:56