Preparing for Configuration
Supported Web Browsers
You can configure AMF Security through its web-based management interface. Prepare a computer with the corresponding web browser installed by referring to Starting Configuration > Supported Web Browsers.Please note that screen examples in this document were taken mostly on Google Chrome.
NoteIf you have disabled JavaScript on your web browser, enable JavaScript for access to AMF Security.
NoteThe default Account Name and Password are as follows:When your web browser shows a dialog with the message "Prevent this site from creating any more dialogs", press "OK" without checking it (do not suppress more dialogs).
- Account Name: manager
- Password: friend
Changing Your PC's IP Address
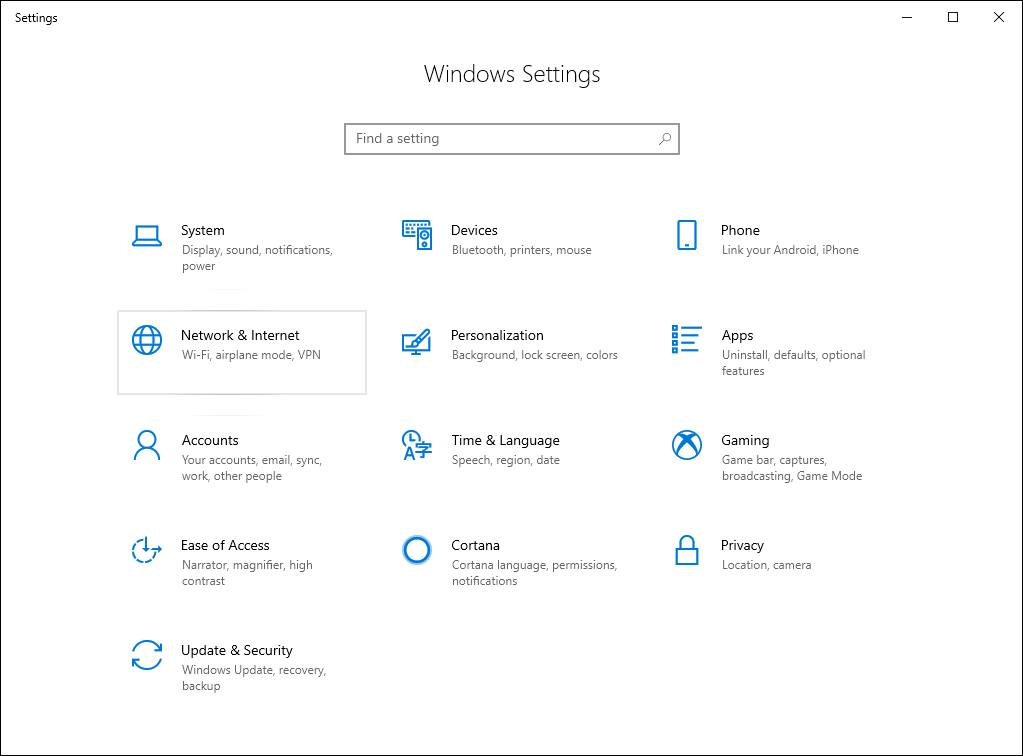
You may have to change your PC's IP Address in order to access AMF Security. The settings in Windows 10 are explained as an example. Follow the steps below:- Click "Start" > "Settings".
- Click "Network & Internet".
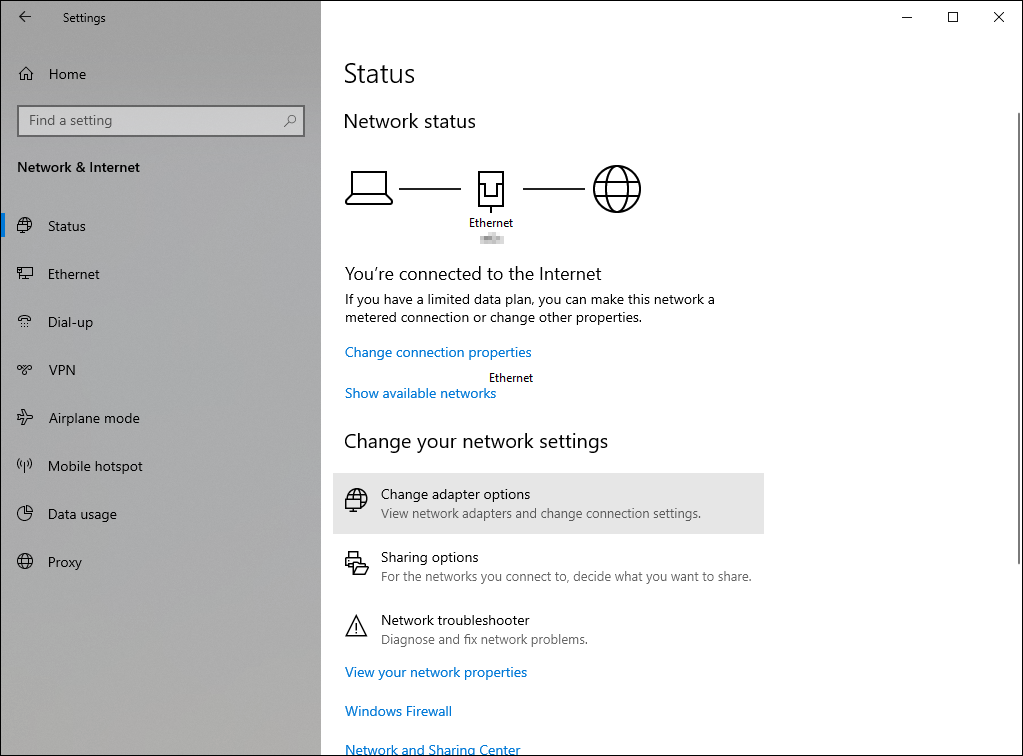
- Click "Change adapter options".
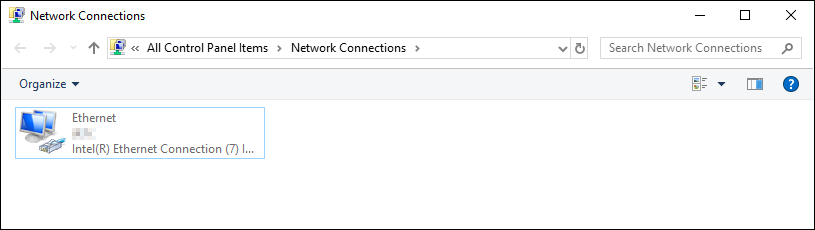
- Double-click "Ethernet".
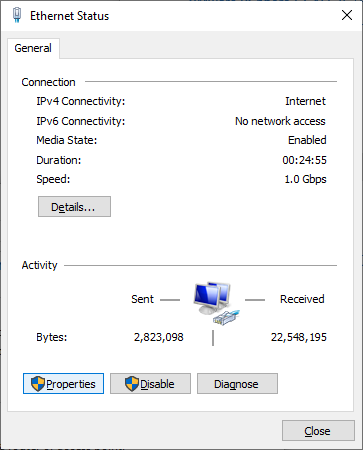
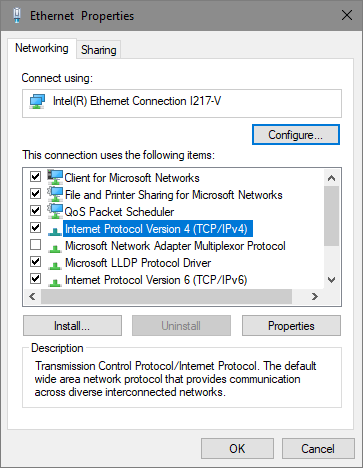
- Click "Properties".
- Select "Internet Protocol Version 4 (TCP/IPv4)" and click "Properties".
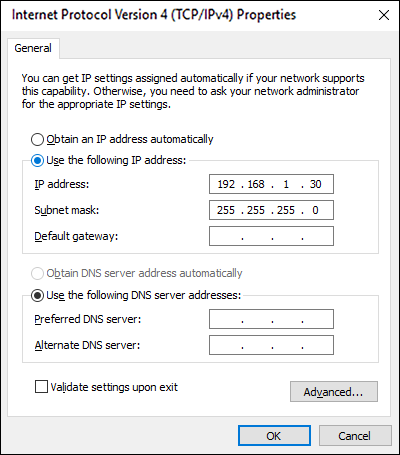
- Enter an IP Address and a subnet mask, and click "OK".
The IP Address should be unique and belong to the same subnet as the AMF Security's management address, and the subnet mask should be also the same as the AMF Security. For example, if the AMF Security has the IP Address 192.168.1.1 and the subnet mask 255.255.255.0, you have to specify the PC’s IP Address in the range between 192.168.1.2 and 192.168.1.254 and the subnet mask 255.255.255.0.
Do not forget to write down the PC's original IP Address in order to restore its settings once you are done with the AMF Security configurations.
Note
Make sure that the AMF Security and your PC do not use the same IP Address.
- Click "OK" to close the "Ethernet Properties" dialog.
- Click "Close" to close the "Ethernet Status" dialog.
- Close the "Network Connections" screen and the "Status" screen.
08 Jul 2022 16:52