Starting Configuration
Preparing for Configuration
To use AT-RADgate, the AT-RADgate application must be available in VST-APL/VST-VRT.For the installation and setting of VST-APL, refer to the VST-APL document posted on our website.
For more information, refer to the VST-APL/VST-VRT document posted on our website.
Supported Web Browsers
You can configure AT-RADgate through its web-based management interface.Make sure that your management PC has one of the following web browsers installed:
- Microsoft Edge
- Google Chrome
NoteUse the latest released version.
NoteMicrosoft Edge is based on Chromium.
Also, Internet Explorer mode is not supported.
NoteThe web setting page is displayed in English or Japanese depending on the language setting of your browser. If a language other than Japanese is set, everything is displayed in English.
Logging in to the Management Web Interface
You can configure AT-RADgate through its web-based management interface.- Use one of the following methods to log in to the AT-RADgate setting page.
Note
Communication between the web browser and AT-RADgate is over HTTPS.
- Start a web browser and enter the IP Address set for AT-RADgate.
The IP Address is explained using 192.168.1.10.
https://192.168.1.10
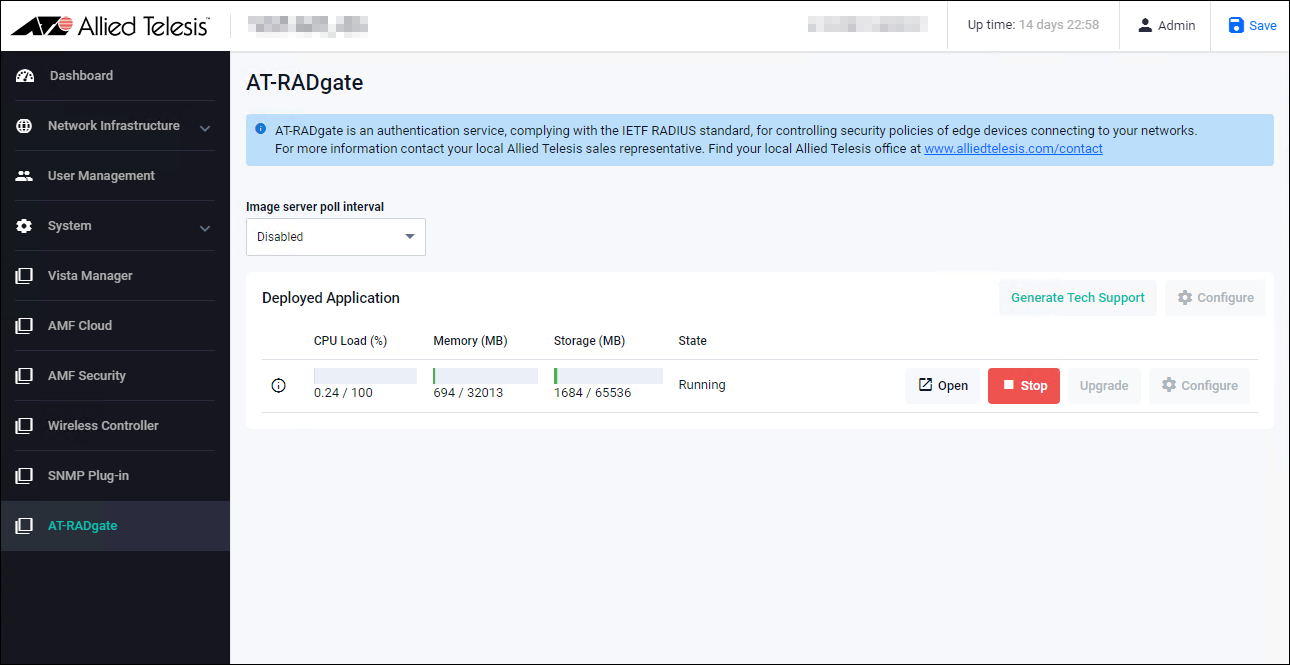
- On the Dashboard page of VST-APL/VST-VRT, click the "Open" button in the AT-RADgate-app section.
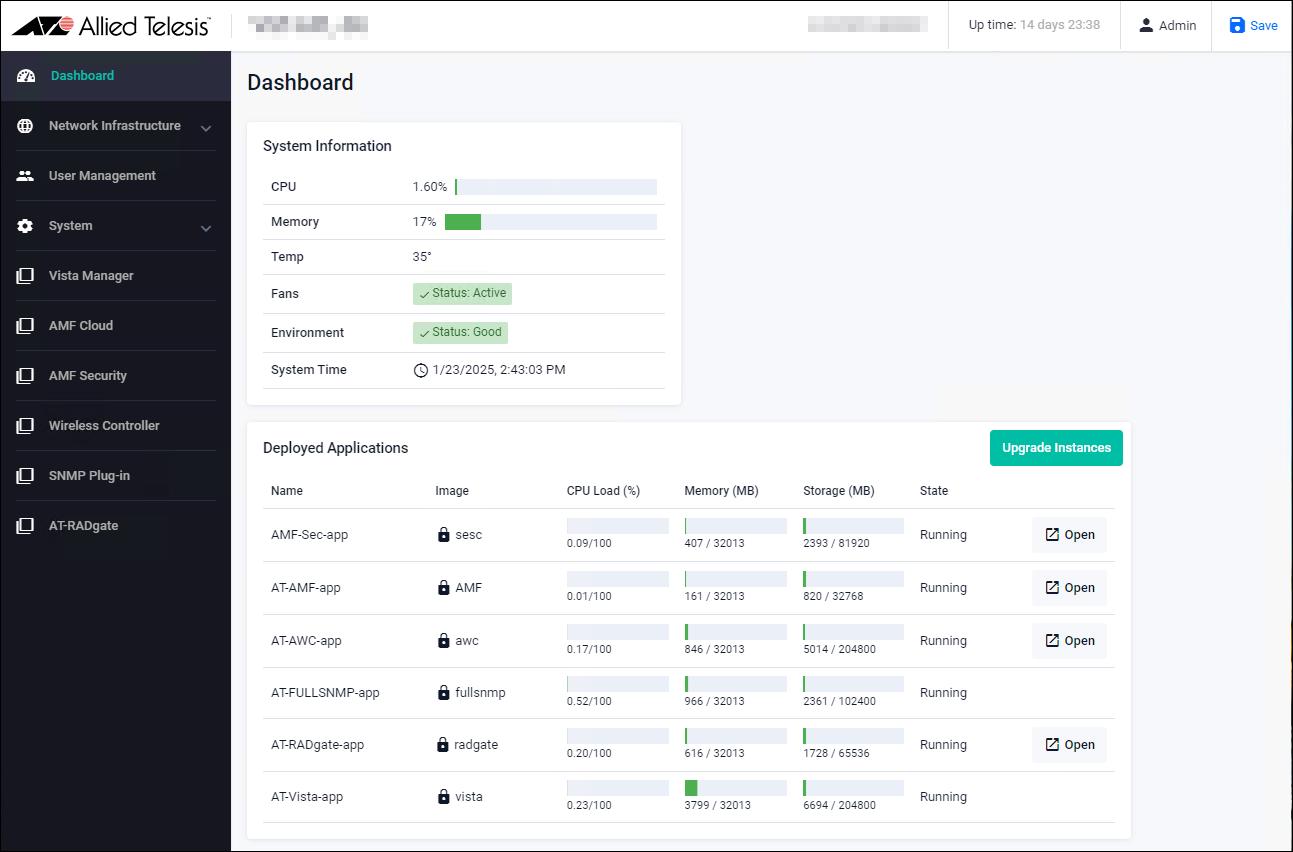
- On the management page of VST-APL/VST-VRT, click the "Open" button.
- Start a web browser and enter the IP Address set for AT-RADgate.
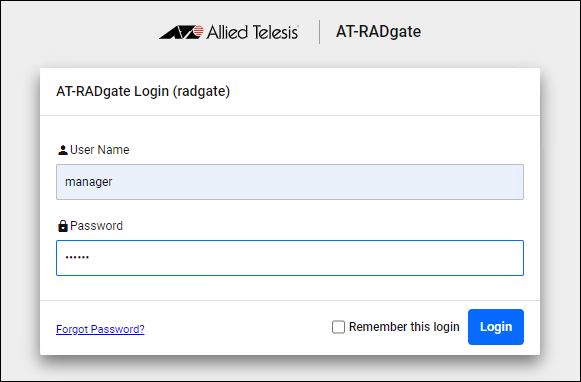
- AT-RADgate Login page is displayed. Enter the default User Name and Password and click the "Login" button. Entered password is masked with bullets on the page.
Note
The default User Name is "manager" and the Password is "friend".
Note
If a security warning screen appears, follow the onscreen instructions to continue browsing the site. If you have a SSL server certificate issued by a trusted certification authority (CA), you can install the certificate on the System Management > Network Settings page's "SSL Certificate" section after logging in to the AT-RADgate.
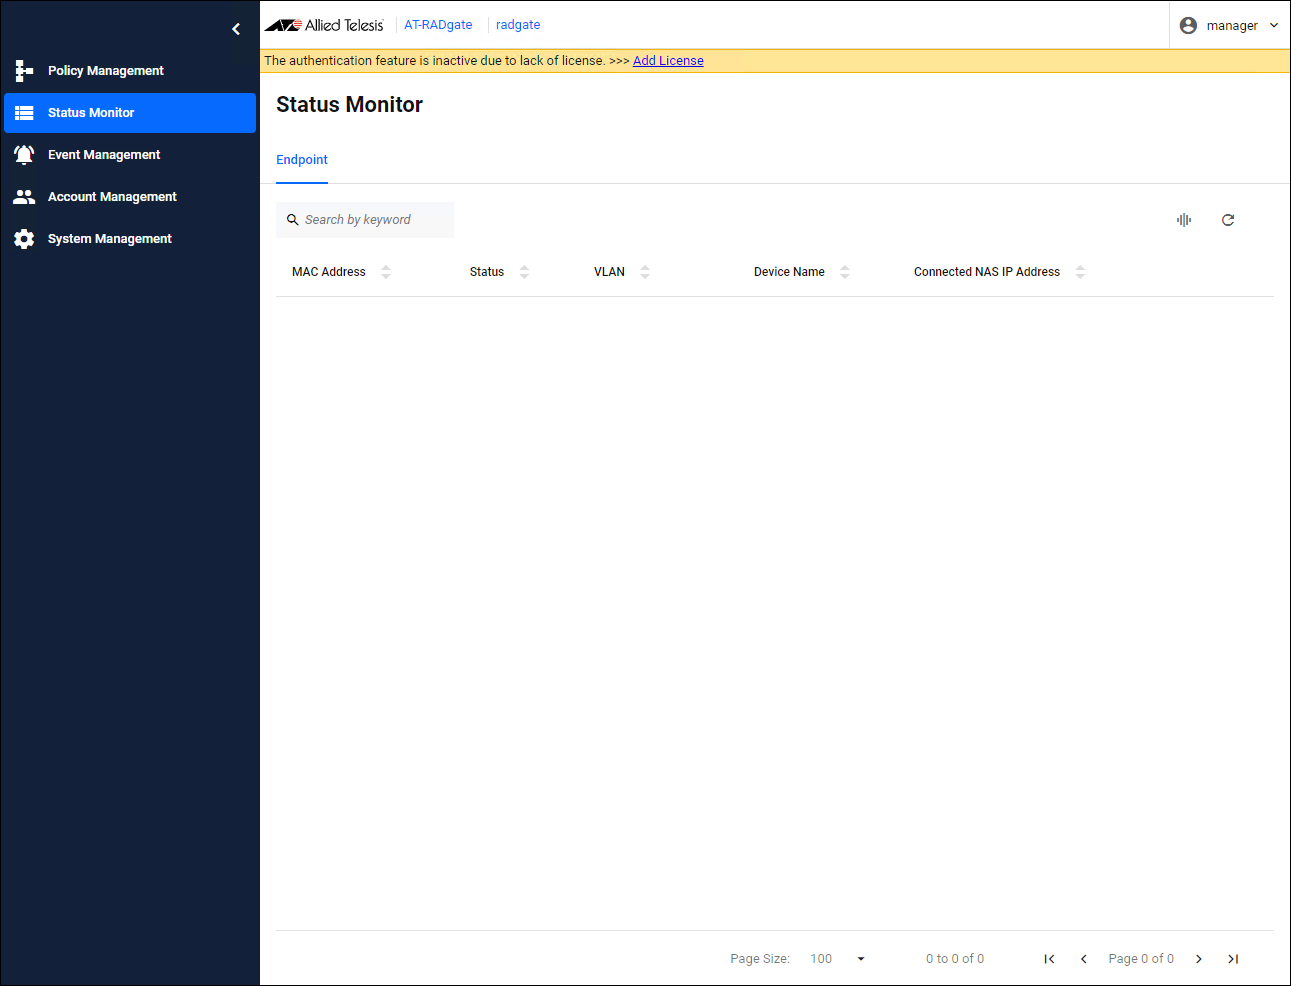
- Once you have successfully logged in to AT-RADgate, the "Endpoint" tab on the Status Monitor page is displayed.
Note- If no operations are performed on any page for 10 minutes, you are automatically logged out, and if you attempt to perform an operation on the settings page, a dialog appears prompting you to re-enter your "User Name" and "Password."
- If you check "Remember this login" on the AT-RADgate Login page, you remain logged in.
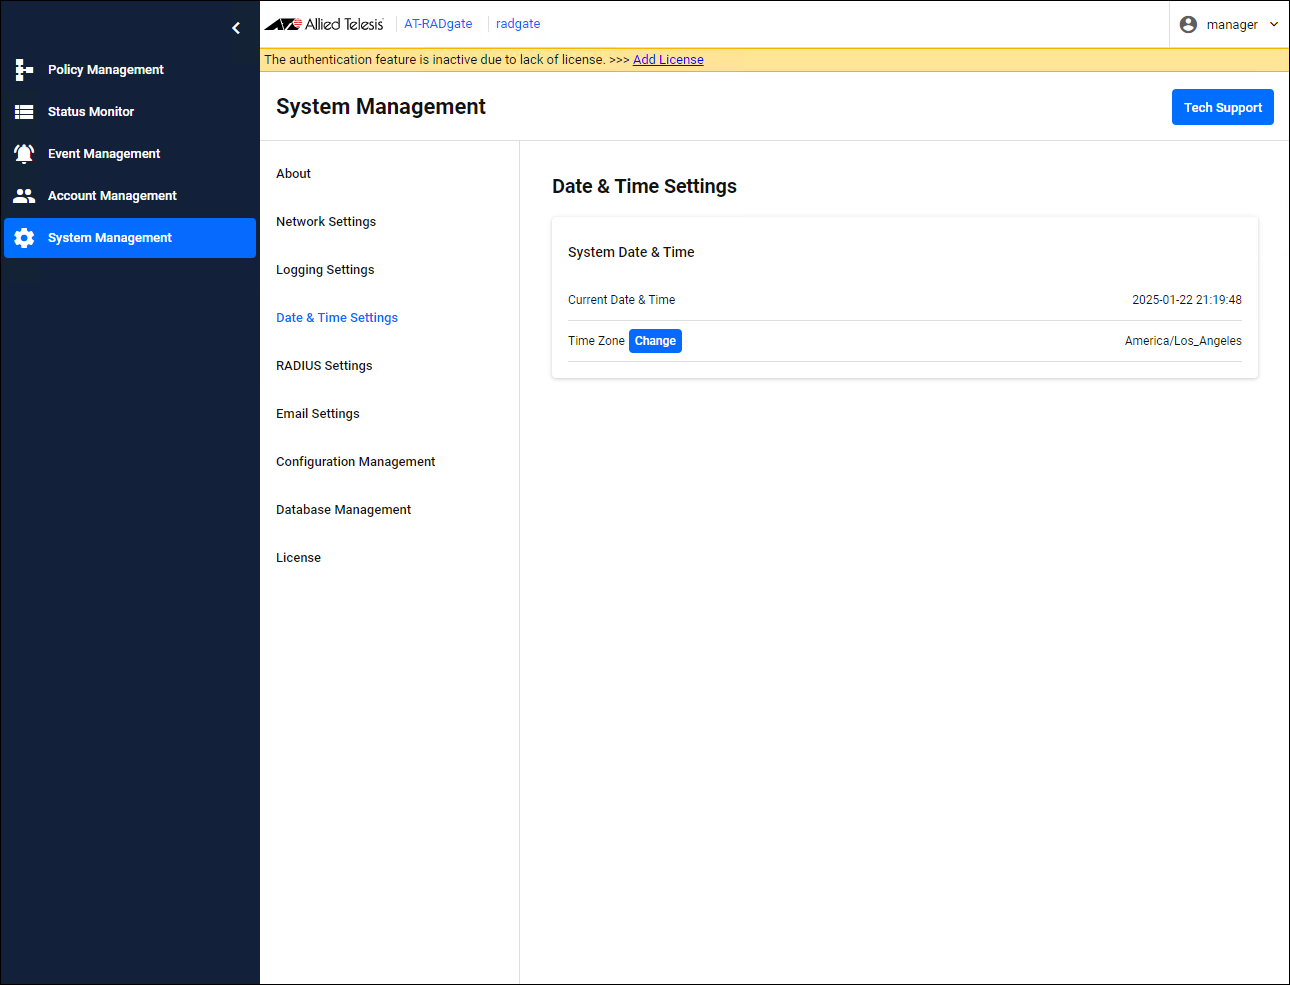
Setting the Time Zone
AT-RADgate gets and uses the system time of VST-APL/VST-VRT, but it does not get the Time Zone setting. Therefore, for example, to use Japan time (JST: 9 hours ahead of Coordinated Universal Time (UTC)), set according to the following procedure:NoteIf you change the Time Zone setting, AT-RADgate restarts.
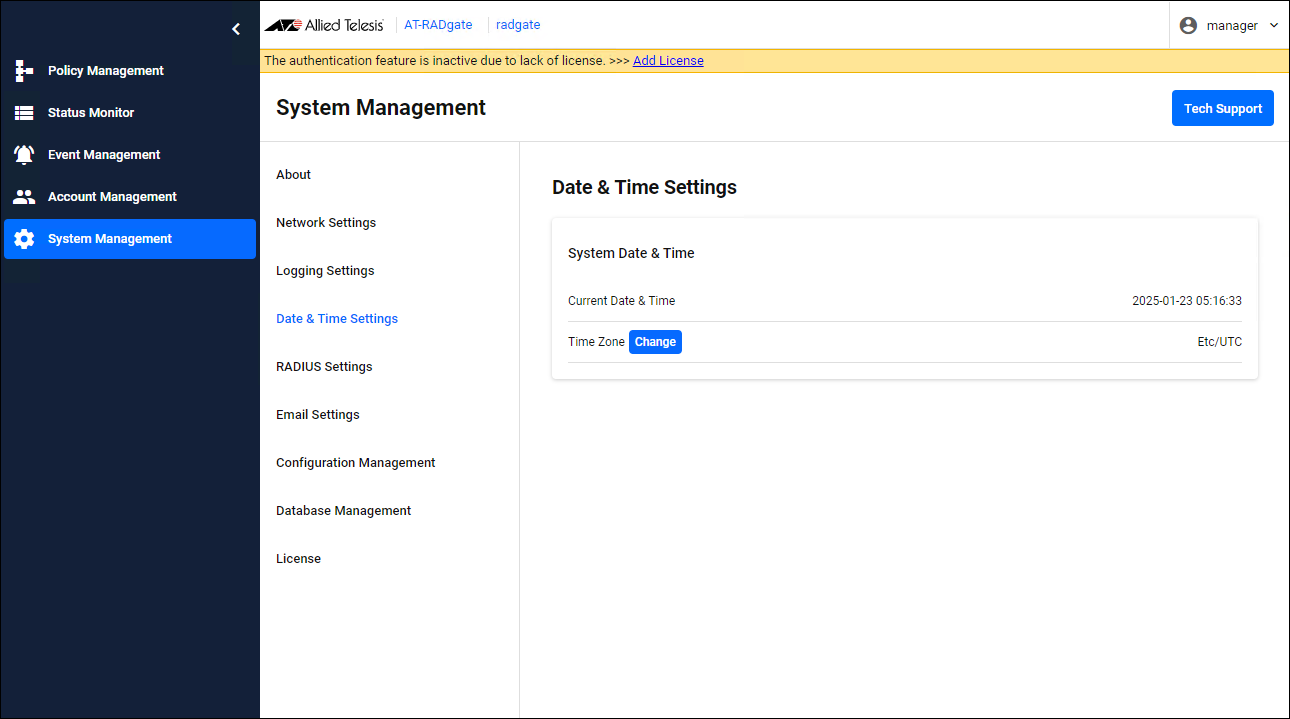
- Click the "System Management" menu, then the "Date & Time Settings" submenu, and click the "Change" button on the Date & Time Settings page that appears.
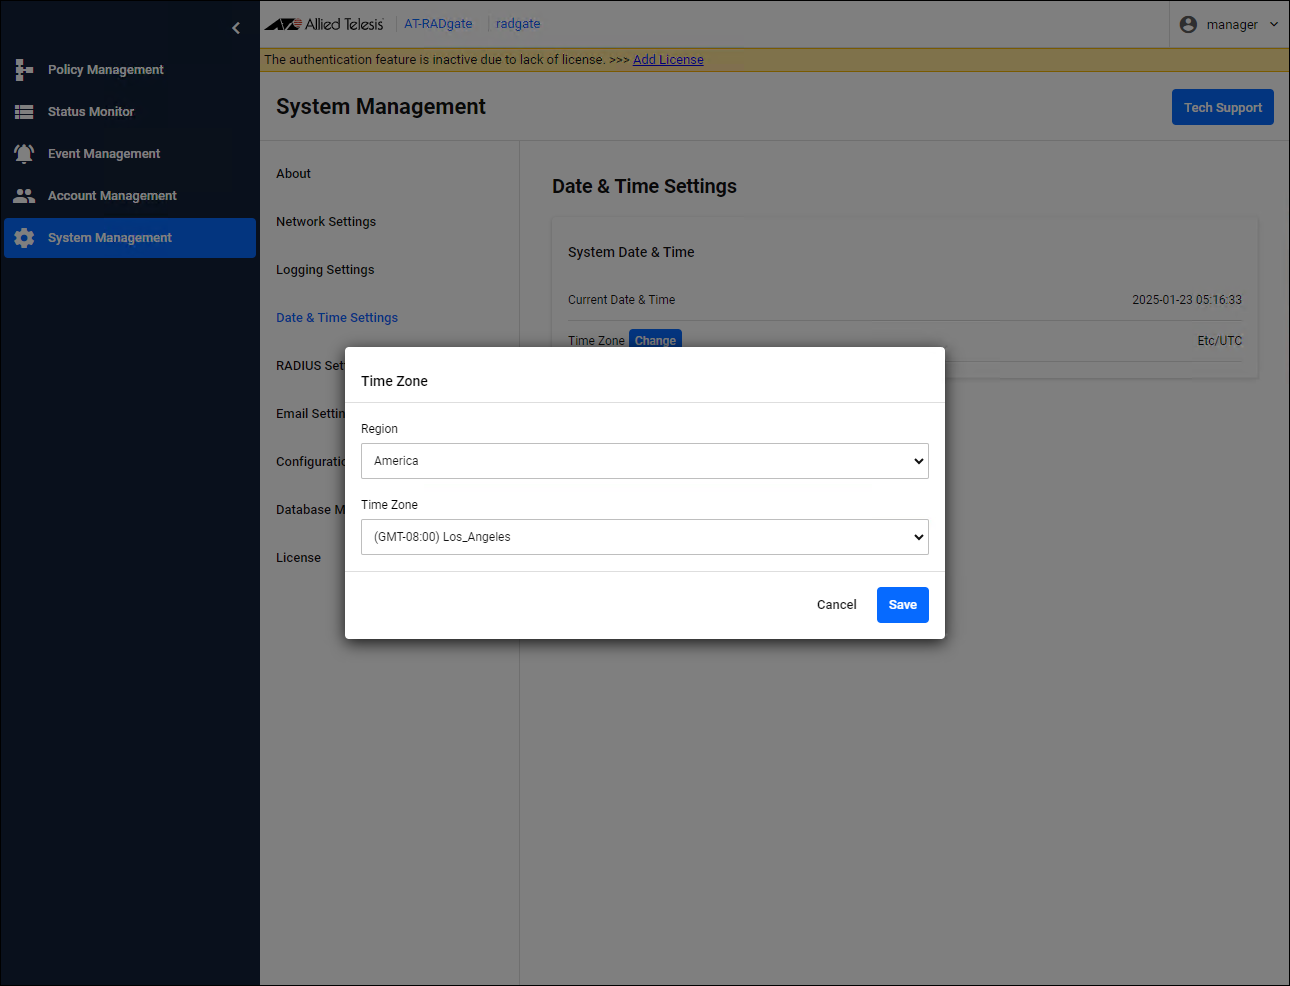
- The Time Zone dialog appears, so select from the region dropdown list and Time Zone dropdown list, then click the "Save" button.
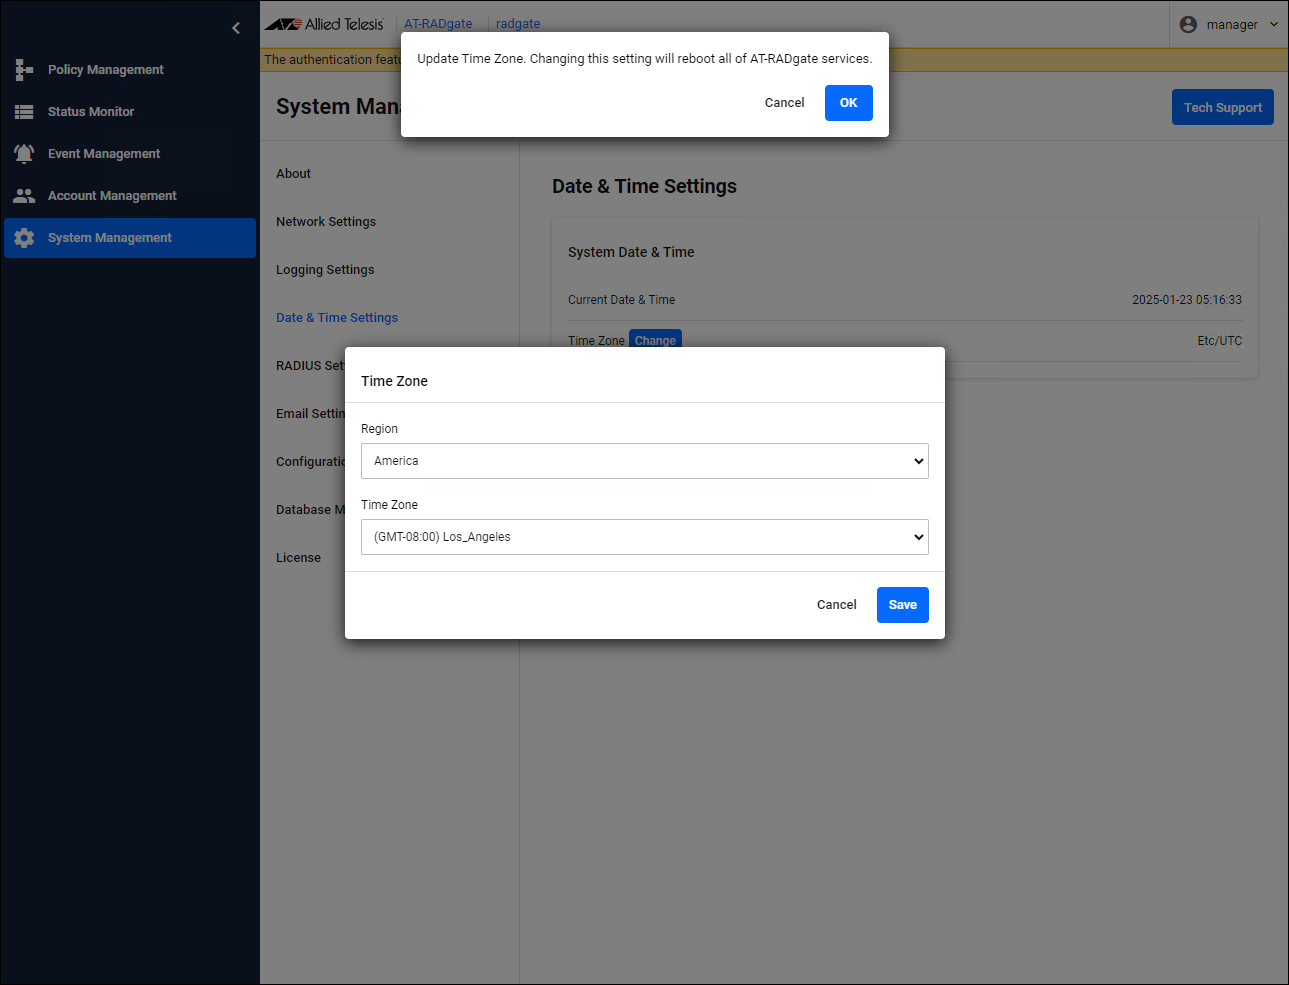
- A confirmation dialog is displayed, so click the "OK" button.
- AT-RADgate restarts.
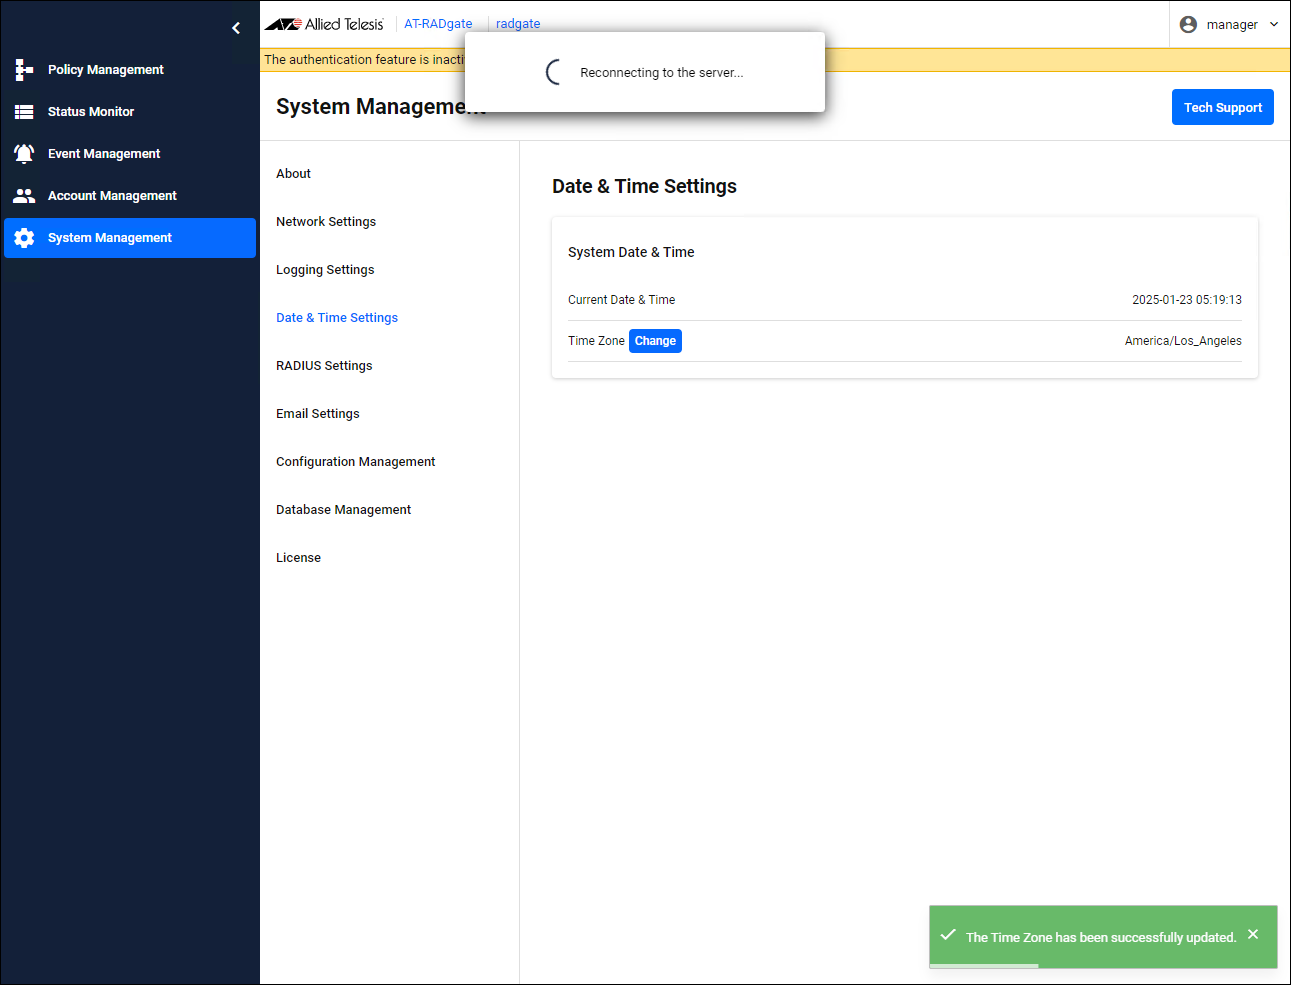
- The Login page is displayed again. After logging in, the System Management > Date & Time Settings page is displayed, so confirm that the changes have been made correctly.
17 Jun 2025 09:28