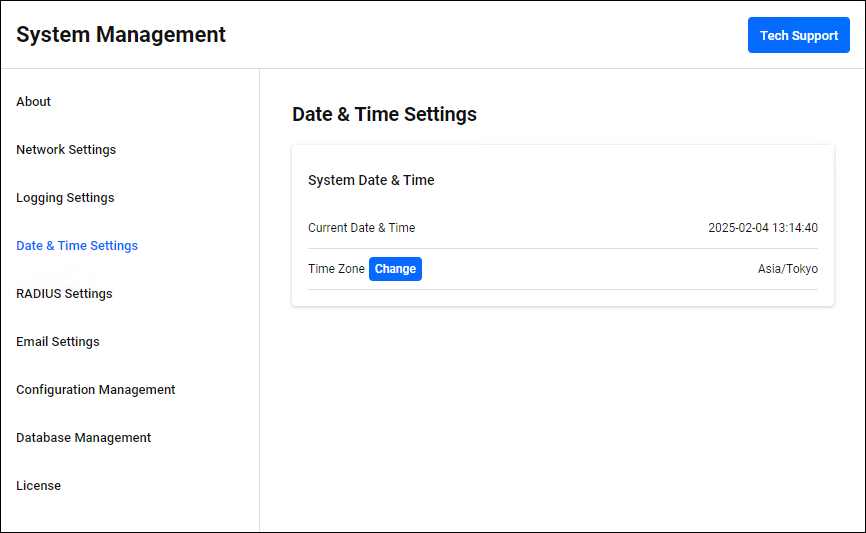
System Management
The "System Management" page is divided into various setting pages such as "About," "Network Settings," and "Log Settings."
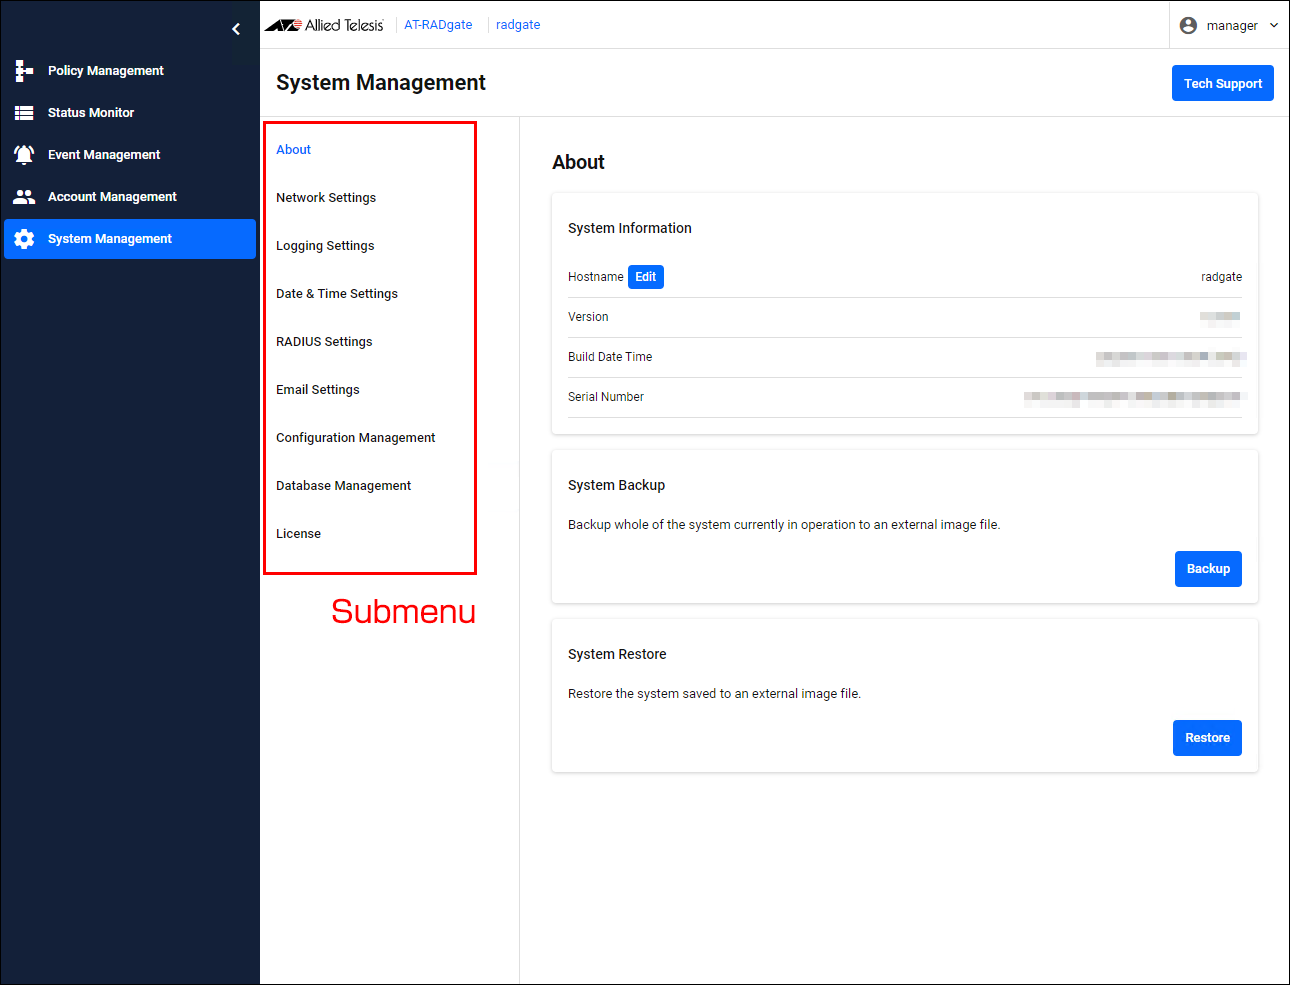
About
On the "About" page, you can view system information, change the Hostname, and backup and restore your system.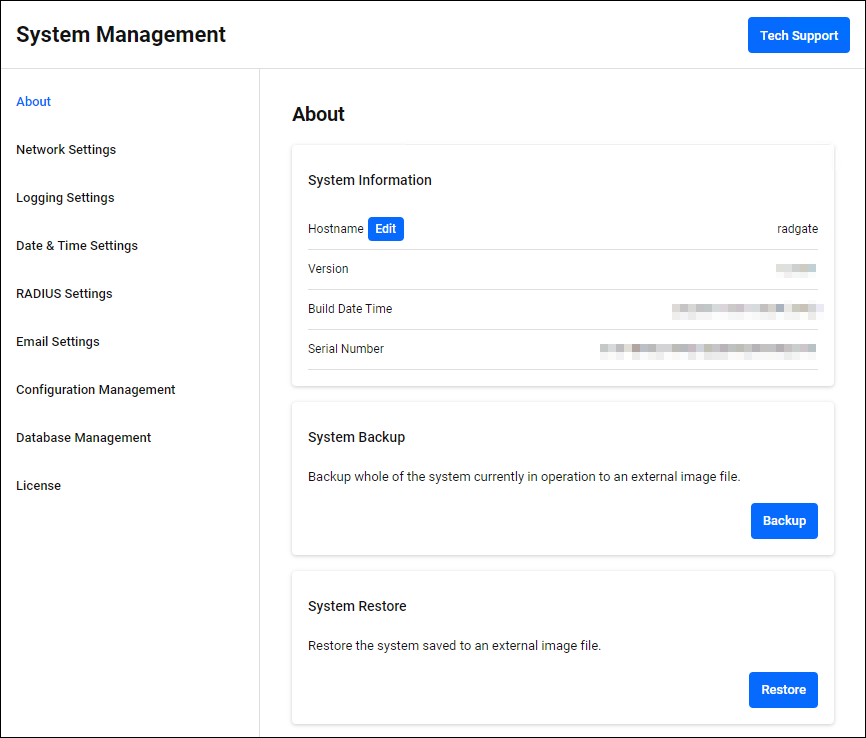
| Button Name | Description |
|---|---|
| "Tech Support" button | A file for technical support is output. This is intended for cases where checking internal information is required, such as for troubleshooting, so consult our technical staff before using it. By default, the technical support information also includes authentication policy data. If you do not want to attach policy data, uncheck "Include authentication policy data in technical support information." in the dialog that appears after clicking the "Technical Support" button. 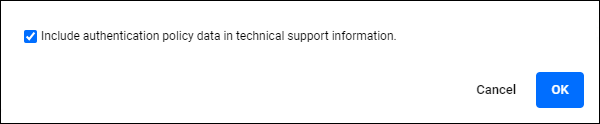
|
System Information
You can check the Serial Number etc. You can also change the Hostname of the node on which this system is running.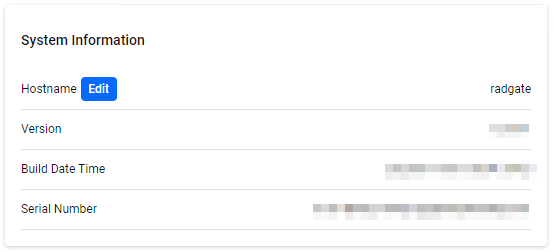
| Item Name | Description |
|---|---|
| Hostname | The Hostname of the node on which this system is running. The default Hostname is "radgate". Clicking the "Edit" button opens the Hostname dialog, where you can change the Hostname. |
| Version | The version of the AT-RADgate software currently running. |
| Build Date Time | This is the creation date and time of the currently running AT-RADgate software. |
| Serial Number | The Serial Number of this system. This is required when issuing an AT-RADgate license. |
Hostname
In the "Hostname" dialog, you can change the Hostname.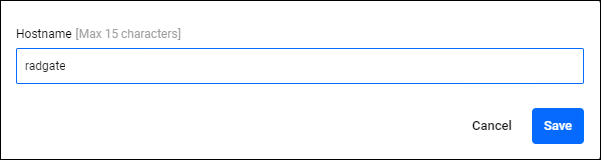
| Item / Button Name | Mandatory | Format | Description |
|---|---|---|---|
| Hostname | × | String (Max 15 characters) | The Hostname of the node on which this system is running. Only lowercase alphanumeric characters and hyphens are allowed (hyphens cannot start or end the name). If you save without entering anything, the default Hostname (radgate) is set. |
| "Cancel" button | − | − | Stop editing. |
| "Save" button | − | − | Save the settings. |
System Backup
Save the entire currently running system to an external image file. You can use Restore to return your system to a saved state.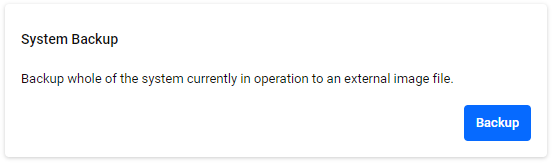
The downloaded file contains the following information:
- System Serial Number (on the System Management > About page)
- System settings (settings on the System Management page)
- Administrator account information (Account Management page)
- Authentication policy data (settings on each tab of the Policy Management page)
- Event Log (Event Management page)
- Software License (System Management > License page)
- Windows Active Directory Configuration
| Button Name | Description |
|---|---|
| "Backup" button | Perform a system backup. |
System Restore
Use the external image file downloaded in System Backup to restore your system to a saved state.NoteWhen you perform a system restore, the node on which AT-RADgate is running automatically reboots.
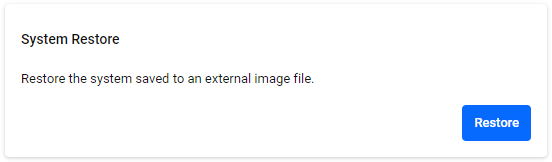
| Button Name | Description |
|---|---|
| "Restore" button | Perform a system restore. When you click, a file selection dialog appears, so select the image file and upload it. Returns to a saved system state. |
Network Settings
The "Network Settings" page allows you to configure Web services and SSL Certificates.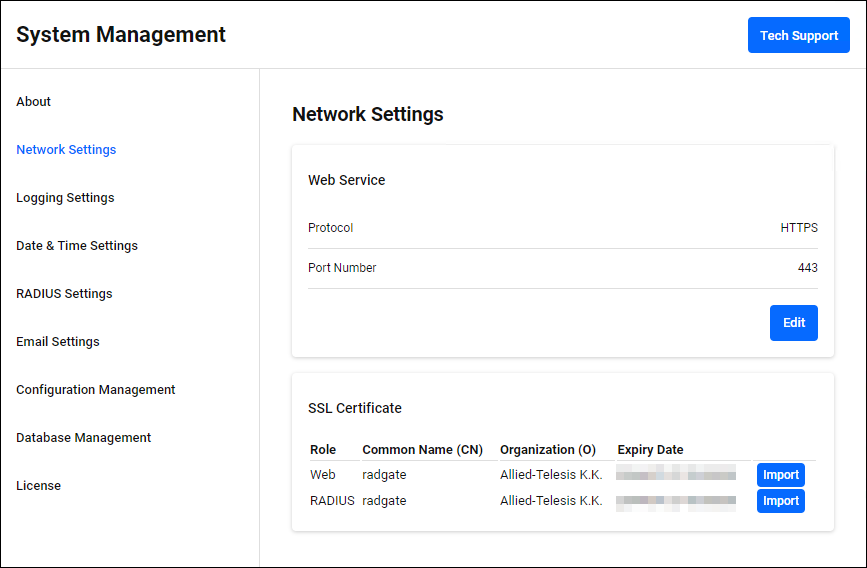
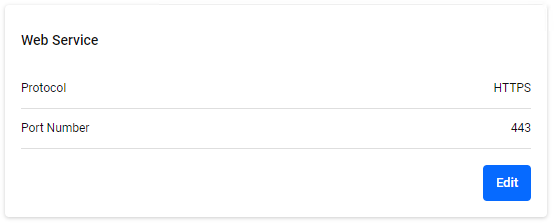
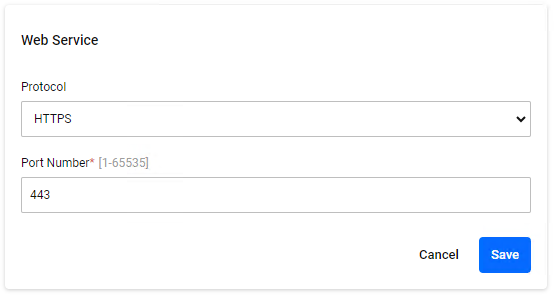
Web Service
You can change the protocol and listening port number of the Web UI/Web API service. Click the "Edit" button at the bottom right to enter edit mode.If you change the Web service settings, it automatically reconnects to the new Web service. In this case, your browser's security warning function may block your connection.
◼ Edit mode
| Item / Button Name | Mandatory | Format | Description |
|---|---|---|---|
| Protocol | × | − | A web service communication protocol. You can choose HTTP or HTTPS. |
| Port Number | × | 1-65535 | The TCP port number that the Web service listens on. You cannot set a port number that is being used by other AT-RADgate services. |
| "Edit" button | − | − | Start editing. |
| "Cancel" button | − | − | Stop editing. |
| "Save" button | − | − | Save the settings. |
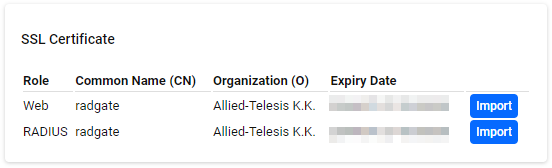
SSL Certificate
You can check and change the certificates used by each AT-RADgate service. Click the "Import" button on the right side of each service row to display a dialog box for uploading the certificate file.If you have changed it from the default certificate, the "Delete" button appears. Clicking this button deletes the current certificate and starts using the default certificate.
| Item Name | Description |
|---|---|
| Role | The service name for which the certificate is used. |
| Common Name (CN) | The value of the certificate's Common Name field. |
| Organization (O) | The value of the organization field in the certificate. |
| Expiry Date | The expiration date of the certificate. |
| Service Name | Description |
|---|---|
| Web | This is a service that provides Web UI/Web API. The certificate is used only if the protocol is set to HTTPS. |
| RADIUS | This is a service that provides RADIUS Authentication functionality. Use the certificate for EAP-PEAP authentication. |
Import SSL Certificate
You can upload an SSL certificate file in PEM format. Select the certificate file and private key file and click the "Import" button. If you change the web certificate, a reconnection to the Web UI server is performed (even if you are using the HTTP protocol). In this case, your browser's security warning function may block your connection.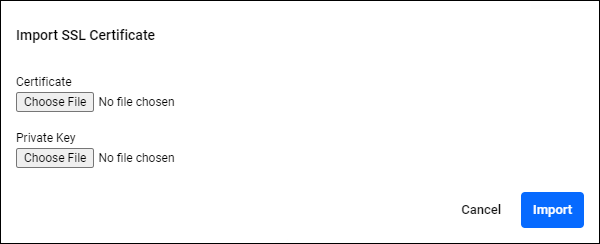
Logging Settings
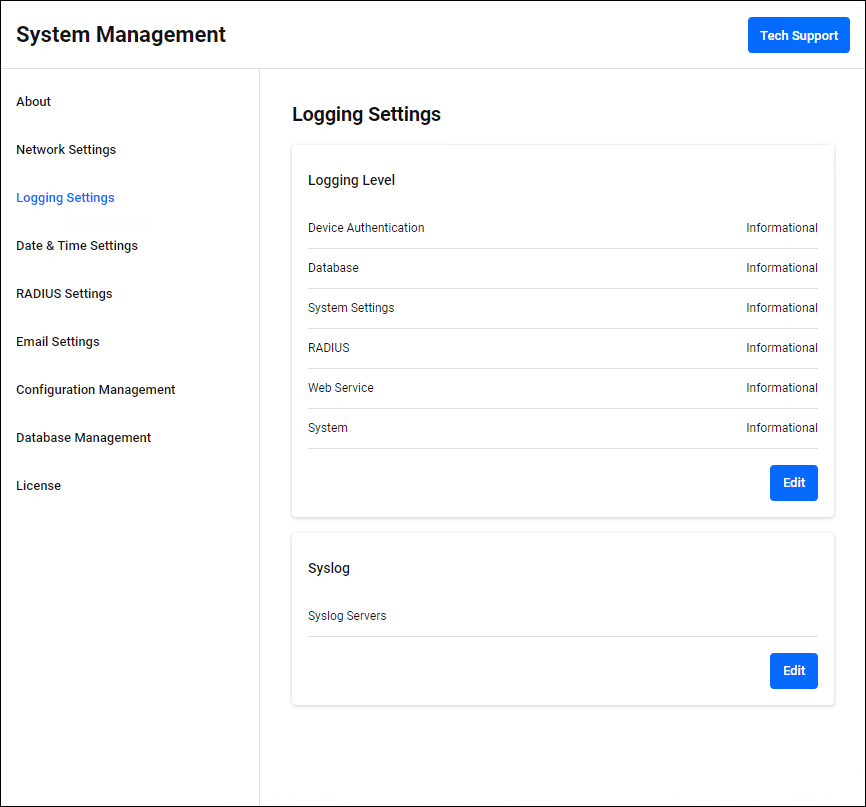
Logging Level
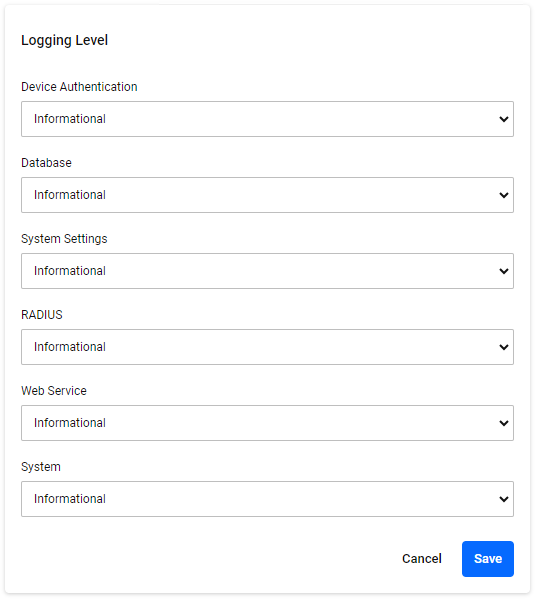
You can change the output suppression level for each event log. Each event log logs events with a greater importance, including the level set here. For information about log levels, refer to "Logging Level" in Event Management > Application Log. Click the "Edit" button at the bottom right to enter edit mode.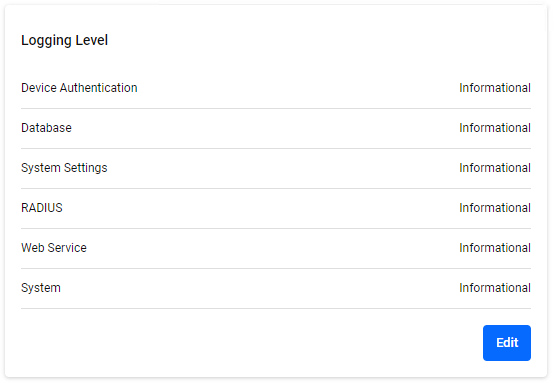
◼ Edit mode
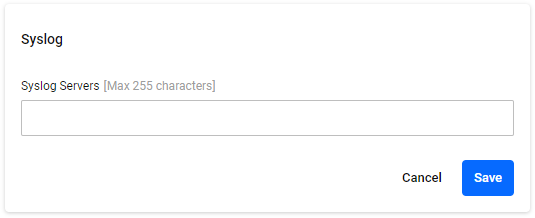
Syslog
Event logs can be forwarded to an external Syslog server (UDP). Click the "Edit" button to enter edit mode.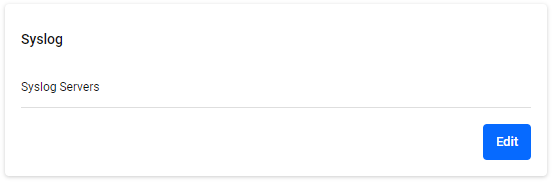
◼ Edit mode
| Item / Button Name | Mandatory | Format | Description |
|---|---|---|---|
| Syslog Servers | − | String (Max 255 characters) | A list of external Syslog servers to forward event logs to. Set it in the format "Hostname or IPv4 Address:port number" (e.g. 192.0.2.10:3000). If the port number is omitted, 514 is used. You can also register multiple servers by separating them with a space character. Refer the release notes for the number of servers that can be registered. |
| "Edit" button | − | − | Start editing. |
| "Cancel" button | − | − | Stop editing. |
| "Save" button | − | − | Save the settings. |
Date & Time Settings
System Date & Time
You can check the current time information and change the Time Zone. If you change the Time Zone, the node on which AT-RADgate is running is automatically restarted.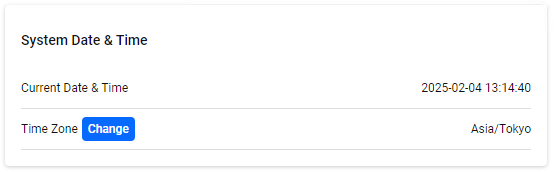
| Item Name | Description |
|---|---|
| Current Date & Time | Displays the current time in local time for the set Time Zone. |
| Time Zone | Displays the current Time Zone in the format "Region/Time Zone". Clicking the "Change" button displays the Time Zone dialog, allowing you to change the Time Zone. |
Time Zone
In the "Time Zone" dialog, you can change the Time Zone.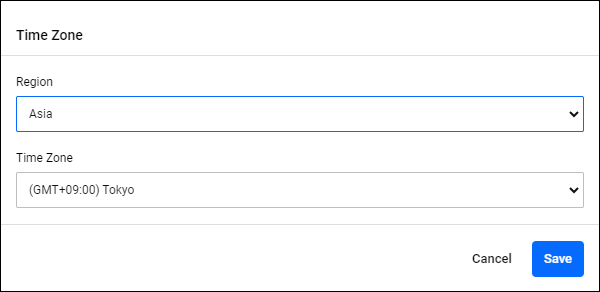
| Item / Button Name | Description |
|---|---|
| Region | Select your region from the dropdown list. The default is "Etc". |
| Time Zone | Select the Time Zone from the dropdown list. The default is "UTC". |
| "Cancel" button | Cancel the Time Zone change. |
| "Save" button | Save the Time Zone changes. |
RADIUS Settings
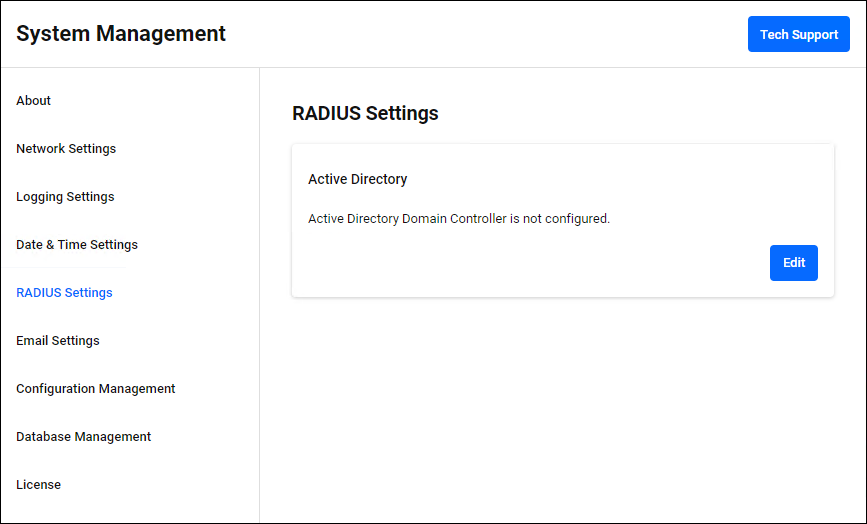
Active Directory
Configure the Active Directory domain to be linked with Windows Active Directory for RADIUS Authentication. Click the "Edit" button at the bottom right to enter edit mode.If an Active Directory domain is not registered, the message "Active Directory domain is not set." is displayed. If registered, information about the currently registered Active Directory domain is displayed.
◼ Edit mode
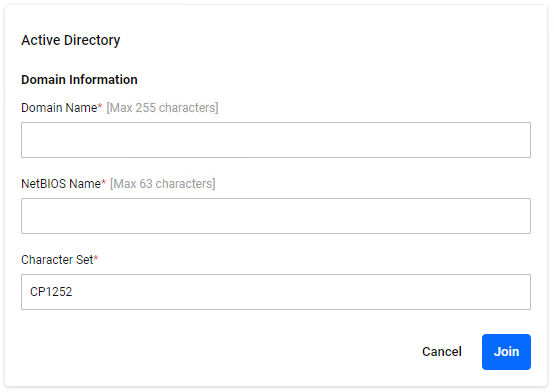
| Item / Button Name | Mandatory | Format | Description |
|---|---|---|---|
| Domain Name | × | String (Max 255 characters) | Enter the Active Directory domain name. |
| NetBIOS Name | × | String (Max 63 characters) | Enter the NetBIOS name. For example, if the Active Directory domain name is "example.co.jp", enter "EXAMPLE" as the NetBIOS name. |
| Character Set | × | String | Enter the character code setting for the domain controller. The default is "CP1252" (Latin 1/Western European). For Japanese, enter "CP932" (Japanese/Shift-JIS).NoteUse the default setting, "CP1252". This change is not supported in this version. |
| "Edit" button | − | − | Start editing. |
| "Cancel" button | − | − | Stop editing. |
| "Join" button | − | − | Save your edits and join the Active Directory domain. |
Email Settings
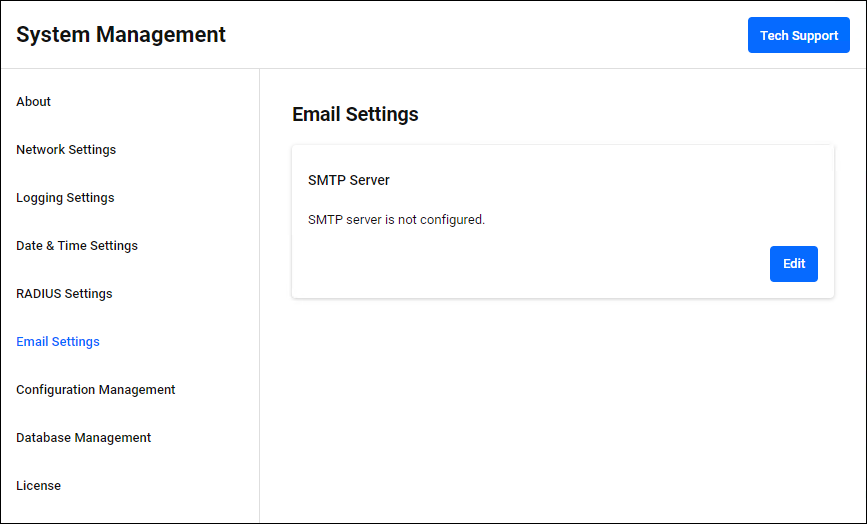
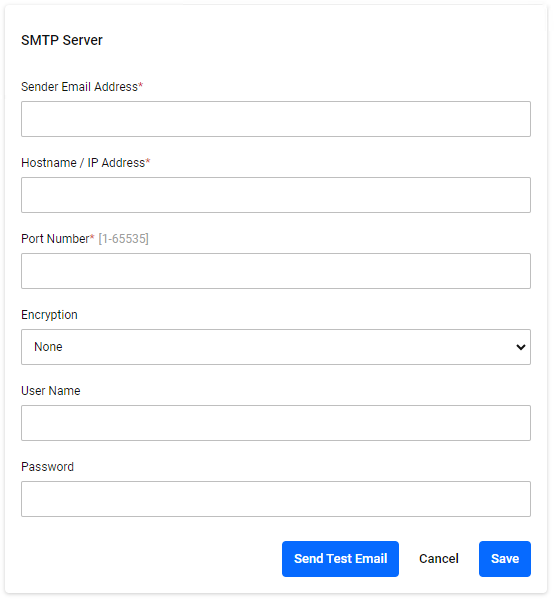
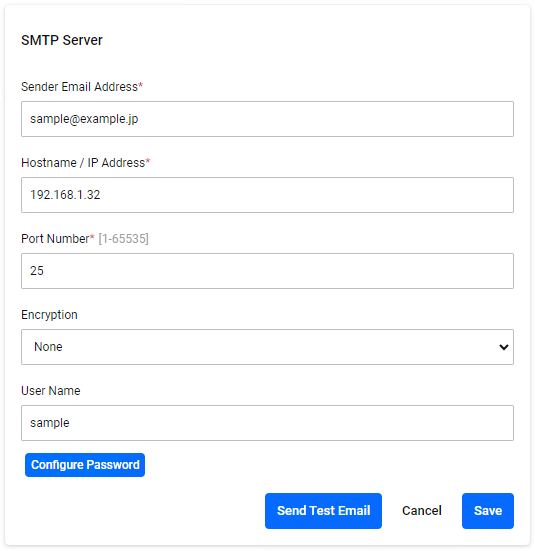
SMTP Server
Configure the SMTP Server for sending emails. Click the "Edit" button to enter edit mode.Allied Telesis recommends that you configure the SMTP Server settings as they are essential for features such as the administrator account password recovery function and license expiration warning.
If the SMTP Server is not registered, the message "SMTP server is not configured." is displayed. If registered, information about the currently registered SMTP Server is displayed.
◼ Edit mode (unregistered)
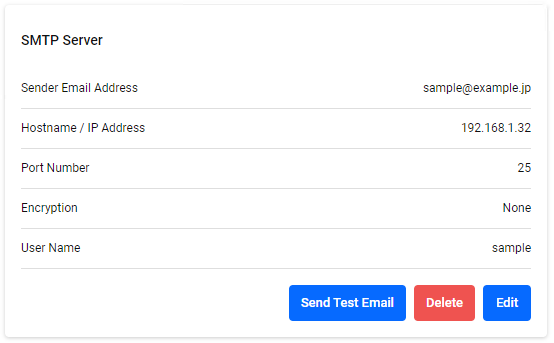
◼ Edit mode (registered)
| Item / Button Name | Mandatory | Format | Description |
|---|---|---|---|
| Sender Email Address | × | Email Address | This is the sender Email Address for emails sent using this SMTP Server. |
| Hostname / IP Address | × | FQDN/IPv4 Address | The Hostname or IPv4 Address of the SMTP Server. |
| Port Number | × | Integer (0-65535) | The TCP port number for the SMTP service. |
| Encryption | × | − | The encryption protocol to use. Choose from "None", "STARTTLS", or "SMTPS". |
| User Name | × | − | The username for the login account on the SMTP Server. |
| "Configure Password" button | − | − | Clicking this displays the "Password" and "Confirm Password" items, allowing you to change the password for the SMTP Server login account. |
| Password | − | − | The password for the login account on the SMTP Server. |
| "Send Test Email" button | − | − | Sends a test Email with the currently displayed settings. The Email Address entered in "Sender Email Address" is used as both the sender and destination of the email. |
| "Edit" button | − | − | Start editing. |
| "Delete" button | − | − | Deletes the currently registered SMTP Server settings. |
| "Cancel" button | − | − | Stop editing. |
| "Save" button | − | − | Save the settings. |
Configuration Management
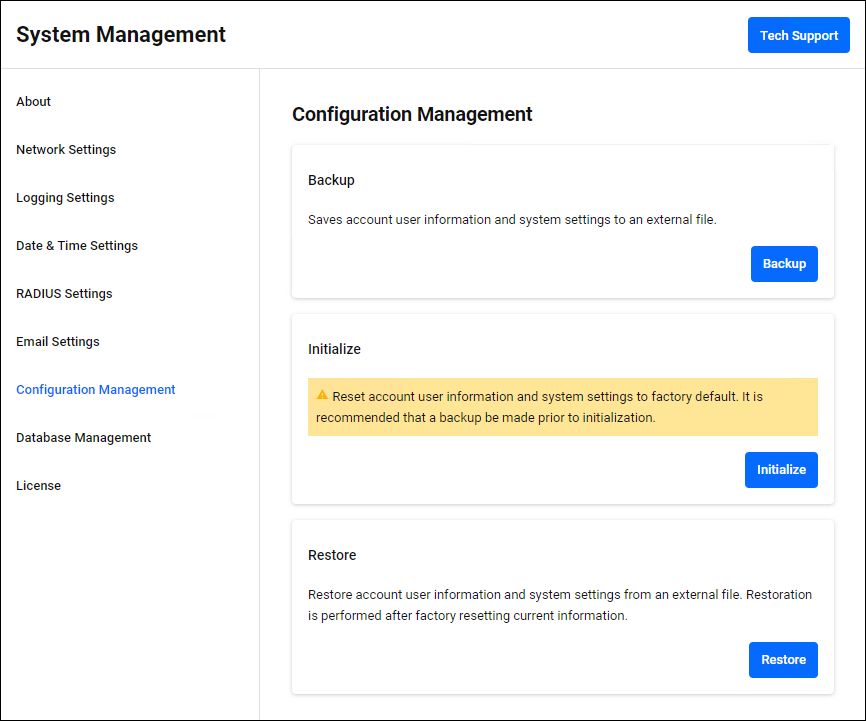
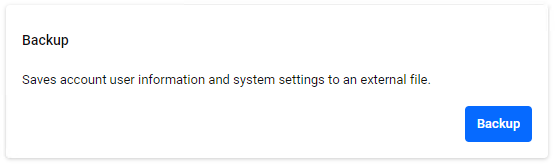
Backup
Saves administrator account information and system settings to an external file. Because the backup file does not contain information such as authentication policy data, it is not possible to completely restore the entire running system from this backup file.To perform a complete system backup, use "System Backup" on the System Management > About page.
Initialize
Resets the administrator account information and system settings to the factory defaults.
Restore
Restores administrator account information and system settings from an external file. The current information is returned to the factory default state and then restored.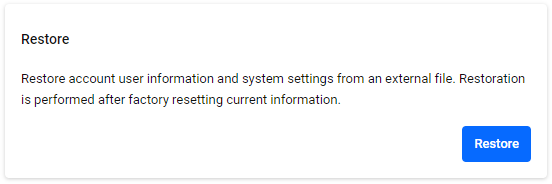
Database Management
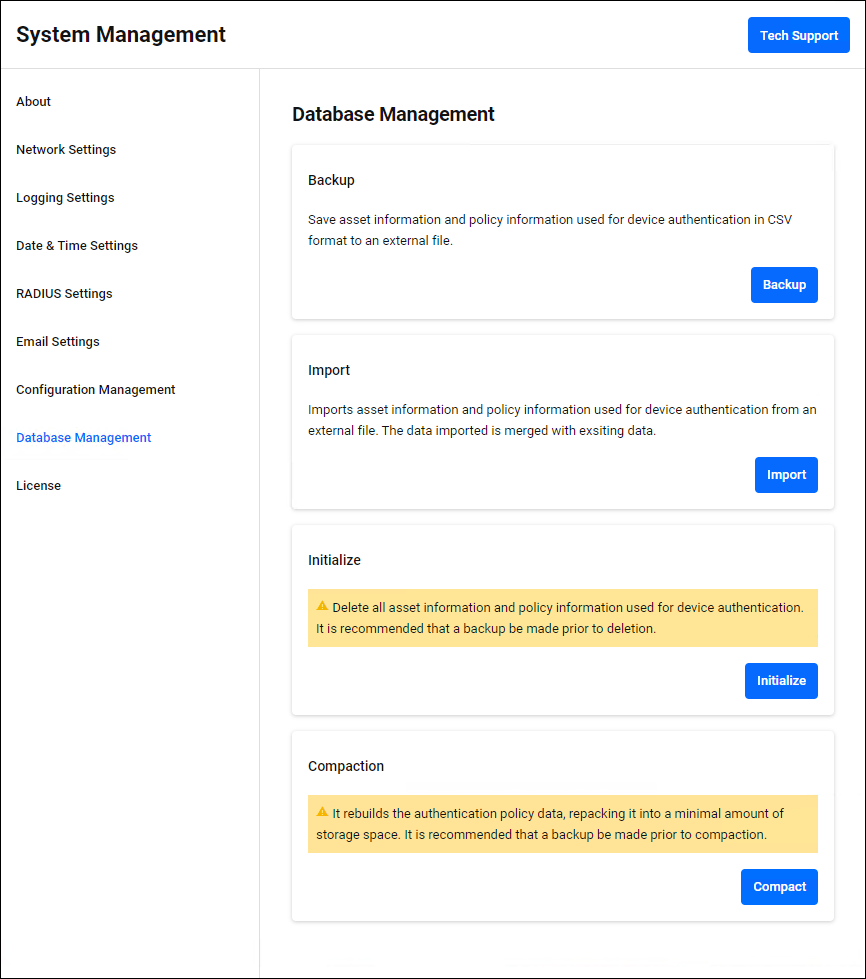
Backup
Saves authentication policy data to an external file in CSV format.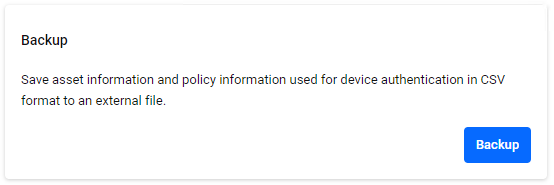
| Button Name | Description |
|---|---|
| "Backup" button | Perform a backup of the authentication policy data. |
Import
Imports authentication policy data from a CSV file. The imported data is merged with the current data.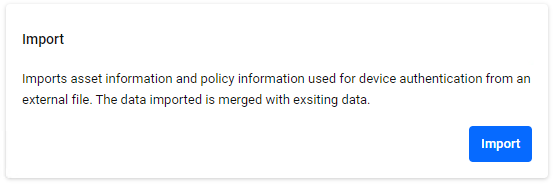
| Button Name | Description |
|---|---|
| "Import" button | Import the authentication policy data. |
Initialize
Deletes all authentication policy data. Allied Telesis recommends that you backup your data before deleting it.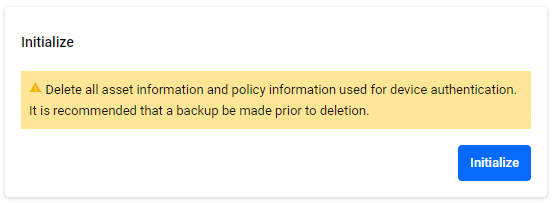
| Button Name | Description |
|---|---|
| "Initialize" button | Initialize the authentication policy data. |
Compaction
Optimize authentication policy data and free up storage space. Allied Telesis recommends that you make a backup before optimizing.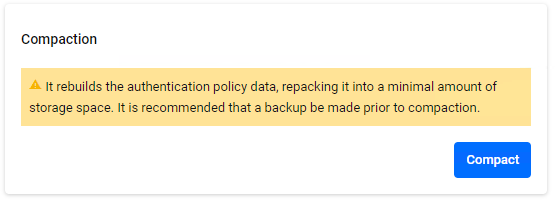
| Button Name | Description |
|---|---|
| "Compact" button | Performs authentication policy data optimization. |
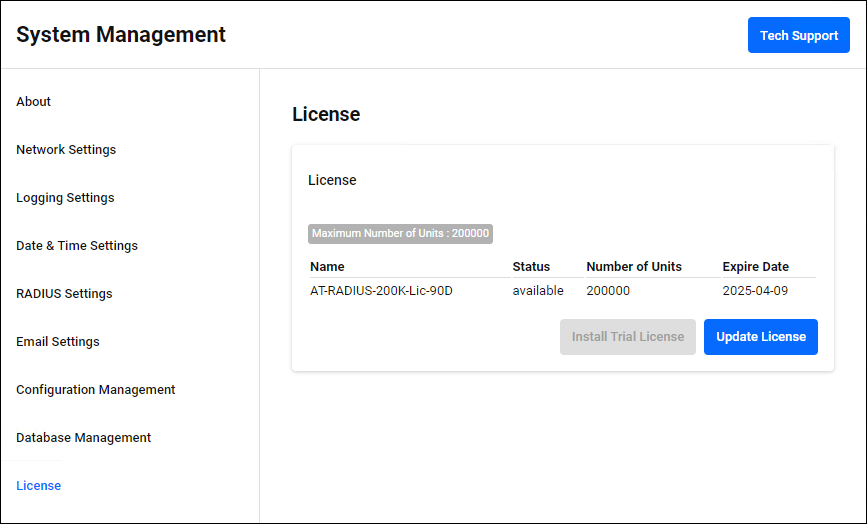
License
You can check and install the AT-RADgate software license (below is an example of when a trial license is installed).NoteFor information about licenses, refer to Accessing Management Interface > Installing Licenses.
| Item / Button Name | Description |
|---|---|
| Maximum Number of Units | The total number of units for all active licenses. |
| Name | The name of the license. |
| Status | The license status. |
| Number of Units | The number of units the license provides. |
| Expire Date | The license expiration date. |
| "Install Trial License" button | Install a trial license. |
| "Update License" button | Install a new or updated license. When you click, a file selection dialog appears, so select the license file and upload it. The license information is updated. |
17 Jun 2025 09:28