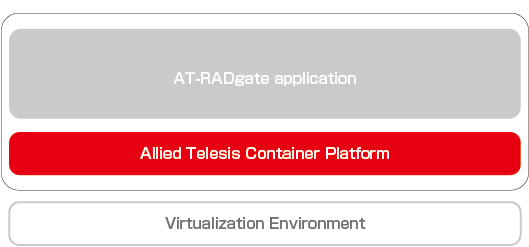
Allied Telesis Container Platform Configuration
Supported Web Browsers
You can configure Allied Telesis Container Platform through its web-based management interface.Make sure that your management PC has one of the following web browsers installed:
- Microsoft Edge
- Google Chrome
NoteUse the latest released version.
NoteMicrosoft Edge is based on Chromium.
Also, Internet Explorer mode is not supported.
Default Settings
After installing the Allied Telesis Container Platform, it is configured as follows:| IP Address | If there is a DHCP server on the network, the IP Address obtained from the DHCP server is set. If there is no DHCP server on the network, "192.168.1.1/24" is configured. |
| VLAN | It belongs to the default VLAN "vlan1". |
| User Name | manager |
| Password | friend |
Logging in to the Management Web Interface
Here we use an example where the IP Address of the Allied Telesis Container Platform is set to "192.168.1.1".- Launch a web browser and enter https://192.168.1.1.
https://192.168.1.1
Note
Communication between the web browser and Allied Telesis Container Platform is over HTTPS.
- If you are successful, the login page appears. Enter your username and password and click the "Sign in" button.
Entered password is masked with bullets on the page.
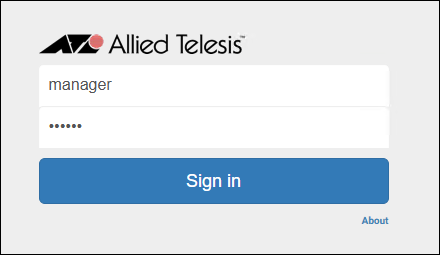
Note
The default username is "manager" and the password is "friend".
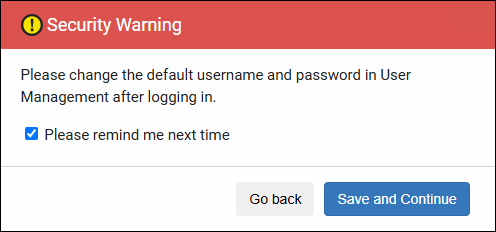
- When you log in with the default username "manager" and password "friend", the following security warning is displayed. Click the "Save and Continue" button to proceed with logging in.
If you uncheck "Please remind me next time" before logging in, the security warning is not displayed the next time you log in. However, if you clear your browser cache, the security warning appears again.
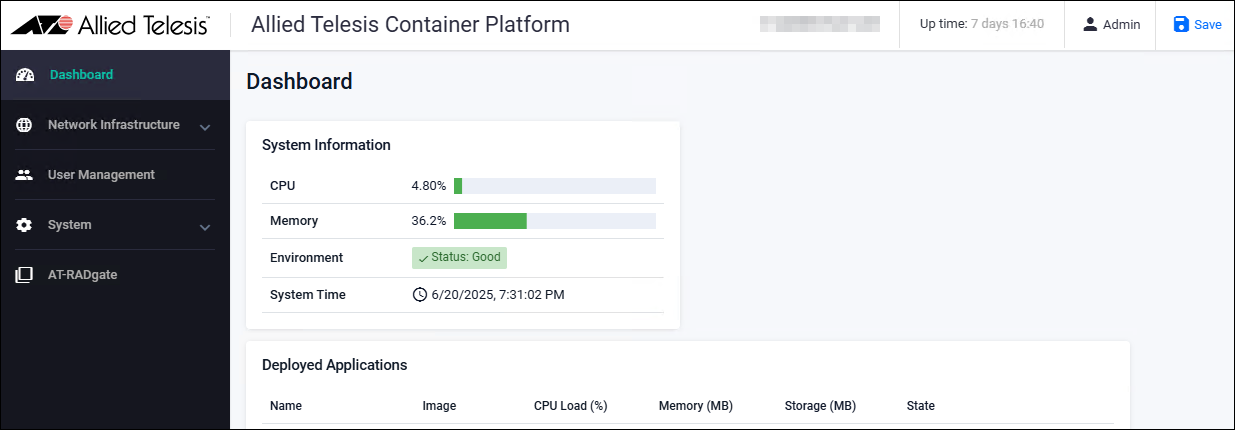
- Immediately after logging in, you are presented with the Dashboard page, which is the configuration page for the Allied Telesis Container Platform.
NoteThis completes the login to the settings page. Allows you to configure the Allied Telesis Container Platform.If you do not perform any operations on any page for 5 minutes, you are automatically logged out and returned to the login page.
However, if you are monitoring from the Allied Telesis Container Platform > Monitoring page, you are not logged out.
How to use the setting page
This section explains the basics of how to use the settings page.Dashboard
This is the settings page that appears immediately after logging in to the Allied Telesis Container Platform. The basic page layout is as follows (below is an example of the Dashboard page).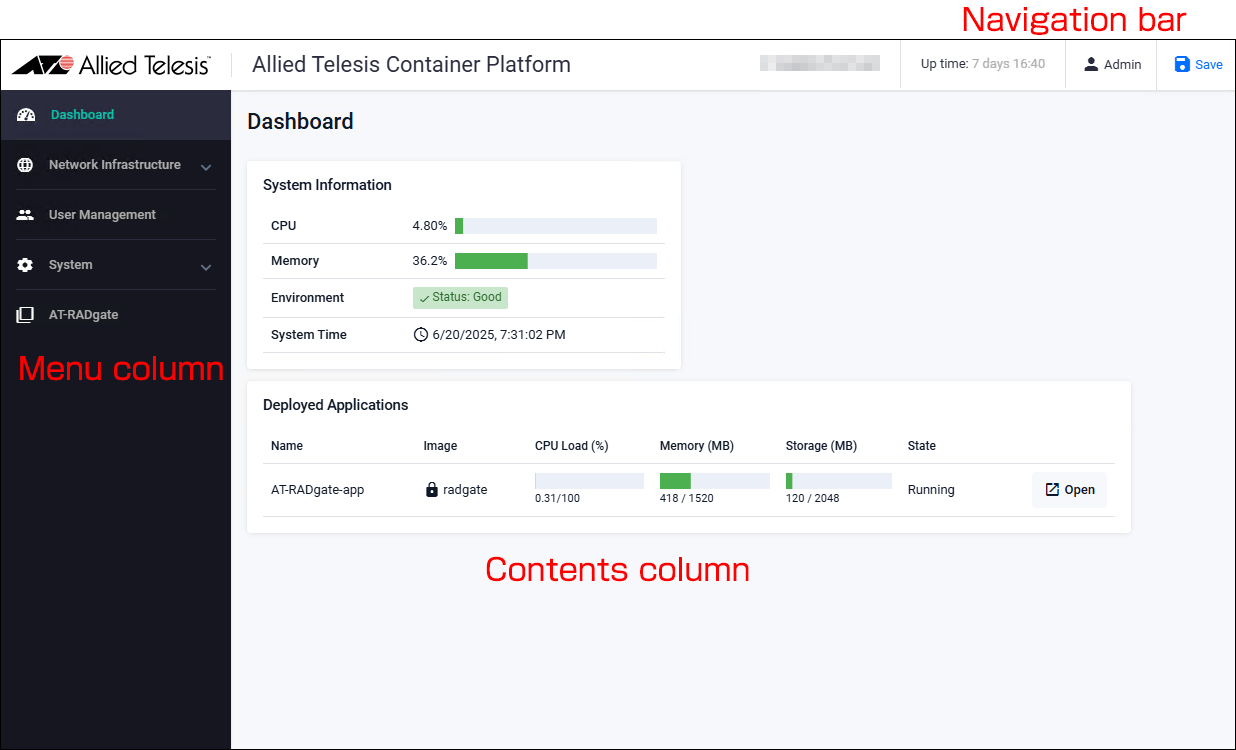
Navigation bar
A navigation bar common to all pages is displayed at the top of the page.The display and functions of each part are as follows:

- 1 - Go to the Dashboard page.
- 2 - Displays the serial number.
- 3 - Displays the system uptime.
- 4 - This is a drop-down menu that allows you to log out.
- 5 - Save the settings.
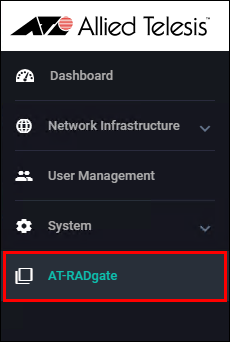
Menu column
A menu for moving to each page is displayed on the left side of the page.There are menu items that allow you to move between pages by themselves as a single main item, and menu items that allow you to open and close smaller items (sub-items) under the main item and move to each page using the smaller items.
The functions of each major category are as follows:
- Dashboard
Open the Allied Telesis Container Platform > Dashboard page to view a summary of various information,
- Network Infrastructure
Opens and closes menu items to navigate to basic network configuration and management pages such as interfaces and static routes.
- User Management
Open the Allied Telesis Container Platform > User Management page to view the list of logged in users and to add, remove, or modify users.
- System
Opens and closes the menu items for going to the page for displaying logs and system-related information, and for going to the page for setting and managing system-related information such as date and time settings.
- AT-RADgate
Opens the administration page where you can configure, start, stop, etc. the AT-RADgate application.
Contents column
The contents of each page are displayed in the bottom right corner of the page. The content displayed varies depending on the page. Below is an example from the "Dashboard" page.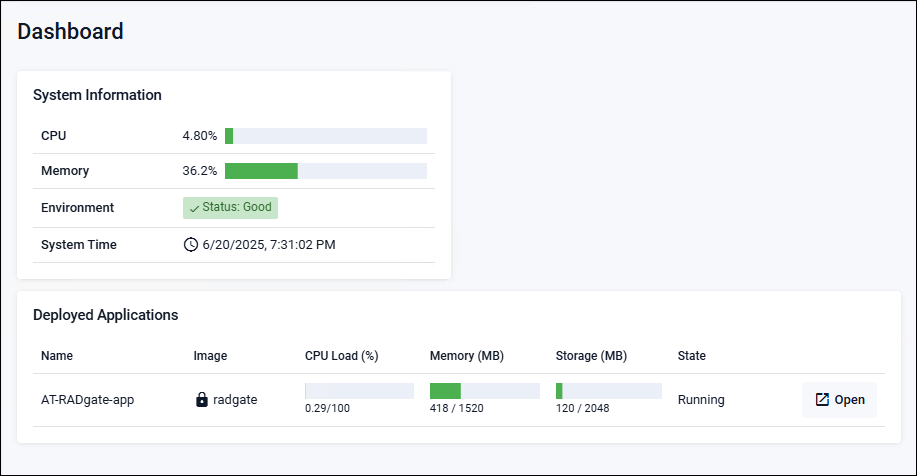
A brief overview of each page is provided in the following sections.
Apply Configuration Changes
When you change the settings of the Allied Telesis Container Platform or when the AT-RADgate application is launched, the "Save" button in the navigation bar at the top of the page will turn orange. Clicking this button saves the settings.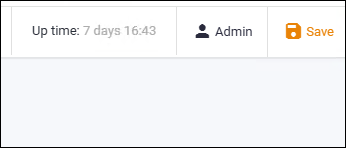
NoteClicking the "Save" button creates a file called "default.cfg" on the Allied Telesis Container Platform > File Management page (if it already exists, it is overwritten).
This file saves the settings of the Allied Telesis Container Platform at the time you click the "Save" button, so it can be used as a backup file of the Allied Telesis Container Platform.
Logout
To log out of the Allied Telesis Container Platform settings page, click the "Admin" button in the navigation bar at the top of the page, then click "Logout".You are logged out of the Web setting page and the Login page is displayed.

Configuring and Starting the AT-RADgate application
This section explains how to configure, start, and stop the AT-RADgate application.Configuration items
Set the items shown in the following table in the AT-RADgate application.| Storage Size (MB) | 2048 (MB) |
| Advanced Settings | |
| Memory Limit (MB) | Configuration is usually not required. Use with the default setting (Unlimited). |
| CPU Limit (Core Index) | Configuration is usually not required. Use with the default setting (Unlimited). |
| Network | |
| Interface Type | Normally, use 'Virtual'. Virtual: Specify the External Network VLAN ID (required) and the MAC Address (Optional). In this case, multiple applications can be used on network ports that belong to the same VLAN ID. Physical: Assign applications to network ports. Select the network port number to connect in the Host Interface. |
| Use DHCP | When checked, the IP Address assigned by the DHCP Server is used. When unchecked, the IPv4 Address and Gateway Address are set manually. When using DHCP, ensure that the environment allows IP Address acquisition from the DHCP server. |
| DNS Server | Specify the DNS Server used for name resolution. If manual configuration is required, click the downward arrow on the right, then click "+ Add DNS Server", and enter the address of a reachable DNS Server.NoteIf a DNS Server address is configured, ensure that it is reachable. |
NoteCreating multiple network interfaces is not supported. Use only one network interface.
NoteWhen using 'Virtual' as the Interface Type and not using DHCP, configure the IP Address during AT-RADgate application setup so that it does not conflict with any other IP Address within the same subnet as the IP Address assigned to the bridge (br0) of the Allied Telesis Container Platform.
If you want to manage the Allied Telesis Container Platform using a separate management network from the network configured for the bridge (br0) or the AT-RADgate application, disconnect an unused Ethernet interface (eth) from the bridge (br0) and assign an IP Address to it.
Examples:
- Management Network Address: 192.168.2.0/24
- Allied Telesis Container Platform (eth1): 192.168.2.10/24
(On the Allied Telesis Container Platform > Bridging page, remove "eth1" from "br0")
With the above configuration, br0 (eth2) provides access to both the Allied Telesis Container Platform (192.168.1.10) and the AT-RADgate application.
Additionally, eth1 provides access only to the Allied Telesis Container Platform (192.168.2.10).
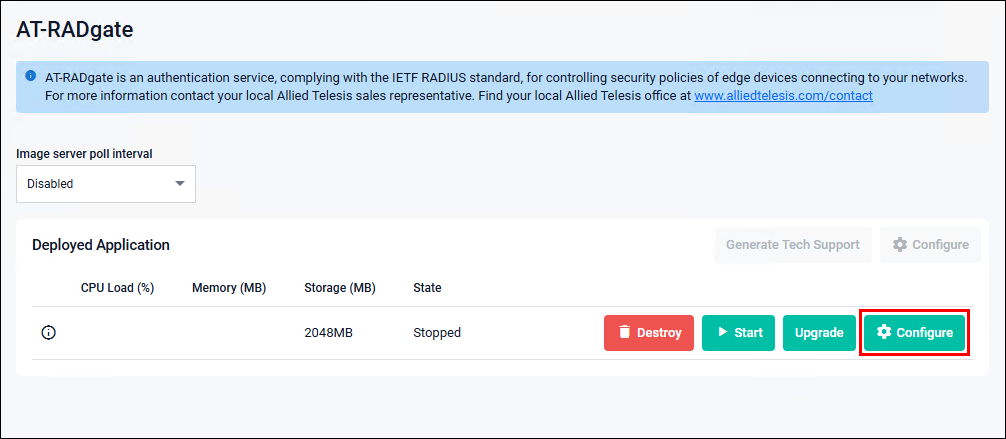
Note"Image server poll interval" is not supported. Do not change this setting from 'Disabled'.
NoteBefore creating an application instance or updating its version, delete any unnecessary files in advance and check the "Storage Usage" on the Allied Telesis Container Platform > File Management page to ensure that sufficient storage space is available.
Configuration and Startup Procedure for the AT-RADgate application
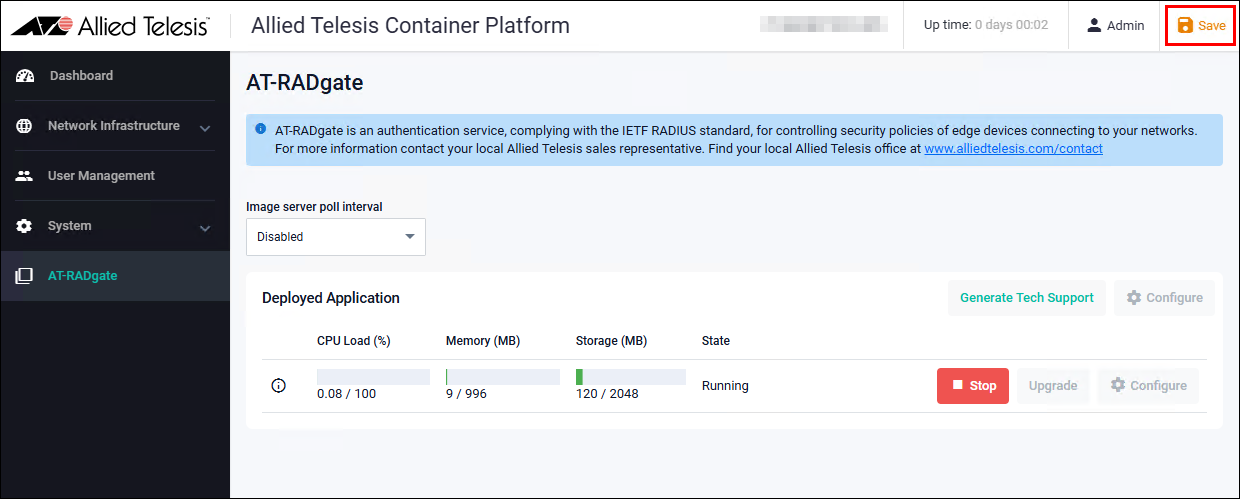
This section describes the procedure for configuring and starting the AT-RADgate application.- Click "AT-RADgate" in the Menu column on the left side of the page.
- The AT-RADgate management page appears. Click the "Configure" button.
- Configure the settings using the previously mentioned Configuration items as an example, and click the "Apply" button.

Note
Creating multiple network interfaces is not supported. Use only one network interface.
- Return to the AT-RADgate management page. The application registered in the "Deployed Application" is displayed. Click the "Save" button at the top right of the page to save the configuration and startup state.
Procedure for stopping the AT-RADgate application
To modify the AT-RADgate application configuration, stop the AT-RADgate application first.- Click "AT-RADgate" in the Menu column on the left side of the page.
- The AT-RADgate management page appears, so click the "Stop" button.
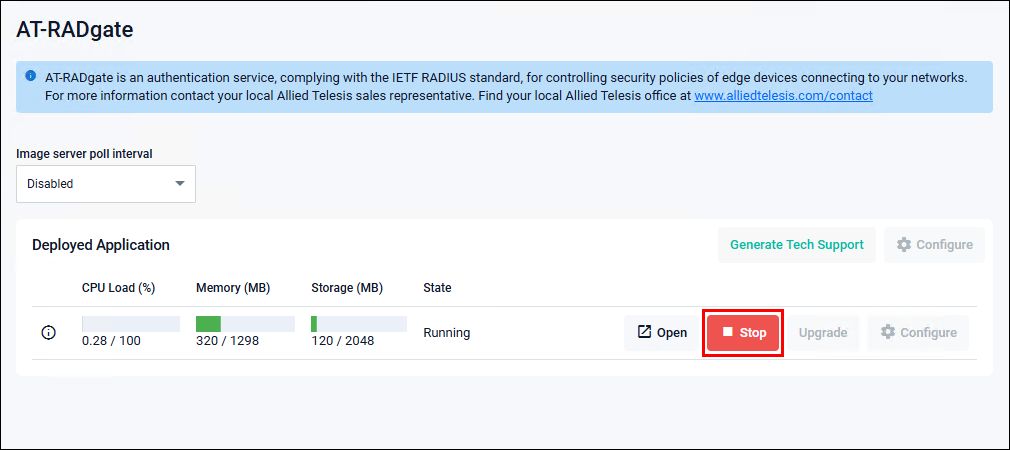
- "State" changes to "Stopping". Wait for a while until the page in Step 4 appears.

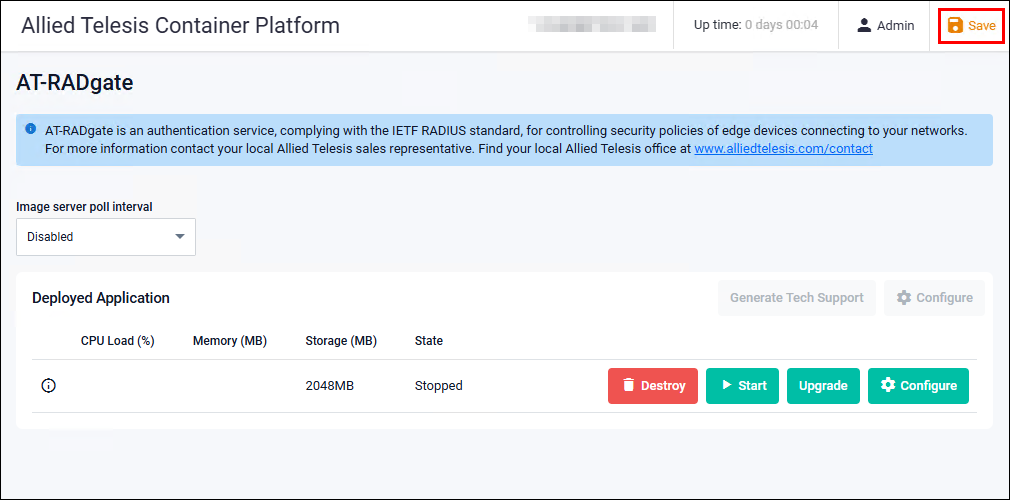
- When "State" changes to "Stopped" and the "Destroy" and "Start" buttons appear, the AT-RADgate application has been successfully stopped.
Click the "Save" button at the top right of the page to save the stopped state.
Procedure for removing the AT-RADgate application
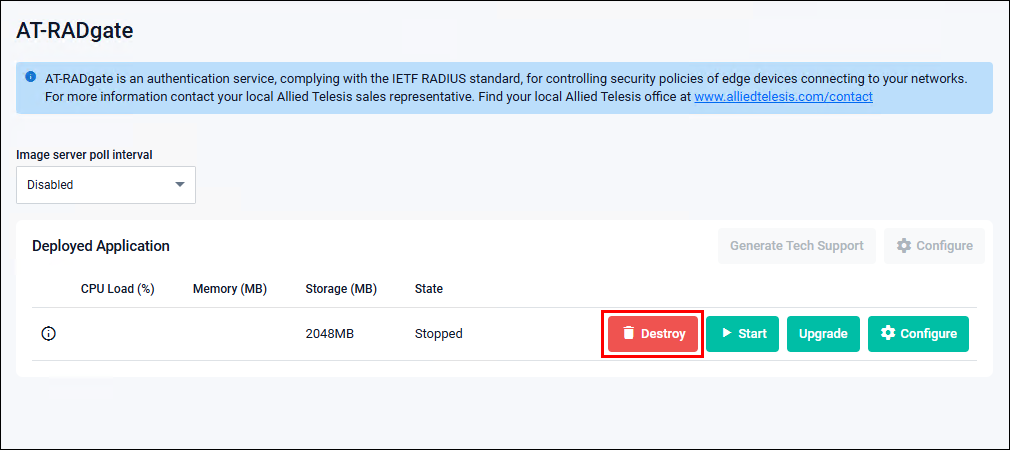
You can delete the stopped AT-RADgate application.NoteClicking the "Destroy" button on the "Deployed Application" section of the AT-RADgate management page deletes the application from the Allied Telesis Container Platform.If the AT-RADgate application is deleted, the license and configuration information are also deleted. Exercise caution when deleting the application.
It is recommended not to delete the application unless it is required for troubleshooting or there are no plans to restore it.
NoteDeleting the AT-RADgate application prevents the use of the existing license for future installations.
Since reissuing the license is required, record the internal serial number after reinstallation and contact our sales engineer.
Backup and Restore configuration files
This section explains how to save the configuration file (default.cfg) of the Allied Telesis Container Platform and how to restore it from the configuration file (default.cfg).For details on backing up and restoring the AT-RADgate application, refer to Quick Tour > Backup and Restore AT-RADgate.
NoteThe configuration file (default.cfg) of the Allied Telesis Container Platform can only be restored using the same firmware version as when it was obtained. For example, a configuration file backed up using firmware version 1.11.1 can only be restored with firmware version 1.11.1. Therefore, if the configuration file was not obtained using the firmware version to be used, restoration of the settings is not possible. Reconfiguration is required.
Saving the configuration file
When the configuration of the Allied Telesis Container Platform is changed or an application is set to the running state, the "Save" button in the navigation bar at the top of the page turns orange. By clicking the "Save" button, the configuration of the Allied Telesis Container Platform is saved.When the "Save" button is clicked, a file named "default.cfg" is created on the "File Management" page (if it already exists, it is overwritten).
This file stores the configuration of the Allied Telesis Container Platform at the time the "Save" button is clicked, so it can be used as a backup file for the configuration.
Procedure for backing up configuration files
This section explains the procedure for backing up the configuration file of the Allied Telesis Container Platform to the management PC.- Log in to the Allied Telesis Container Platform and perform the necessary configuration.
- After completing the configuration, click the "Save" button in the navigation bar at the top of the page.
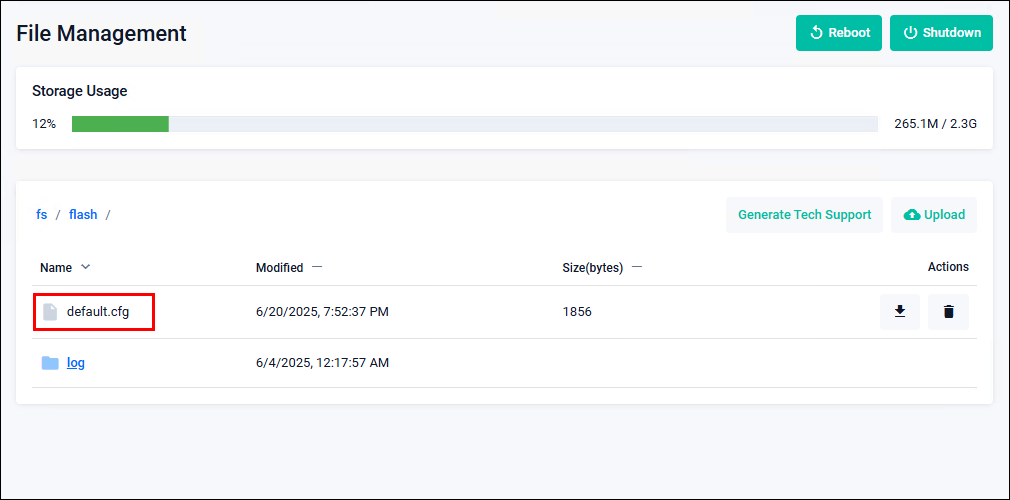
- Open the Allied Telesis Container Platform > File Management page and check the "default.cfg" file.
- Click the "Down Arrow icon (Download)" button to the right of the "default.cfg" file.
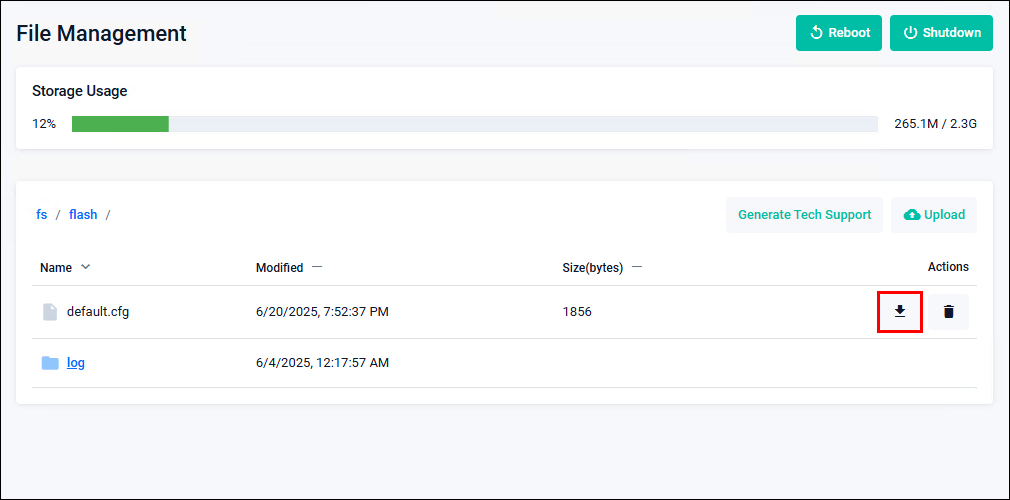
- Follow the instructions displayed by the web browser to save the "default.cfg" file.
To restore the configuration file
Restore the running Allied Telesis Container Platform to the state saved in a previously created backup.Follow the steps below to restore the configuration file.
NoteTo restore the configuration, it is necessary to restart the Allied Telesis Container Platform.
NoteDo not click the "Save" button until the restart of the Allied Telesis Container Platform is complete.
Since the "default.cfg" file is created based on the configuration at the time the "Save" button is clicked, it is not possible to restore the system to the state saved in a previously created backup.
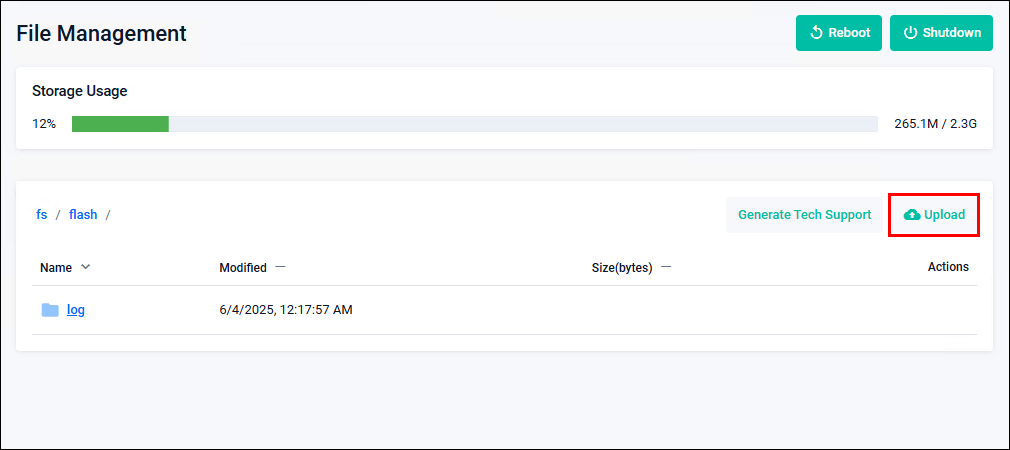
- Log in to the Allied Telesis Container Platform and open the Allied Telesis Container Platform > File Management page.
- Click the "Trash icon (Delete)" button to the right of the "default.cfg" file.
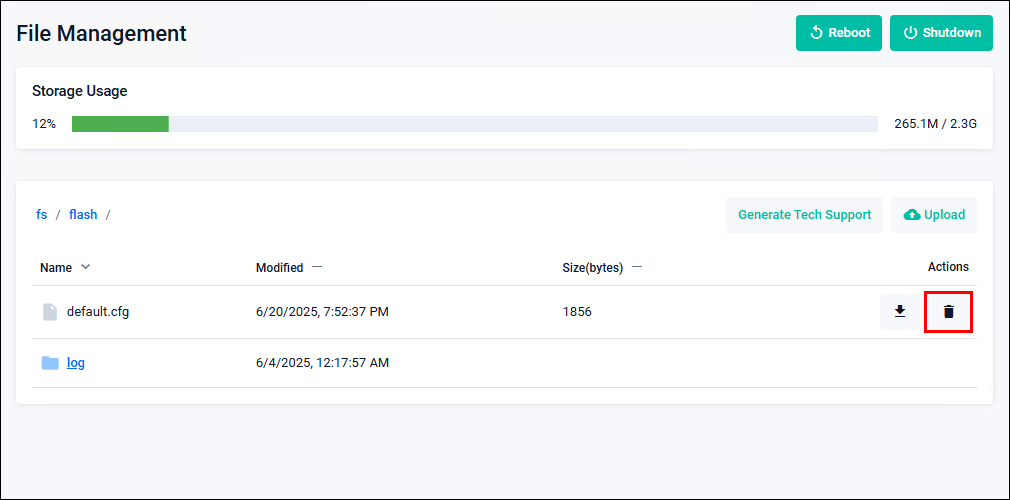
- A confirmation page appears, so click the "Delete" button.
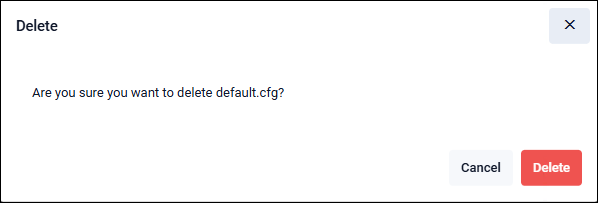
Note
The "Save" button turns orange, but do not click it.
When the "Save" button is clicked, the "default.cfg" file is created. - Click the "Upload" button.
- Select the previously saved "default.cfg" file, then click the "Open" button.
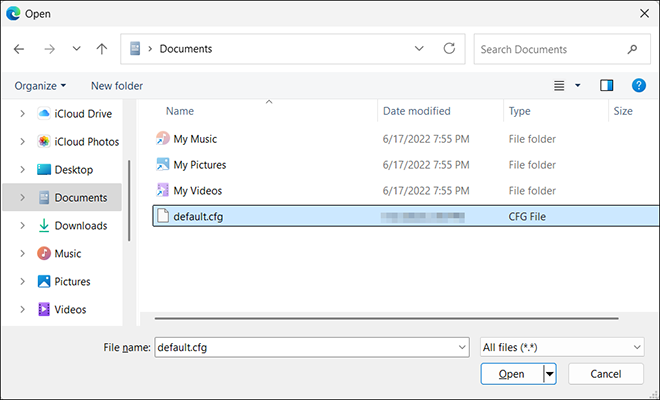
- Confirm that the "default.cfg" file is displayed.
Note
The "Save" button turns orange, but do not click it. The settings in the uploaded "default.cfg" file overwrite the current settings at the moment the "Save" button is clicked.
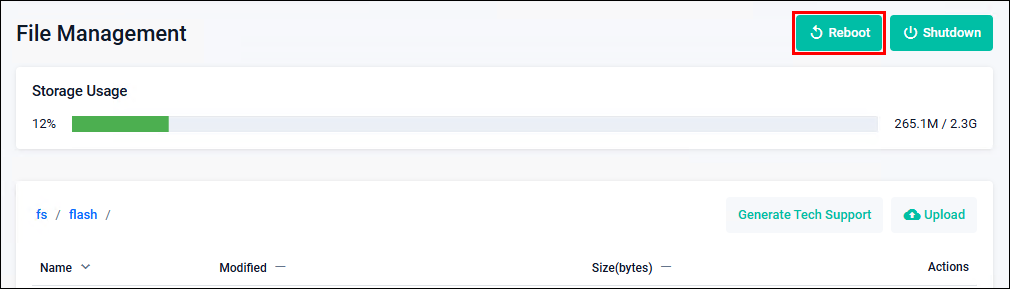
- Click the "Reboot" button to restart the Allied Telesis Container Platform.
02 Oct 2025 12:05