Providing Guest Network by the UnAuth Group
This section explains how to allow unregistered devices to temporarily use your network according to the specific security policy.
You can use the UnAuth Group to provide unregistered devices with the guest network service.
What is the UnAuth Group
Devices that fail normal authentication and that match specific Location and Schedule conditions are called the UnAuth Group, and are connected to a dedicated network.Devices are regarded as unauthenticated if
- its MAC address is not registered in AT-SESC's database.
- it's registered but does not match its Location policy (e.g. moved to other floors or switch)
- it's registered but does not match its Schedule policy (e.g. used in restricted time or schedule expired)
To connect an UnAuth Group to the network, you can set Location and Schedule.
- If you specify Location, the UnAuth Group can access the network only from OpenFlow Switches and AMF Members in the location. If you do not specify Location, the UnAuth Group can access the network from all OpenFlow Switches and AMF Members.
- If you specify a Schedule, the group can access the network only when the schedule is effective. If you do not specify a schedule, a device can always access the network.
While a device is connecting to the network as a member of the UnAuth Group, the device is automatically moved to the other network prepared for the authorized devices when the device gets promoted to the authorized state (because the scheduled time has begun for example).
Adding the UnAuth Group
As a sequel to the previous section Manually Adding Devices > Registering OpenFlow Switch, this is an example of adding a wireless access point "AT-TQ4400" as an OpenFlow Switch and "AMF-Member_2" as an AMF Member, and providing a Guest Network to devices connected via this OpenFlow Switch during a predetermined period.Registering OpenFlow Switch
Let's register an AT-TQ4400 as an OpenFlow Switch.- Open the Switches > Active OpenFlow Switch List page.
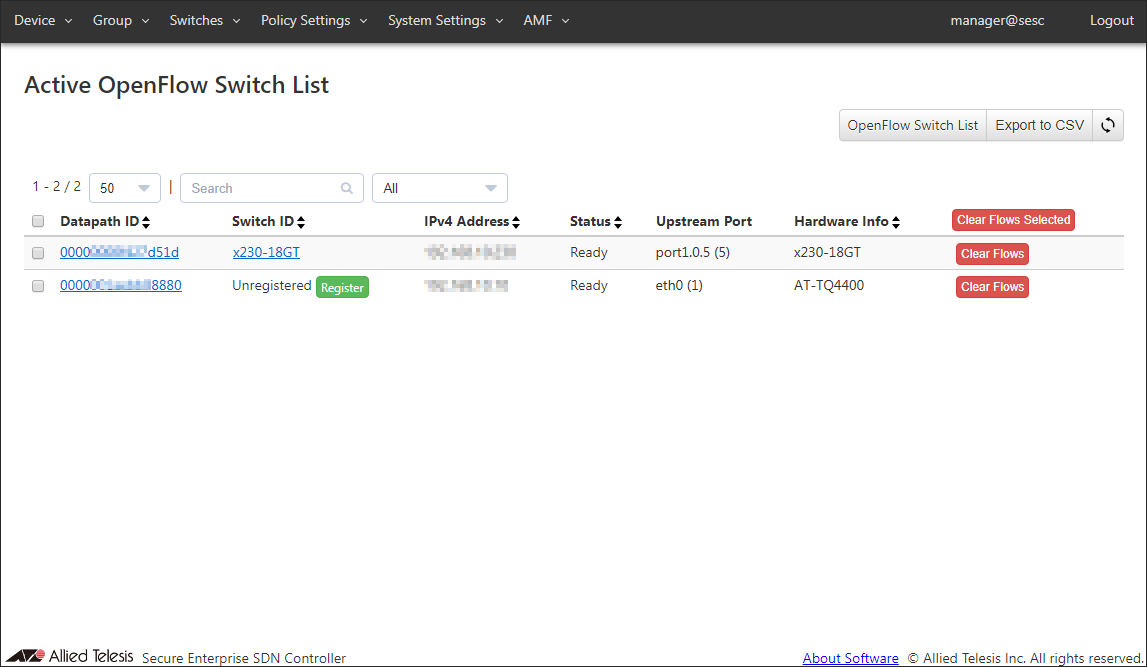
- Before registration, Switch ID column shows a string "Unregistered" and you can see the "Register" button next to it.
To register the AT-TQ4400, click "Register" in the row whose Hardware Information shows "AT-TQ4400" to open the Switches > Add OpenFlow Switch page.
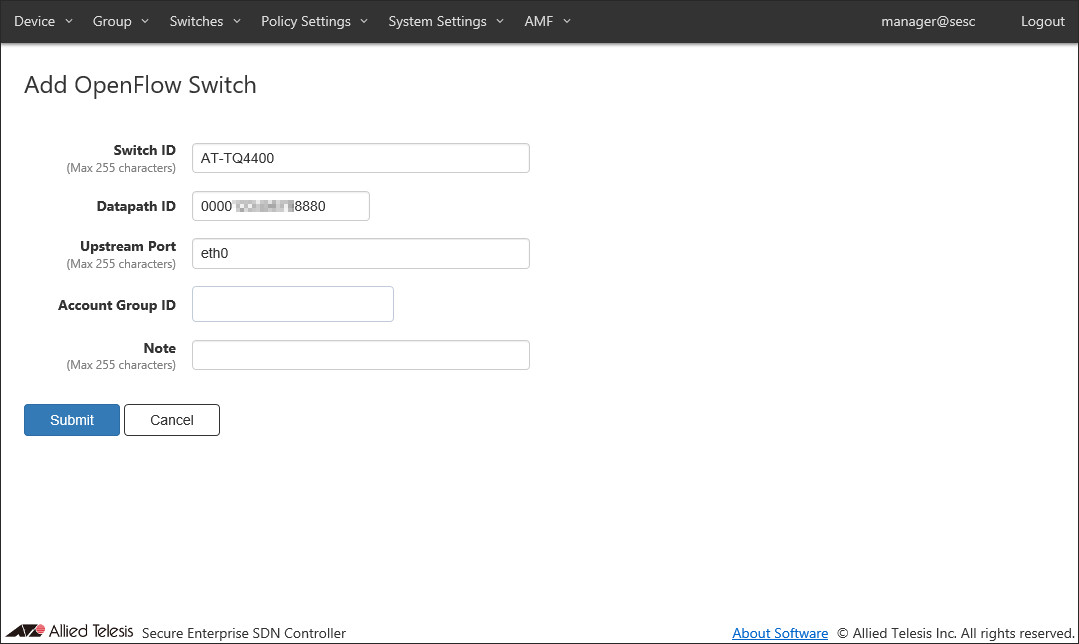
- Set Switch ID, OpenFlow port number or port name to be specified for Upstream Port, and Note.
Note
You do not need to specify Datapath ID because it is automatically configured uniquely for each switch.
Note
Account Group ID to which you belong must be set in advance. In this chapter, no Account Group ID is set.
As an example, configure the settings shown in the following table: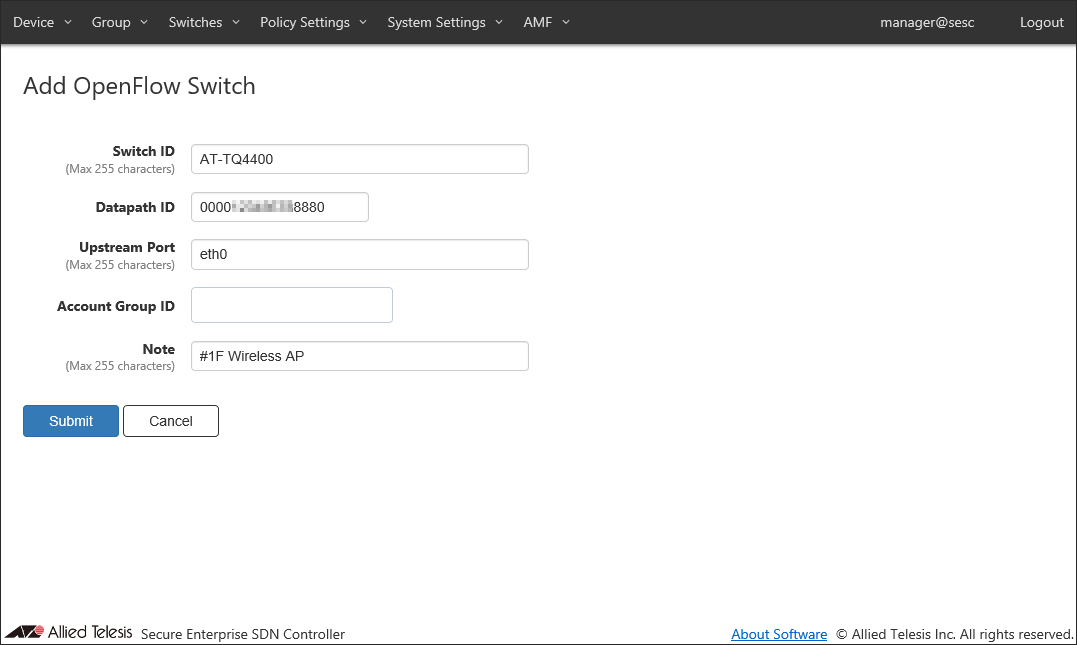
Table 1: Sample Configuration Data
Item Name Value Description Switch ID (Mandatory) AT-TQ4400 (Not Changed) Name of the OpenFlow Switch.
Switch ID and Name that are already used cannot be set on the Switches > OpenFlow Switch List page and the Switches > AMF Member List page.
Max 255 characters.
By default, the model name shown in "Hardware Information" is set automatically.Datapath ID (Mandatory) auto-generated (No Change) OpenFlow Switch's Datapath ID (used by OpenFlow controller to identify this switch).
There's no need to change this in most cases because it is automatically generated or configured. Auto-generated Datapath ID is a 16 character HEX string which added leading zeros to the switch's MAC address.
Datapath ID must be unique.Upstream Port eth0 (Not Changed) Upstream port of the switch.
Only one upstream port can be specified for a switch.
Port can be specified as either a port name or an OpenFlow port number.Account Group ID (None) Select Account Group ID to which OpenFlow Switch belongs. Note #1F Wireless AP Arbitrary string (comment) for the switch.
Max 255 characters.Note
If datapath ID is inconsistent between the AT-SESC and the switch, packet forwarding ceases on its OpenFlow ports.
- Click "Submit".
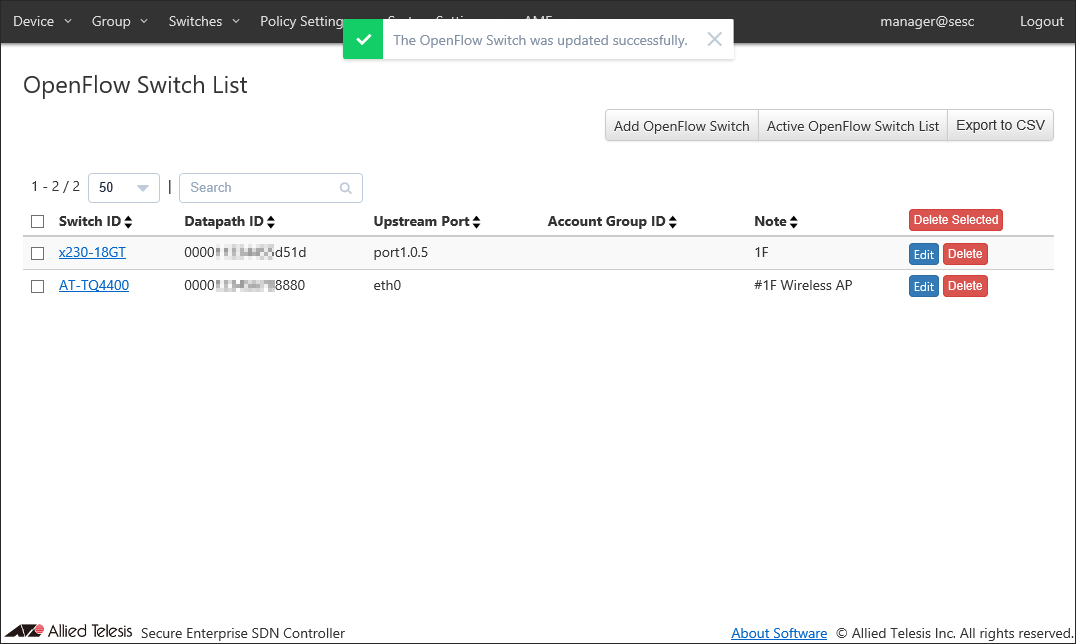
Once the OpenFlow Switch is registered, the Switches > OpenFlow Switch List page reflects the newly added information.
Registering AMF Members
Register a host with the hostname "AMF-Member_2" as an AMF Member.- Open the Switches > Active AMF Member List page.
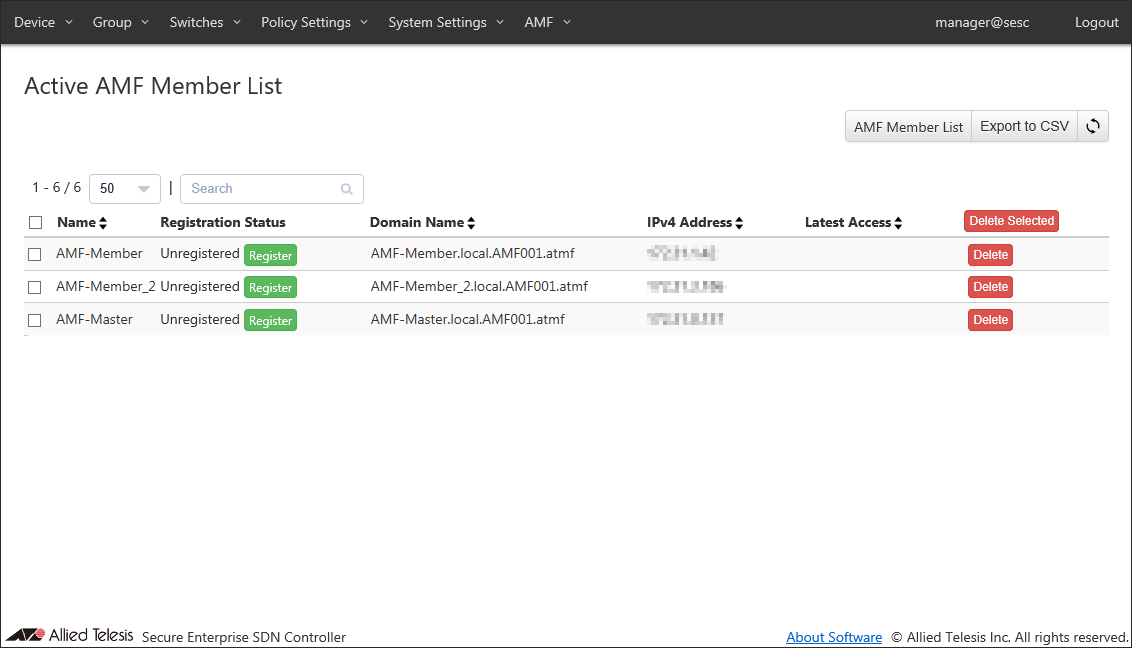
- Before registration, Register Status column shows a string "Unregistered" and you can see the "Register" button next to it.
To register the AMF-Member_2, click the "Register" in the row whose Register Status shows "AMF-Member_2" to open the Switches > AMF Member Add page.
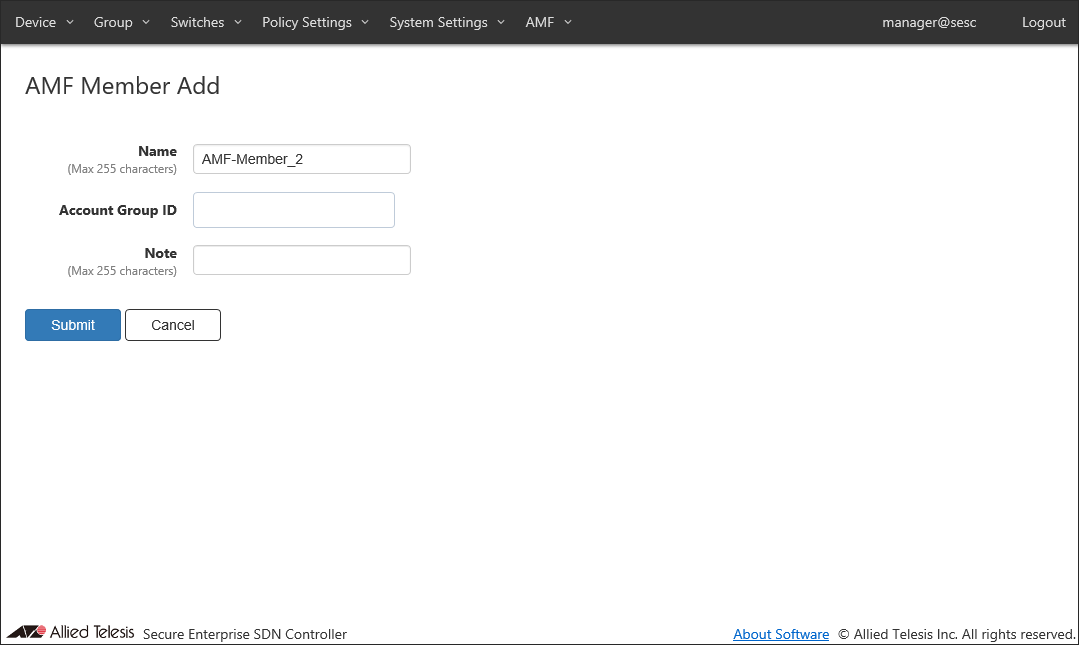
- Enter something in Note.
Note
Account Group ID to which you belong must be set in advance. In this chapter, no Account Group ID is set.
As an example, configure the settings shown in the following table: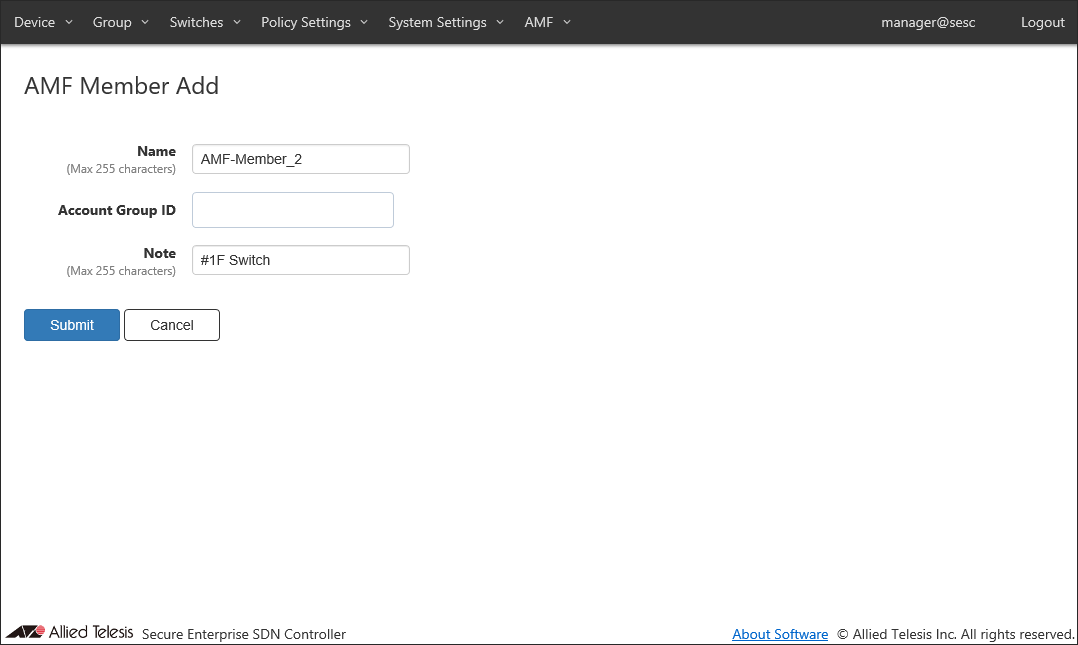
Table 2: Sample Configuration Data
Item Name Value Description Name (Mandatory) AMF-Member_2 (Not Changed) Name of the AMF Member.
Switch ID and Name that are already used cannot be set on the Switches > OpenFlow Switch List page and the Switches > AMF Member List page.
Max 255 characters. Can use alphanumeric, hyphen (-) and underscore (_).Account Group ID (None) Select Account Group ID to which AMF Member belongs. Note #1F Switch Arbitrary string (comment) for the AMF Member.
Max 255 characters.Note
Name must be the same as the host name of AMF Member. This is because AMF Member is managed by the host name of AMF Member.
- Click "Submit".
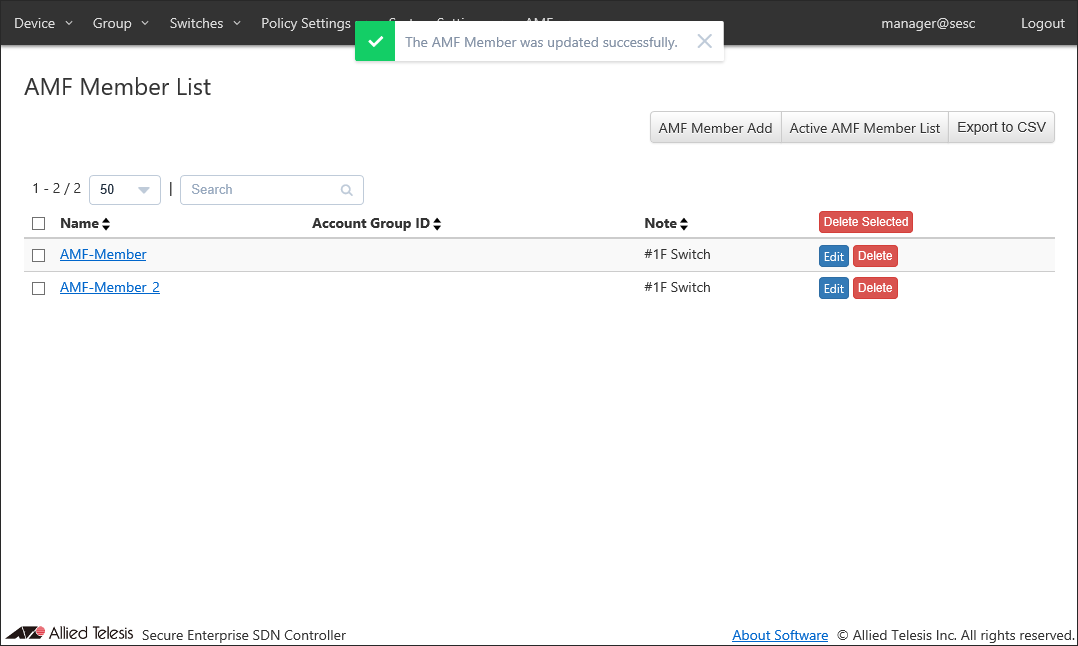
Once the AMF Member is registered, the Switches > AMF Member List page reflects the newly added information.
Registering Guest Network
To separate unauthenticated devices from the production network, add a new network for guest access.- Open the Policy Settings > Network List page.
This page shows the list of networks registered in AT-SESC's database.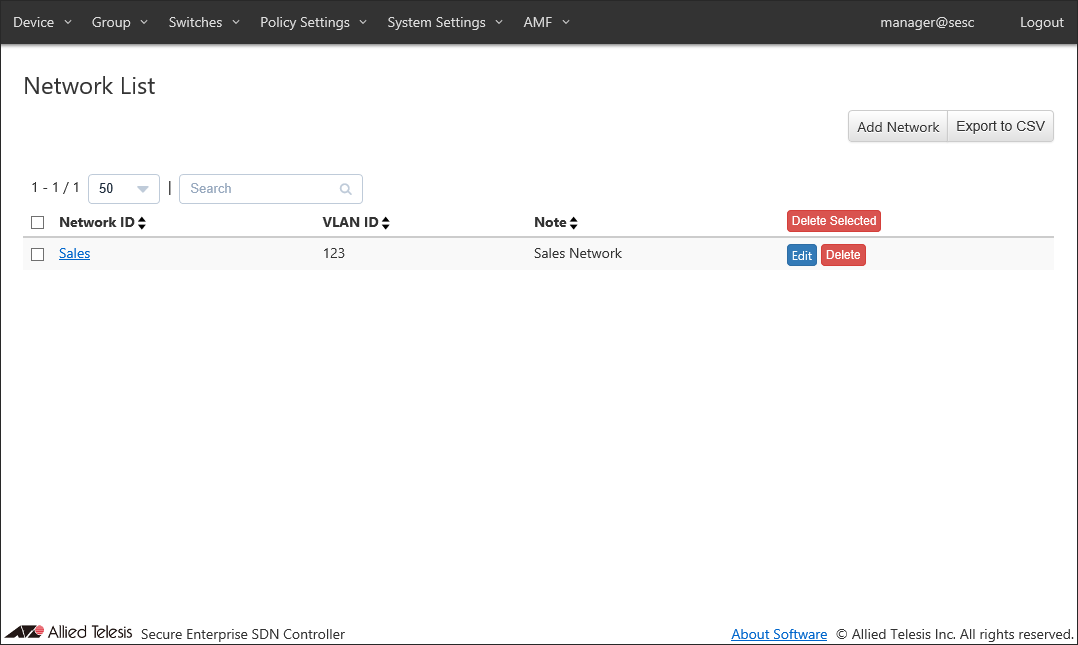
At this point, the network "Sales" (vlan123) is registered.
- Click the "Add Network" button at the top right corner to move to the Policy Settings > Add Network page.
This page lets you specify a network ID (network name) and a VLAN ID for the network.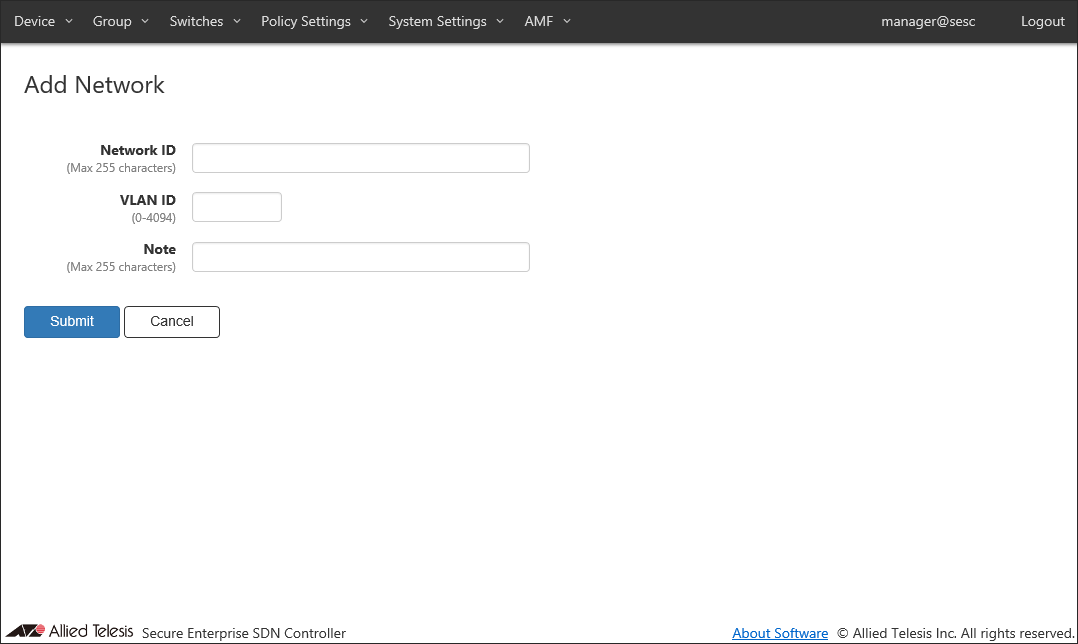
Later you can use the network to specify which VLAN a device can belong to. AT-SESC achieves this by telling switches to add appropriate VLAN tags to the packet originating from the allowed devices.
- Enter information for the network to add.
As an example of registering the network "Guest", configure the settings shown in the following table: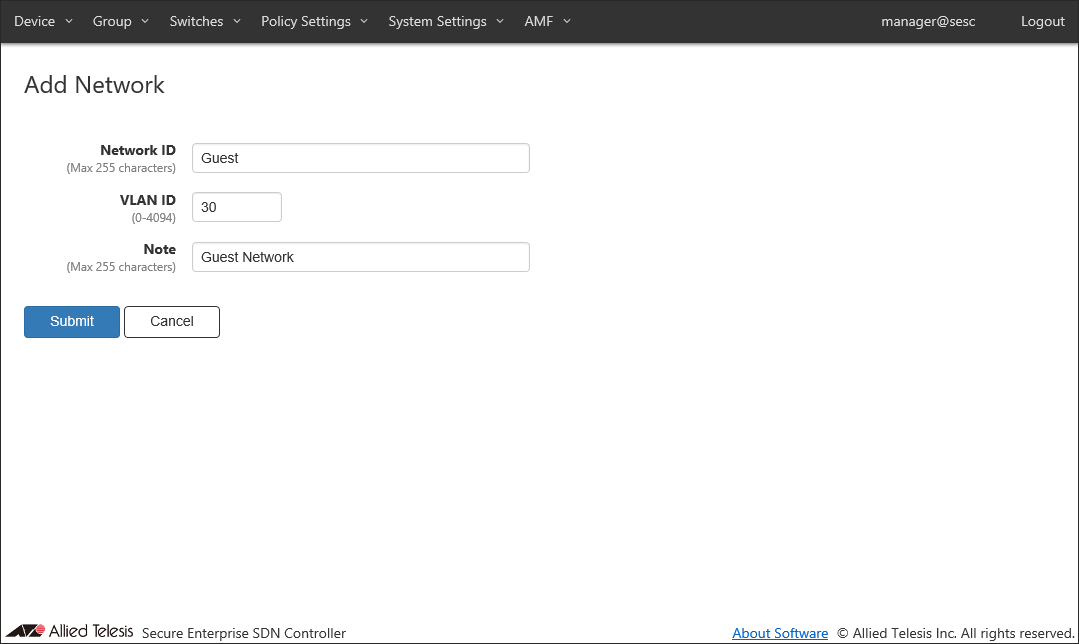
Table 3: Sample Configuration Data
Item Name Value Description Network ID (Mandatory) Guest ID (Name) of the network.
Network ID must be unique.
Max 255 charactersVLAN ID (Mandatory) 30 A VLAN ID for the network. You cannot specify a VLAN ID which is already assigned to another network.
If you specify VLAN ID 0, VLAN tag is not added for the network. This is the same as the network is not specified in a policy.
VLAN ID must be in the range of 0 to 4094.Note Guest Network Arbitrary string (comment) for the network.
Max 255 characters.
- Click "Submit".
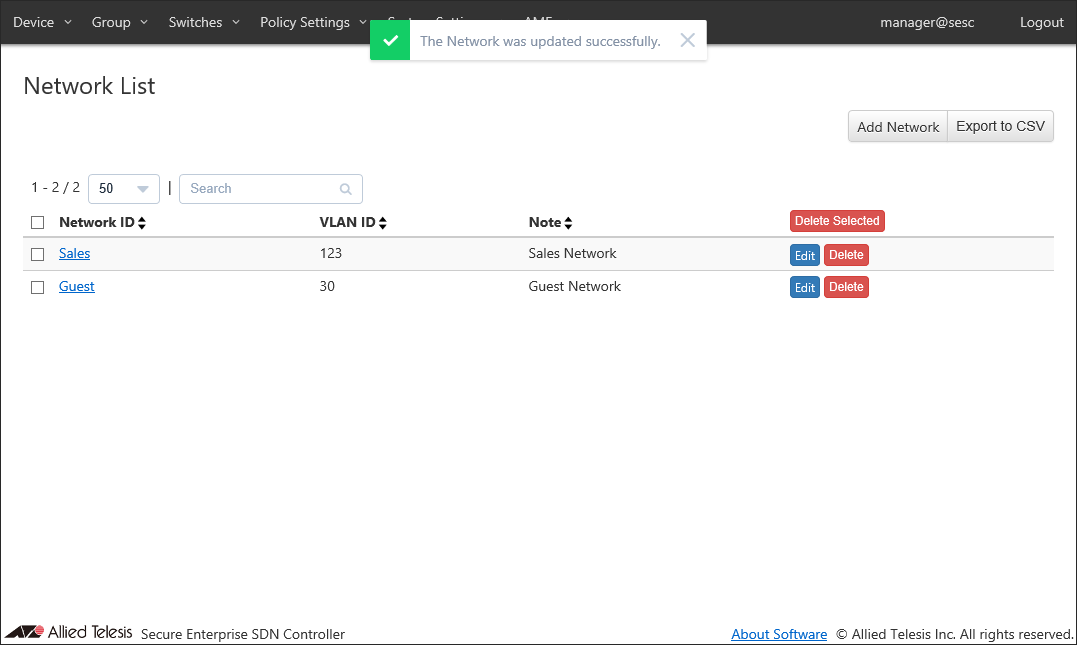
Once the network is registered, the Policy Settings > Network List page reflects the newly added information.
Registering Location
Add a new location where the OpenFlow Switch and the AMF Member are installed.Location can be added on the Policy Settings > Add Location page.
This time, OpenFlow Switch "AT-TQ4400" and AMF Member "AMF-Member_2" is added to the new location "1F Conference Room".
- Open the Policy Settings > Location List page.
This page lists registered locations in AT-SESC. At this point, only location "1F" is registered.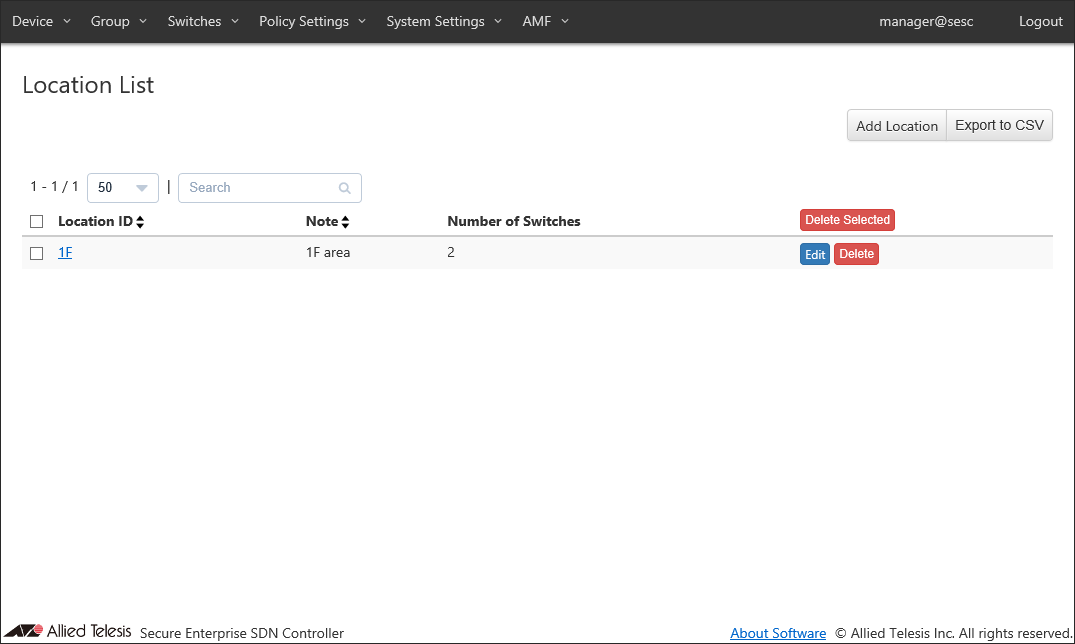
- Click the "Add Location" button at the top right corner of the Policy Settings > Location List page to move to the Policy Settings > Add Location page.
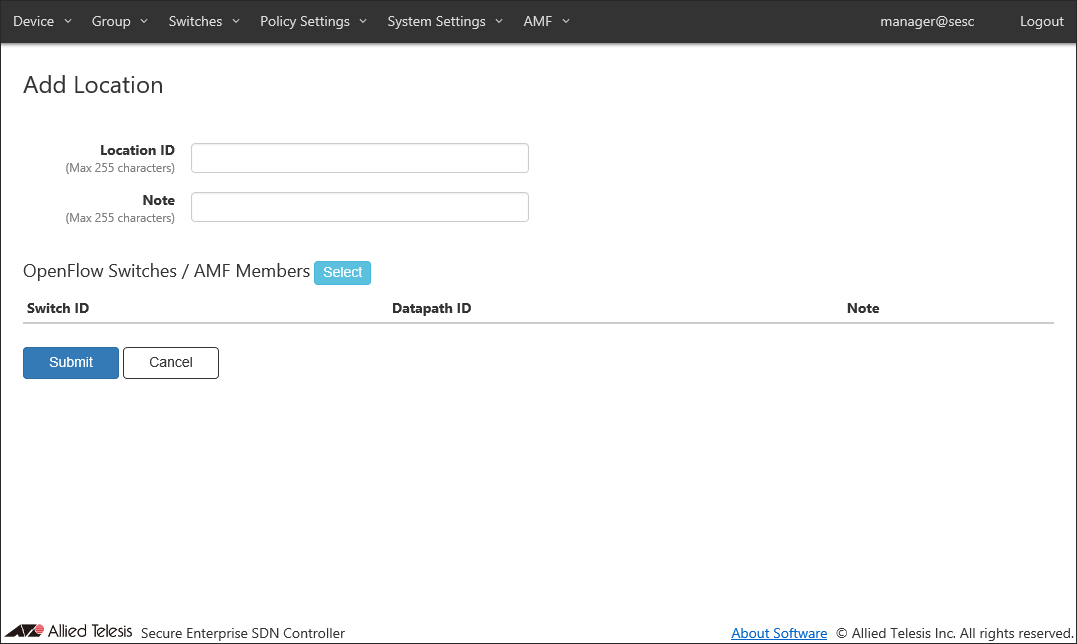
- Enter information about the new location.
As an example of registering the location "1F Conference Room", configure the settings shown in the following table: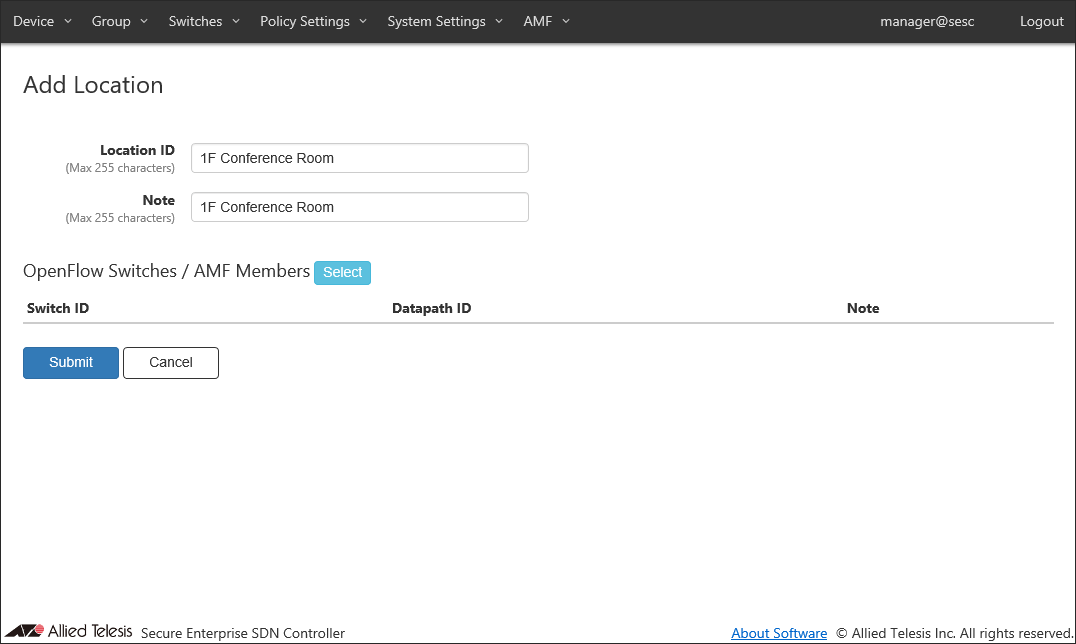
Table 4: Sample Configuration Data
Item Name Value Description Location ID (Mandatory) 1F Conference Room ID (Name) of the location.
Location ID must be unique.
Max 255 charactersNote 1F Conference Room Arbitrary string (comment) for the location.
Max 255 characters.
- Click the "Select" button next to "OpenFlow Switches / AMF Members".
The Policy Settings > OpenFlow Switches / AMF Members dialog appears and shows OpenFlow Switch "x230-18GT", "AT-TQ4400" and AMF Member "AMF-Member_2".
Assuming that the "AT-TQ4400" and "AMF-Member_2" are installed in the physical location "1F Conference Room", select checkboxes for those switches.
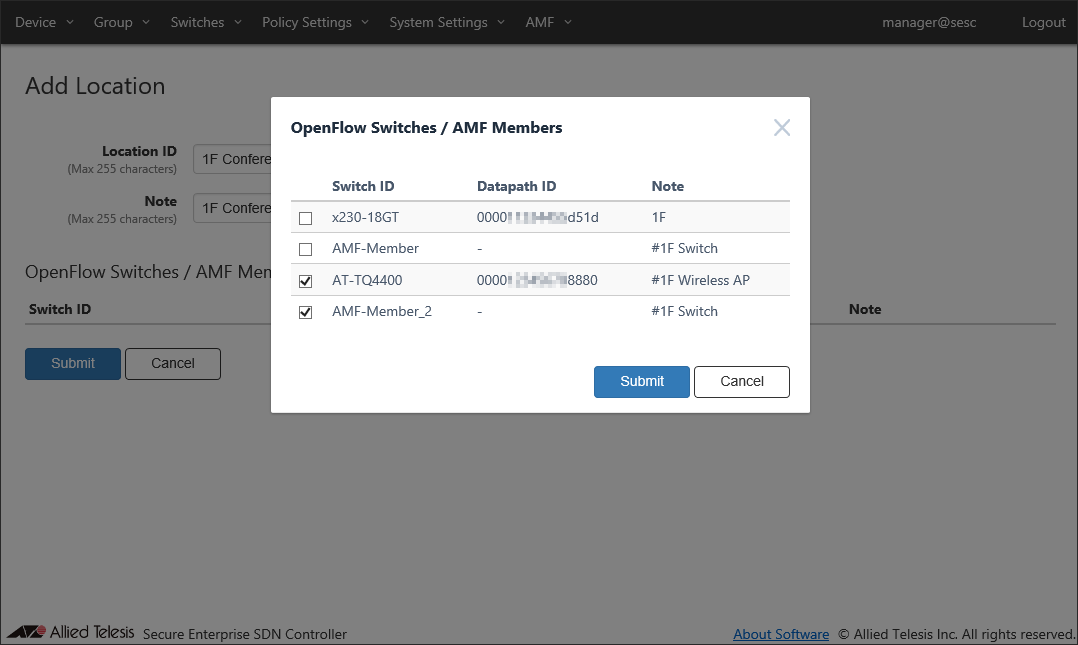
- Click "Submit".
Now the "AT-TQ4400" and "AMF-Member_2" have been added and listed in the "OpenFlow Switches / AMF Members " section of the Policy Settings > Add Location page.
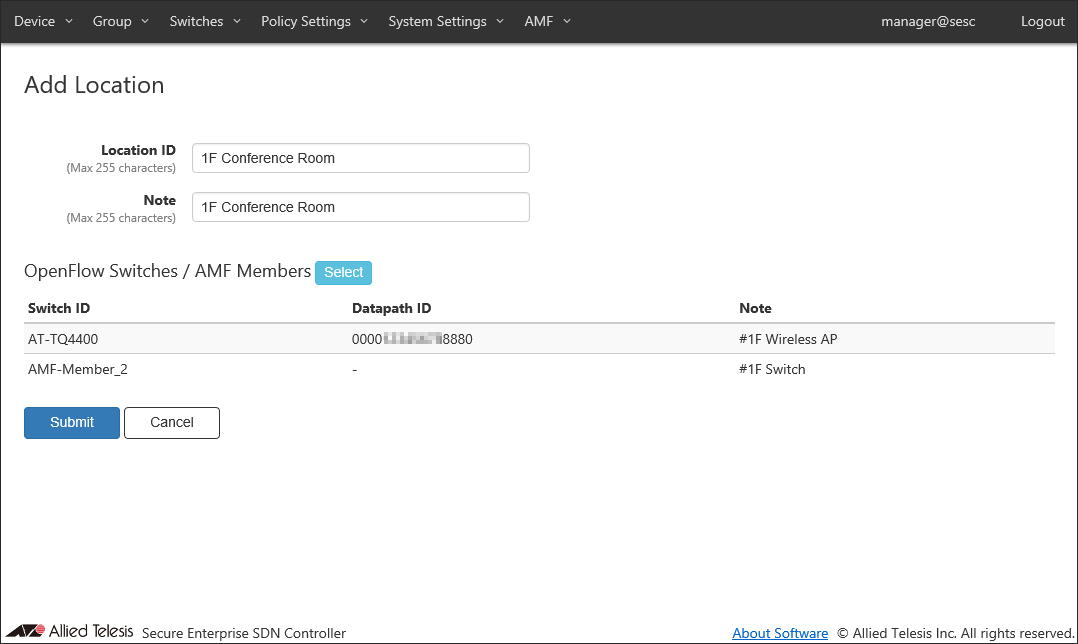
- Click "Submit".
Once the location was added, the Policy Settings > Location List page reflects the newly added information.

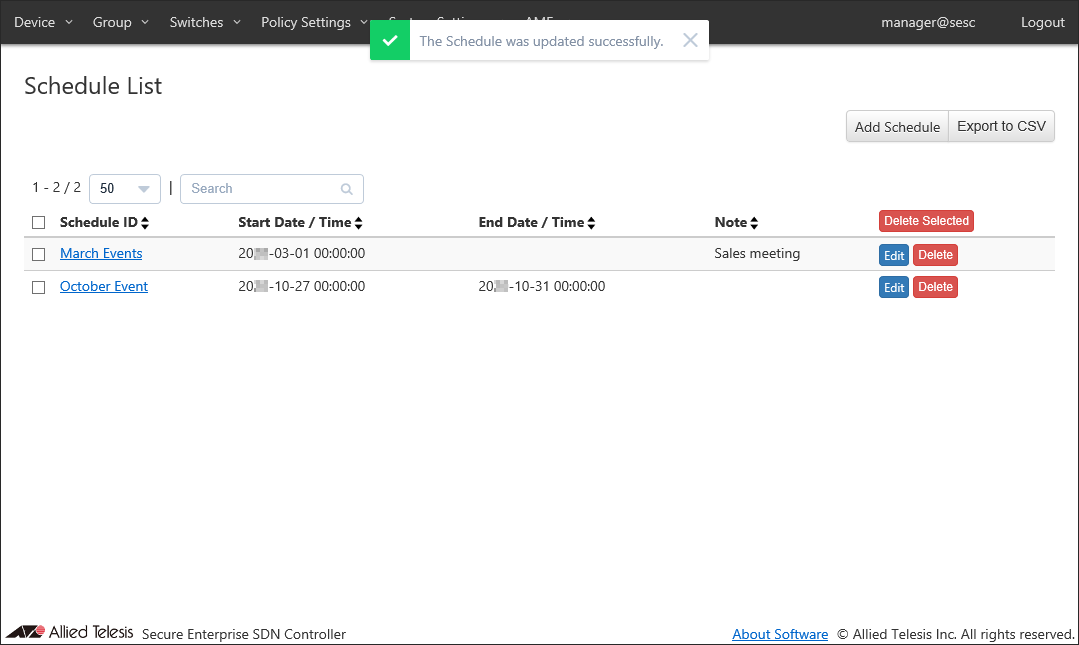
Registering Schedule
Add a new schedule to define a time period when the guest network can be accessible. By adding the schedule, you can permit unauthorized devices only in that period.- Open the Policy Settings > Schedule List page.
This page shows the list of schedules.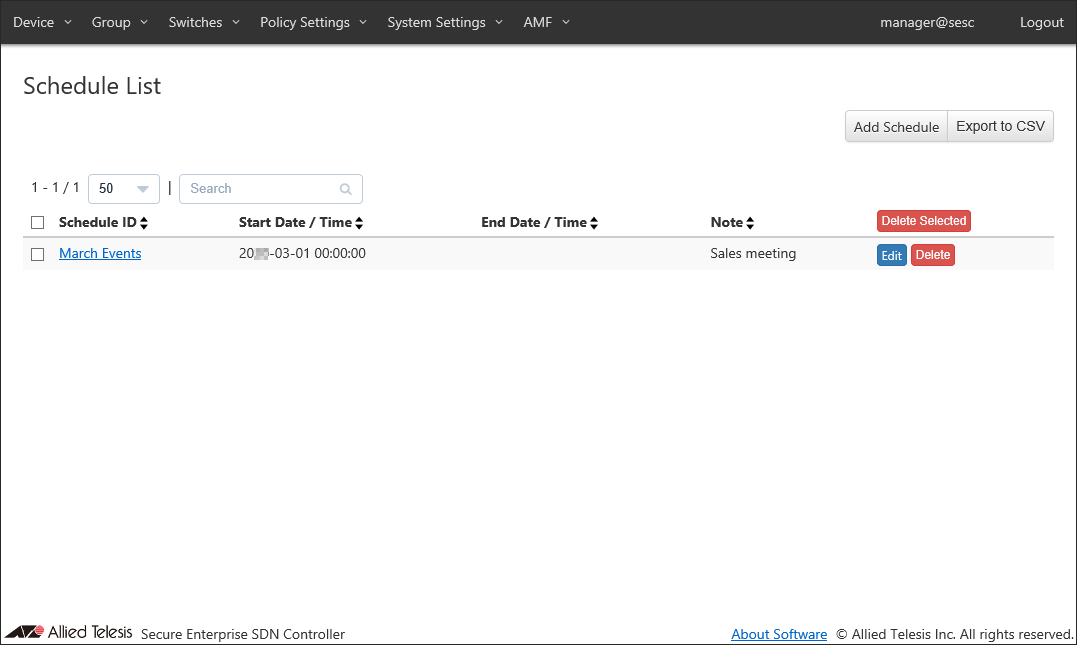
At this point, the schedule "March Events" is registered.
- Click the "Add Schedule" button at the top right corner of the Policy Settings > Schedule List page to move to the Policy Settings > Add Schedule page.
By adding schedules, you can control when a device can connect to the network. If one of the Starting or End Date / Time is not specified in a schedule, AT-SESC treats it as if it has no time limitation.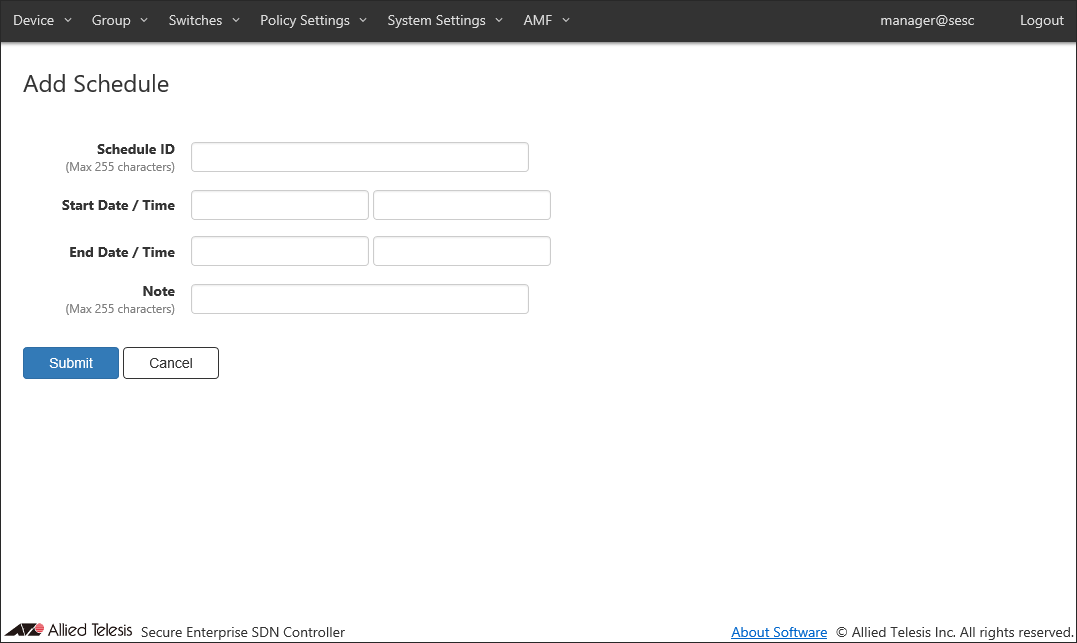
- Enter information about the new schedule.
As an example of registering the schedule "October Event", configure the settings shown in the following table: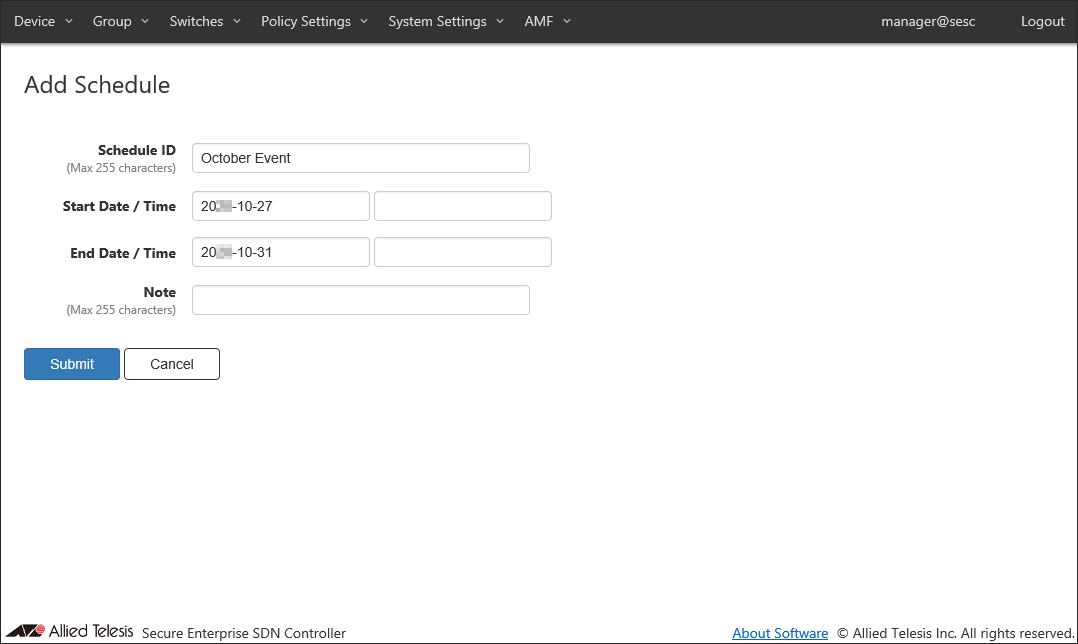
Table 5: Sample Configuration Data
Item Name Value Description Schedule ID (Mandatory) October Event ID (Name) of the schedule.
Schedule ID must be unique.
Max 255 charactersStart Date / Time 20XX-10-27 00:00:00 The beginning of the time range when a device is allowed to connect to the network.
Date / Time can be selected using calendar controls or entered manually. When you enter them manually, use the format "YYYY-mm-dd" for date and "HH:MM:SS" for time.End Date / Time 20XX-10-31 00:00:00 The end of the time range when a device is allowed to connect to the network.
Date / Time can be selected using calendar controls or entered manually. When you enter them manually, use the format "YYYY-mm-dd" for date and "HH:MM:SS" for time.Note (empty) Arbitrary string (comment) for the schedule. Max 255 characters.
- Click "Submit".
Once the schedule was added, the Policy Settings > Schedule List page reflects the newly added information.
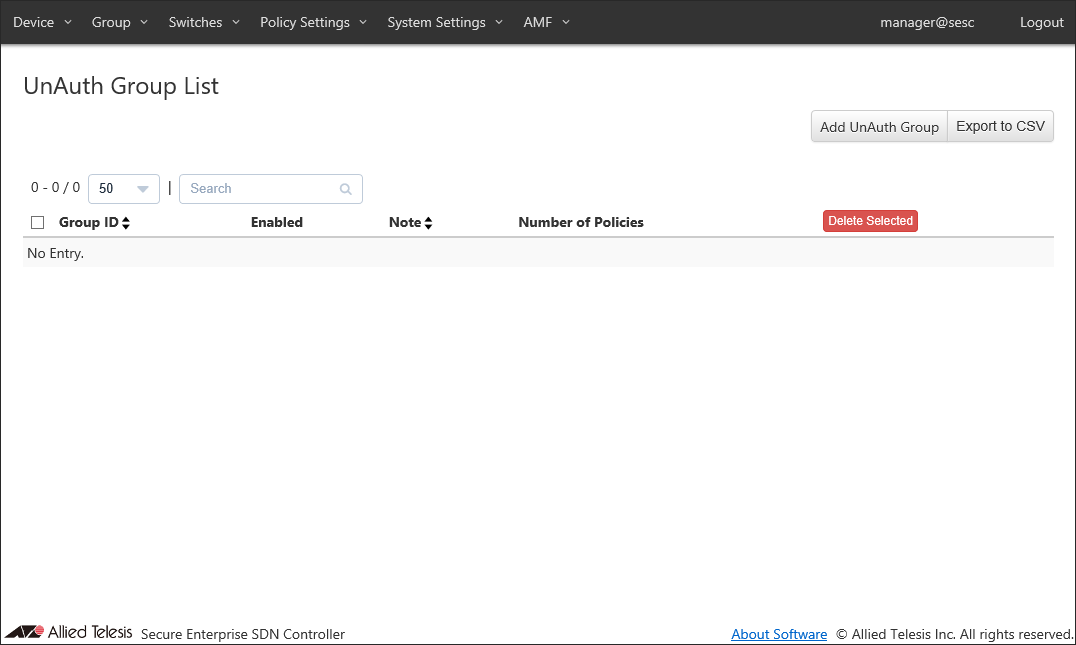
Adding the UnAuth Group
Create the UnAuth Group using the newly added security policy elements.- Open the Group > UnAuth Group List page.
- Click the "Add UnAuth Group" button at the top right corner to move to the Group > Adding UnAuth Group page.
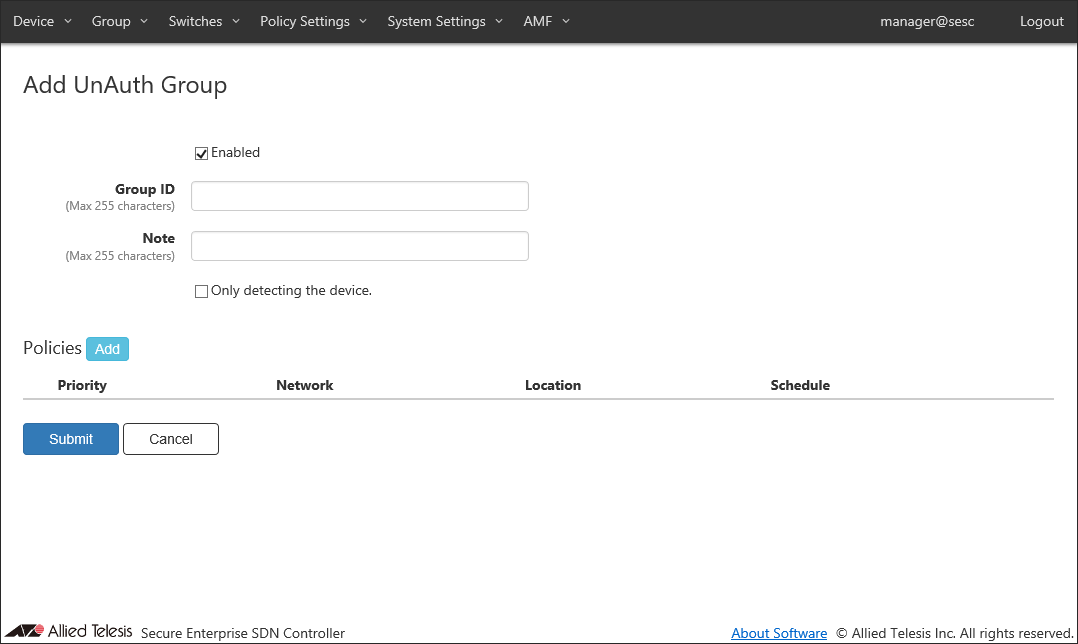
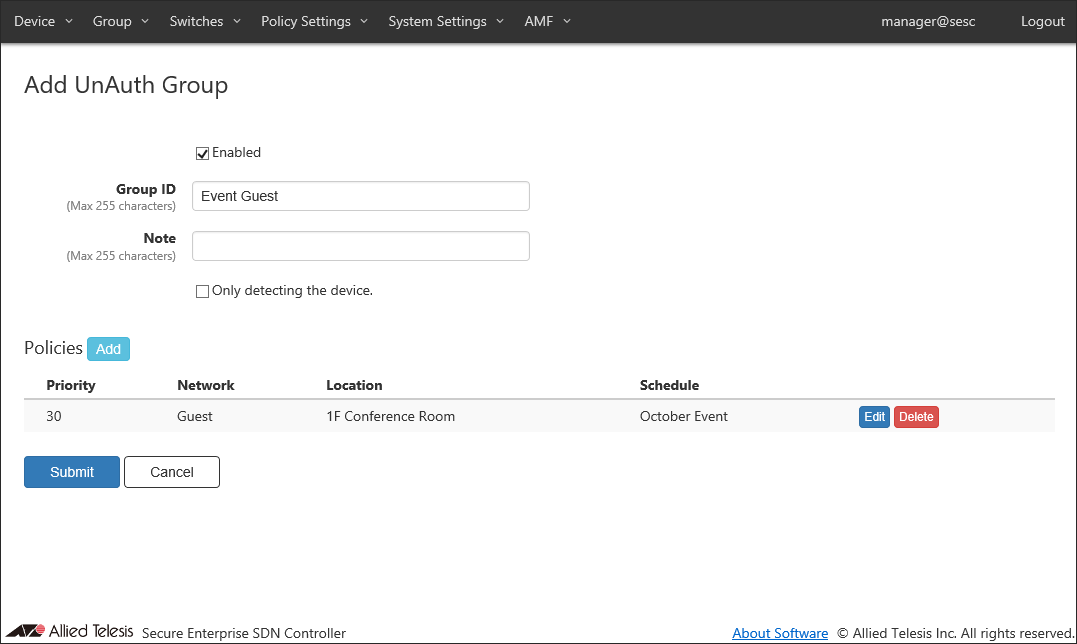
- Make sure that "Enabled" is checked.
- Enter a Group ID and a Note for the group.
In this example, set the Group ID to "Event Guest" and set the Note to blank.

- If "Only detecting the device." is not checked, leaving Network blank connects the device as follows: " is not checked.
If "Only detecting the device. " is checked, MAC Addresses that match the security policy of the UnAuth Group are only detected, and no flow is created to connect to the network.
- Click the "Add" button next to "Policies" to open the Group > Edit Policy dialog.
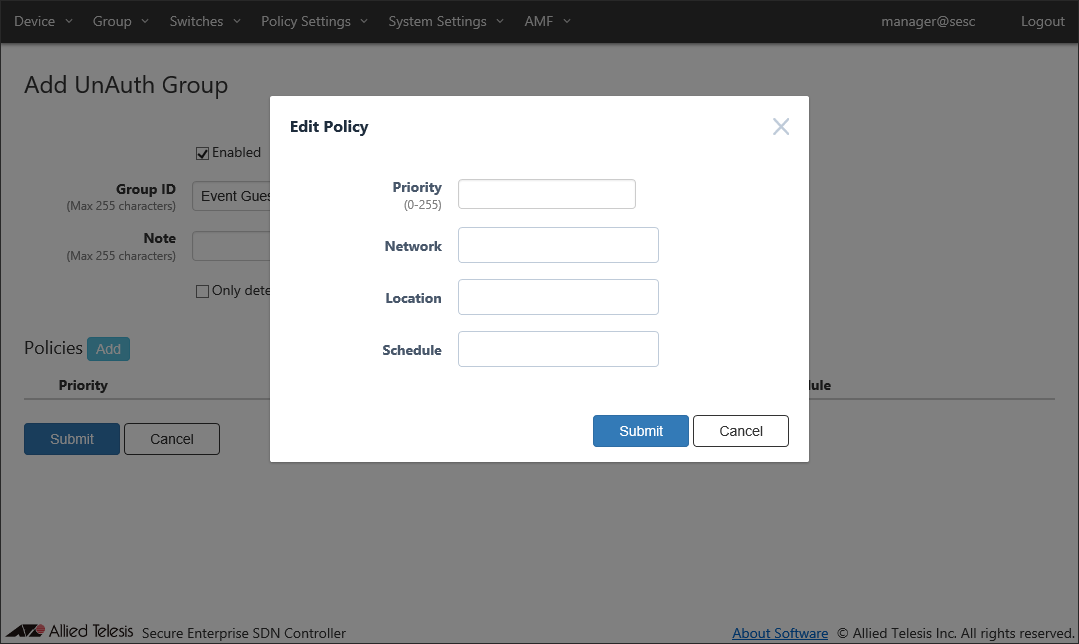
- Now let's specify a priority for the security policy.
In this example, set the priority to "30".
- Specify a network for the UnAuth Group.
In this example, set the network to "Guest".
- Then specify conditions for devices to be in the UnAuth Group.
In this example, set the location to "1F Conference Room" and set the schedule to "October Event".
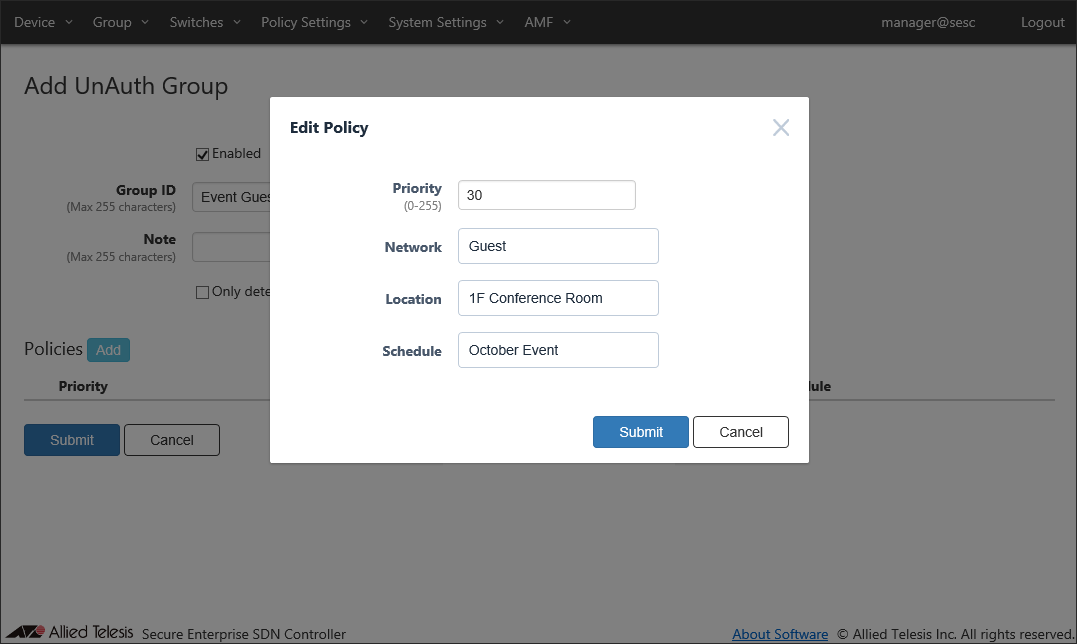
- Click "Submit" to go back to the Group > Add UnAuth Group page.
"Policies" section of the Group > Adding UnAuth Group page shows the security policy which you have just added.
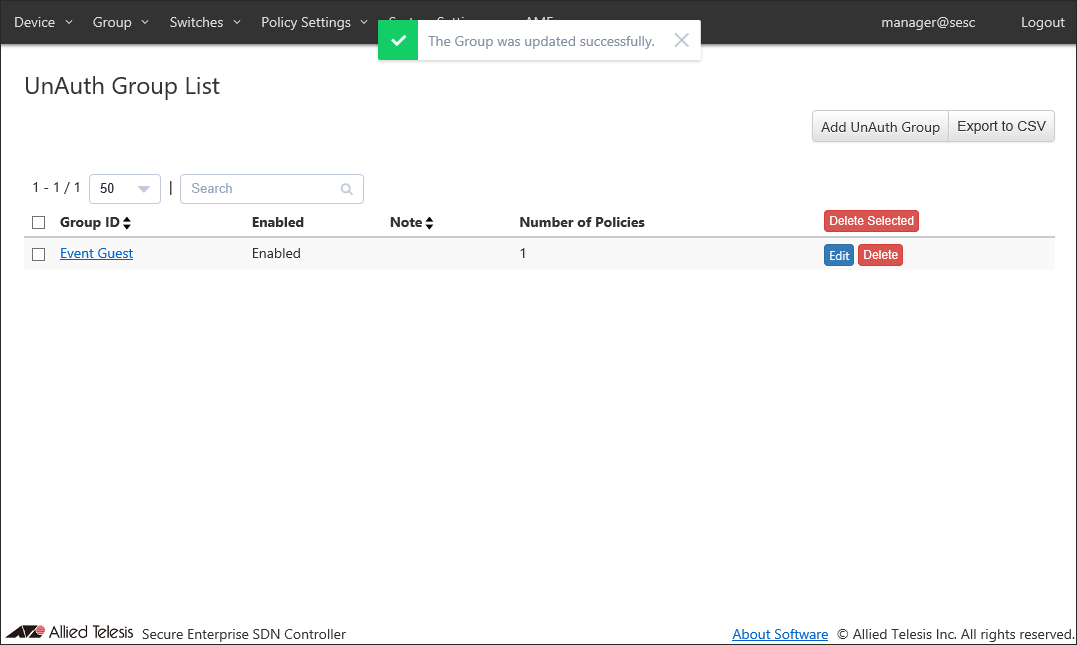
- Click "Submit" to go back to the Group > UnAuth Group List page.
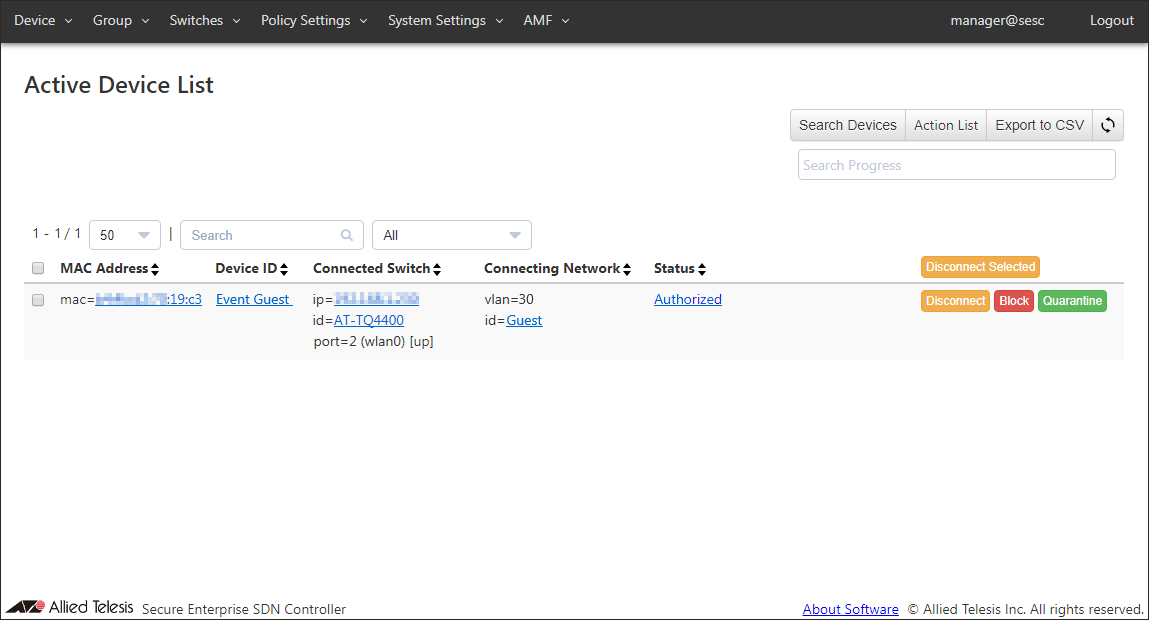
With those settings, devices with MAC address which are not in AT-SESC's device authentication data can access the network "Guest" (vlan30) through the OpenFlow Switch "AT-TQ4400" in the location "1F Conference Room" during the time period from 20XX/10/27 to 20XX/10/31 specified by the UnAuth Group "Event Guest".
- To view the list of devices belonging to the UnAuth Group, go to the Device > Active Device List page.
This page shows you the MAC addresses of the devices which are connecting to the OpenFlow Switches or AMF Members registered in AT-SESC's database.
You can see "Event Guest" in the Device ID column and "vlan=30 id=Guest" in the Connecting Network column. You can also see "Authorized" in the Status column.
14 Jun 2021 09:30