Synchronizing AT-SESC
You can add redundancy to an AT-SESC-controlled network by using two AT-SESC systems and synchronizing authentication data between them.
In a synchronized environment, one AT-SESC system is called primary and the other is called secondary where the database on the primary is copied to the secondary.
By default, the AT-SESC system with lower management IP address becomes the primary.
Once synchronized, all configurations should be done to the primary system. No manual changes can be made to the secondary system.
The following data is synchronized.
Those elements are collectively referred to as security policies. Here is a list of elements of security policies:
- Device
- UnAuth Group
- Switches
- Security Policies
- Network
- Location
- Schedule
- Action
- Network
NoteThe Device > Active Device List page and Switches > Active OpenFlow Switch List page show the live information retrieved from OpenFlow Switches managed by AT-SESC. Therefore, the information displayed on those pages may differ between the primary and secondary's web interfaces.
NoteAMF Application Proxy Whitelist does not support redundant AT-SESC configuration.
Prerequisites for Synchronization
The following requirements must be met to synchronize two AT-SESC systems.- Both systems must be IPv4-reachable with each other through their interfaces used for synchronization.
Those interfaces can be the same as the ones for connecting OpenFlow Switches (i.e. ports acting as control plane port and a management port).
It is also possible to separate synchronization traffic from OpenFlow traffic by using dedicated interfaces for synchronization.
- Both systems must have the same system settings except for interfaces. That's because the system settings are not synchronized.
- Both systems must synchronize their clocks with the same NTP server.
In addition to those, Allied Telesis recommends you to implement the following configurations to devices in the network.
- Configure OpenFlow Switches to use both systems as OpenFlow controllers.
If OpenFlow Switches are using only one OpenFlow controller, the information displayed on the Device > Active Device List and the Switches > Active OpenFlow Switch List pages may differ between the primary and secondary systems.
- Configure applications interacting with AT-SESC to send syslog or trap messages to both AT-SESC systems.
If the applications are configured to send messages to only one of two AT-SESC systems, application actions won't be updated correctly when one of the synchronized systems fails.
If the applications do not support multiple IP addresses to which they send notifications, you can lower the possibility that actions are not updated properly by setting "Syslog Forwarding Destination Hosts" and "SNMP Trap Forwarding Destination Hosts" on the System Settings > Trap Monitor Settings page.
Those elements are collectively referred to as security policies. Here is a list of elements of security policies:
Configuring Synchronization
To synchronize two AT-SESC systems, take the following procedures.NoteAllied Telesis recommends you to download authentication data on both systems for backup before configuring synchronization.
- Make sure that both AT-SESC systems can communicate with each other.
- Open the System Settings > Network Settings page.
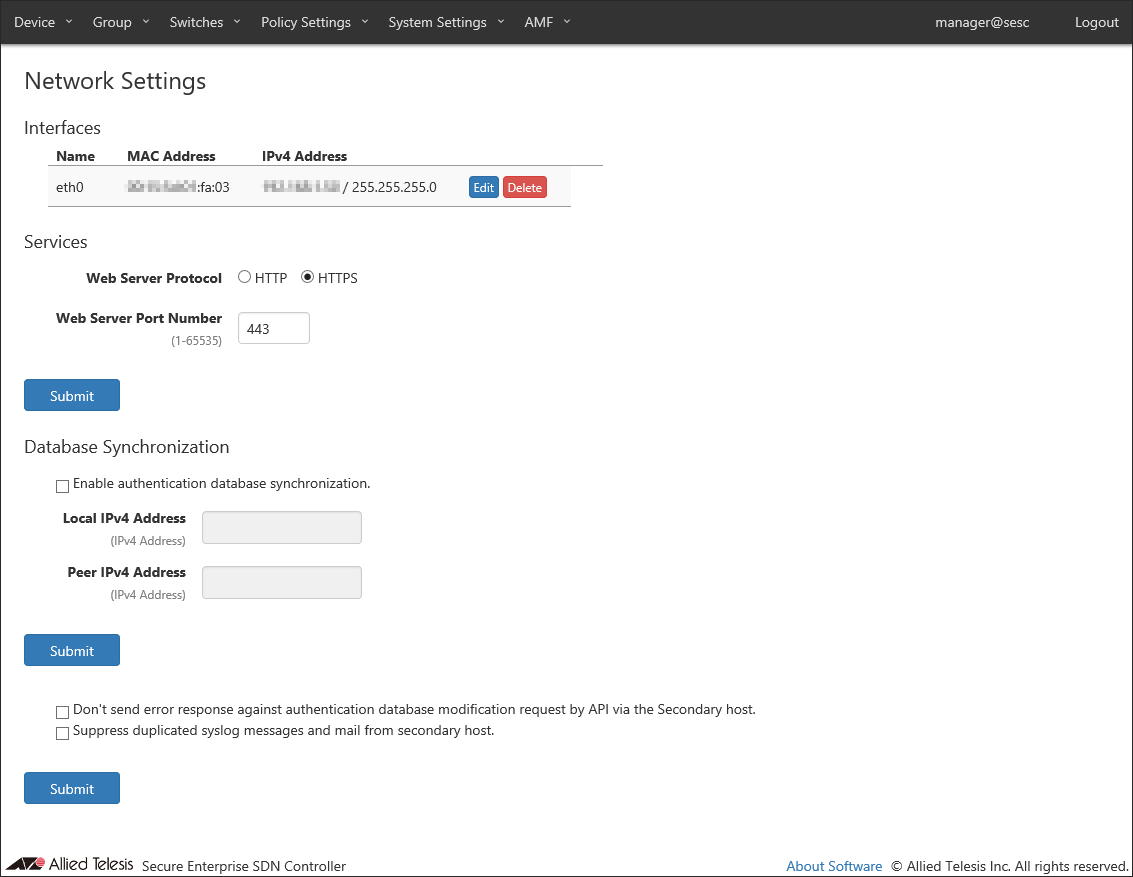
- Make sure to check the "Enable authentication database synchronization. ".
- Enter "Local IPv4 Address" and "Peer IPv4 Address".
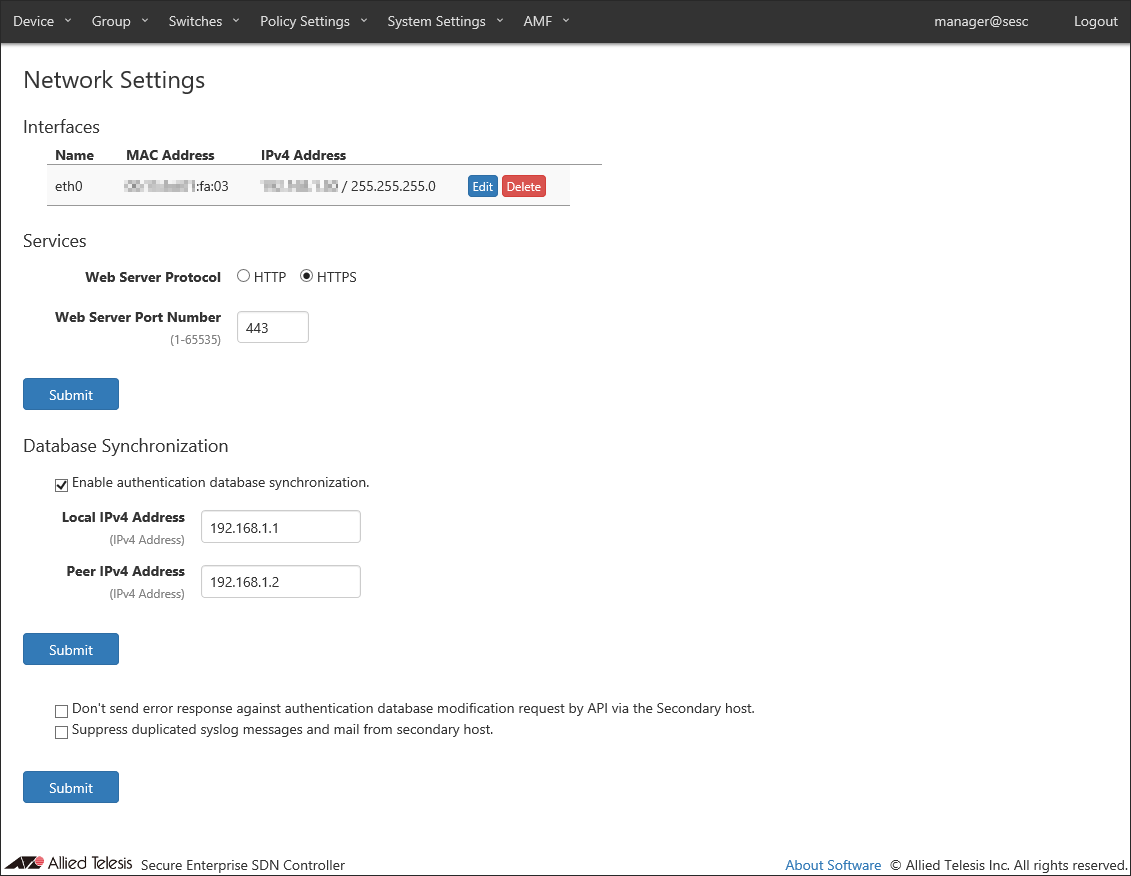
- Click "Submit".
Perform those procedures on both systems.
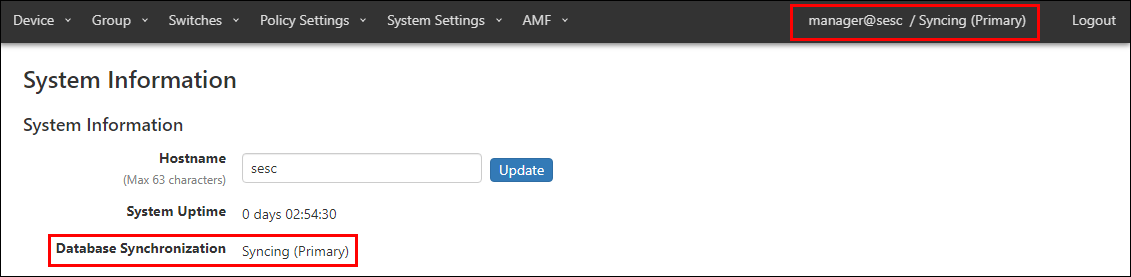
After synchronization, when you log in to the AT-SESC web setting screen, follow the host name in the upper right of the screen, such as "manager@sesc / Syncing (Primary)", "manager@sesc / Syncing (Secondary)", The synchronization status is displayed.
You can also see the similar information on the System Settings > System Information page's "Database Synchronization" field.
Those elements are collectively referred to as security policies. Here is a list of elements of security policies:
When Synchronization Fails
When synchronization fails for some reason, the systems respond in the following manner.- When the primary fails (e.g. power outage) and only the secondary remains operational, the secondary is automatically promoted to the primary and takes over the roles as the OpenFlow controller.
- When the synchronization link (communication) is lost while the primary and the secondary are operational, both systems act as the primary (after the secondary is automatically promoted to the primary) and perform the OpenFlow controller role.
In this case, both systems make decisions using the same information unless configurations are changed through web interfaces or only one of the two receives syslog or SNMP trap messages.
- When the secondary fails, the primary continues its role as the OpenFlow controller.
When Synchronization Recovers
When synchronization recovers from a failure, the promoted primary system (ex-secondary) continues to act as the primary.In case that the secondary fails and then recovers, roles are not changed before and after the failure.
When the synchronization link (communication) was lost while the primary and the secondary were operational and then the link was recovered, there may be a case where the systems exchanged the role of the primary and the secondary.
If you replace one of the systems with a new hardware, synchronization might not restart.
In that case, download authentication data from the current primary system, re-configure synchronization and upload the authentication data.
Those elements are collectively referred to as security policies. Here is a list of elements of security policies:
NoteIf you replace one of the synchronized AT-SESC systems, you have to configure the new system to have the same System Settings as the old one.
- Open the System Settings > Maintenance page on the current primary's management web interface.
- Download authentication data by clicking "Download" in the "Download authentication data for backup.".
- Open the System Settings > Network Settings page.
- Make sure to check the "Enable authentication database synchronization. ".
- Click "Submit".
- Re-configure synchronization on both systems by following the steps described in Synchronizing AT-SESC > Configuring Synchronization of the Quick Tour.
Note
Authentication data on the primary system could be deleted during synchronization.
- Once you reconfigured the synchronization, Go to the System Settings > Maintenance page on the primary system.
- Import the downloaded data by specifying the CSV file using the "Browse" button in the "Import authentication data" and clicking "Import".
Shutting Down and Restarting Synchronized System
Take the following procedures when you shutdown and restart a synchronized system for maintenance.Shutting Down
- Go to the System Settings > Maintenance page on the current primary system and click "Power-off AT-SESC server." to shut it down.
- Go to the System Settings > SESC Log page on the secondary's web interface and confirm that "WARNING A synchronization of MongoDB is invalid" message is logged.
Note
It might take one to one and a half minutes for the log message to appear after performing the step 1.
- Shutdown the secondary system with the same procedure as the step 1.
Restarting the system
- Power on the primary system.
- Go to the System Settings > SESC Log page on the primary system's web interface and confirmed that "web INFO MongoDB become a Primary" message is logged.
- Power on the secondary system.
14 Jun 2021 09:30